When using a TransIP web hosting package, you can set your own index and error pages for your website. This way you can have an index file other than index.php/html/htm and set error pages which are in line with your website's layout, reassuring visitors who run into error messages.
When you have made such a page, you can use the steps in this article to show your own custom page indead of the default message shown by our server. You can find the settings in your control panel:
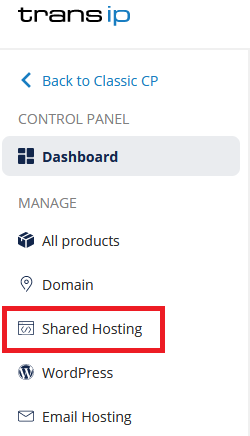
Log in to the control panel and click 'Shared Hosting' in the menu. Next, select your domain below 'Products'.
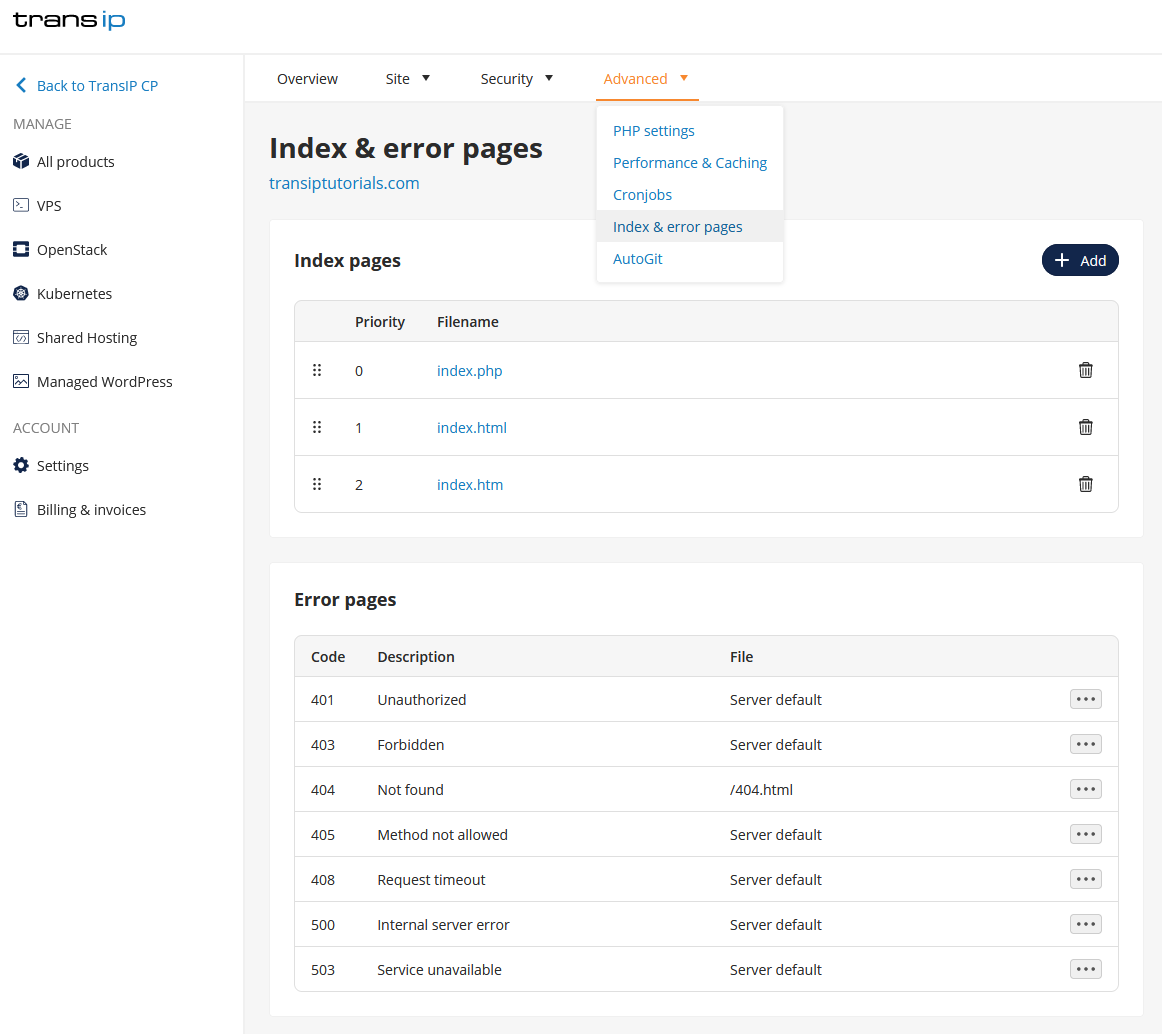
Click the 'Advanced' tab at the top, followed by 'Index & Error pages'.
Add or prioritise your custom index page
Below 'Index pages' you will find which index pages are set by default. If you want to add a diferent file other than the usual index.php, index.html and index.htm, you can add your own file name by clicking '+ Add'. Do note that this file has to be present in your document root. In the example below we have added customindex.html.
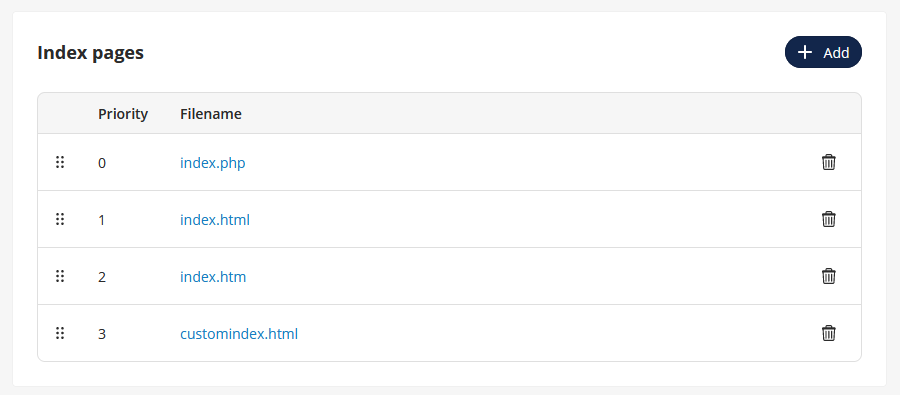
A newly added index page will always appear at the bottom of the list. You can drag it up to give it priority over the other index pages.
By clicking the six dots on the left, you can drag the index files to give them a lower or higher priority. The file with the lowest priority number (starting with 0) will be searched for first in your document root (this is the /www/ folder by default) and then displayed on your website. If the file is not present, the file with 1 priority higher will be searched for.
To delete an index page from this list, click the trash can icon.
Setting your own error page
Step 1
Upload your error page to the 'www' folder of your website. You can find more information about this in the article 'Upload or download a website via SFTP'.
Step 2
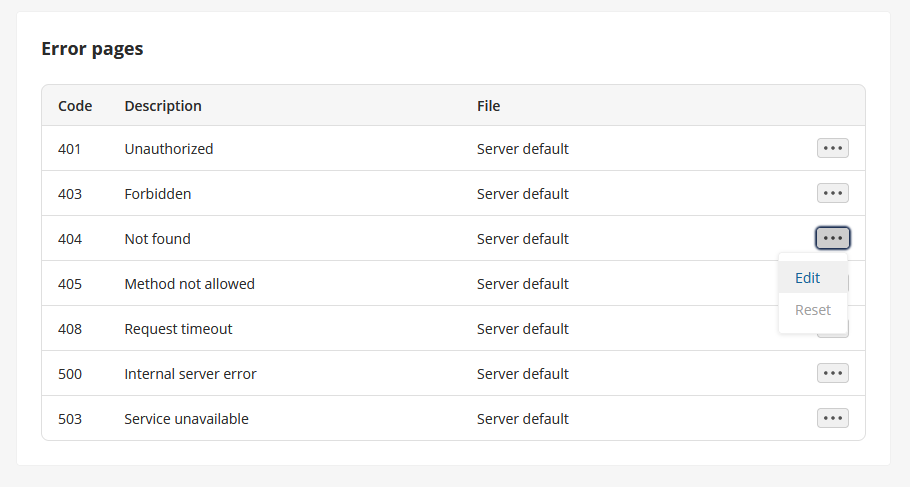
Below 'Error pages' you will find the list of error pages you can configure; pages for the 401, 403, 404, 405, 408, 500, and 503 errors. Next to the page you wish to change, click the three dots -> 'Edit'.
Step 3
Enter the file name of the error page you have uploaded to your web hosting package.
If you have uploaded the file directly to the 'www' folder, enter only '/filename.extension'. If you have made a different folder for these error pages, enter the file path from 'www'; '/foldername/filename.extension'.
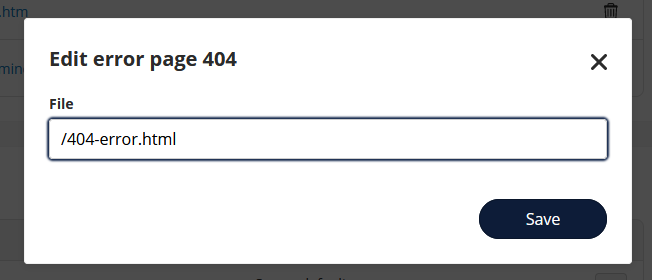
In the example above we have uploaded the file 404-error.html to the 'www' folder.
A few minutes after clicking 'Save', your website will show your own custom error page when encountering an error.


