In this article we'll explain how to redirect a website on a Web Hosting package to a different URL.
If you don't have a Web Hosting package, you can also choose our Forwarding Service to easily redirect your domain name. It even allows you to forward all email to an email address of your choosing. Read the article 'Forwarding your domain name' for more information.
Read the article 'Forward email addresses on your Web Hosting' to learn how to forward emails using the email addresses on your Web Hosting package.
Create an .htaccess file
With an .htaccess file you can easily redirect (a part of) the website on your Web Hosting package. By adding a specific line to the .htaccess file, you'll be able to choose the Redirect method and the target URL to redirect to.
We recommend reading the article 'Using an .htaccess file' before continuing.
Take note: Adding or editing an .htaccess file can have an effect on the performance of your website. The smallest typo may cause errors when visiting your website.
This is why we recommend closely following the steps presented in this article.
Redirect your website with an .htaccess file
Below we'll show you the different ways of redirecting your website with .htaccess. Add the lines from the code block to your .htaccess file and upload it to the directory you want to apply the .htaccess file to.
You should check if an .htaccess file is already present in the directory you want to upload it to. If that's the case, make sure to edit that .htaccess file, add the lines from the code block to this file and upload it to the directory again.
If you're using WordPress and a .htaccess file is already present, be sure to add the lines from the code block at the top of the .htaccess file and upload it to the same directory.
Upload your .htaccess file
Earlier in this article we showed you how to create an .htaccess file using the steps in the article 'Using an .htaccess file'. The article also tells you how to upload the .htaccess file to your Web Hosting package.
For your convenience we will show you how to create and upload an .htaccess file for redirecting your website here as well.
In the example below we are redirecting our website to transiptutorials.com using a 301 Redirect. We then upload this file using the 'File Manager' in the control panel. You can also use SFTP software such as Filezilla or Cyberduck for this purpose.
Step 1
First you will need to create a simple text file (we recommend using Notepad++). Add the line from one of the Redirect methods above and save the file as .htaccess (don't forget the dot and entering the URL you wish to redirect to).
Step 2
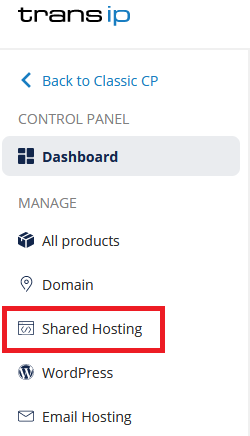
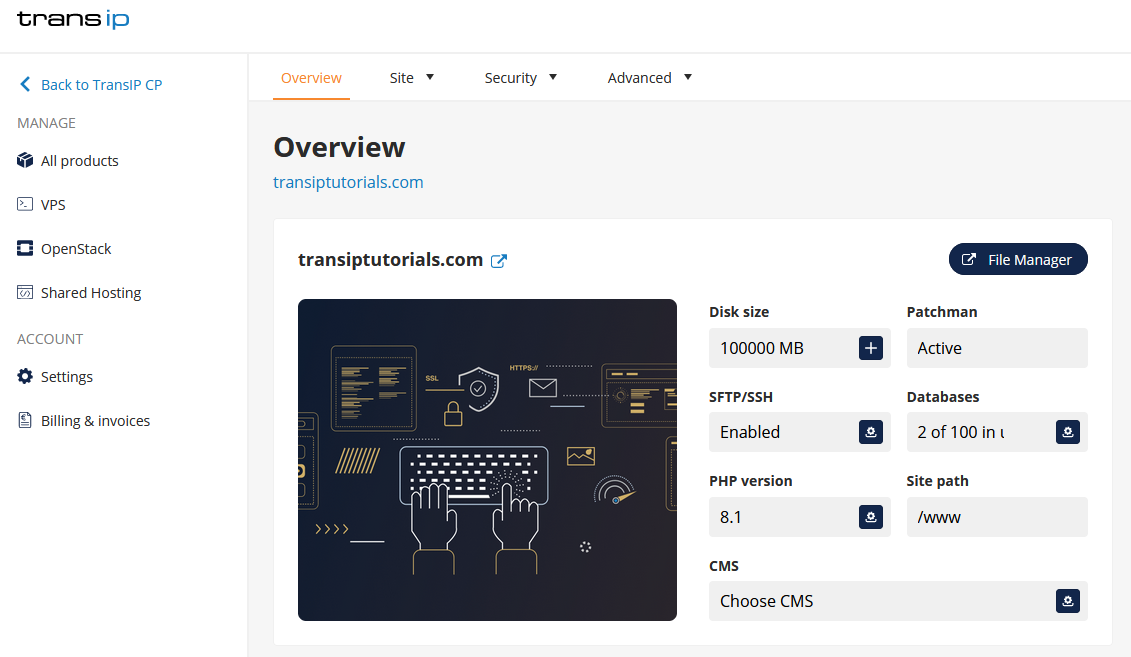
Log in to the control panel and click 'Shared Hosting' in the menu. Next, select your domain below 'Products'.

On the overview page of your shared hosting, click 'File Manager' in the top right.

Step 3
Because we want the .htaccess to apply to our main domain (transiptutorials.com), we open the 'www' directory.
In here, press the 'Upload' button and open the .htaccess file to upload it. That's it! Your website's visitors will now be redirect to the URL you entered in the .htaccess file.
Take note that .htaccess files apply to the directory you upload it in, as well as all it's subdirectories. However, it is important to remember that .htaccess files have priority over directories higher up.
For example, if you've created two .htaccess files with 301 Redirect that both contain a different URL. You upload one .htaccess file to the 'www' directory and the other .htaccess file to the 'blog' directory, which resides inside the 'www' directory.
The 301 Redirect in the 'www' directory will apply to the 'www' directory and all it's subdirectories, but does not apply to the 'blog' directory and it's subdirectories. For the latter directories, only the 301 Redirect inside the 'blog' directory applies.
In this article we explained how to redirect a website on your Web Hosting package, using an .htaccess file.
If you have any questions regarding this article, please contact our support team. You can reach them using the 'Contact us' button below or via the 'Contact' button inside your control panel.


