


During the installation of a pfSense firewall you can choose not to configure a LAN Interface until later. In this tutorial we will show you how to configure a LAN Interface in the pfSense web interface in that case.
For the steps in this guide, we assume you've followed our pfSense installation tutorial.
Step 1
Log in to the pfSense web interface.
Step 2
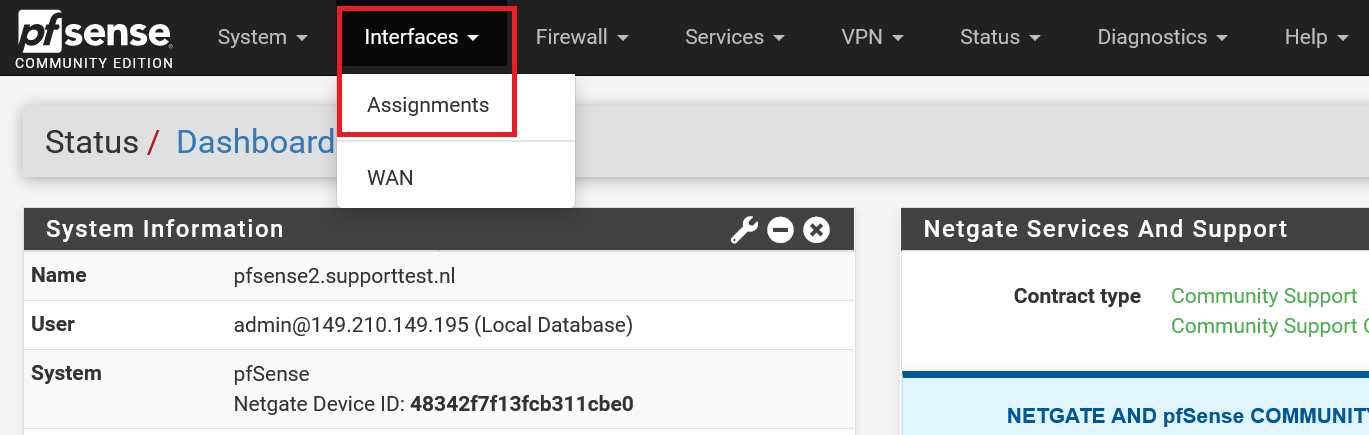
In the top menu, click 'Interfaces' > 'Assignments'.
Step 3
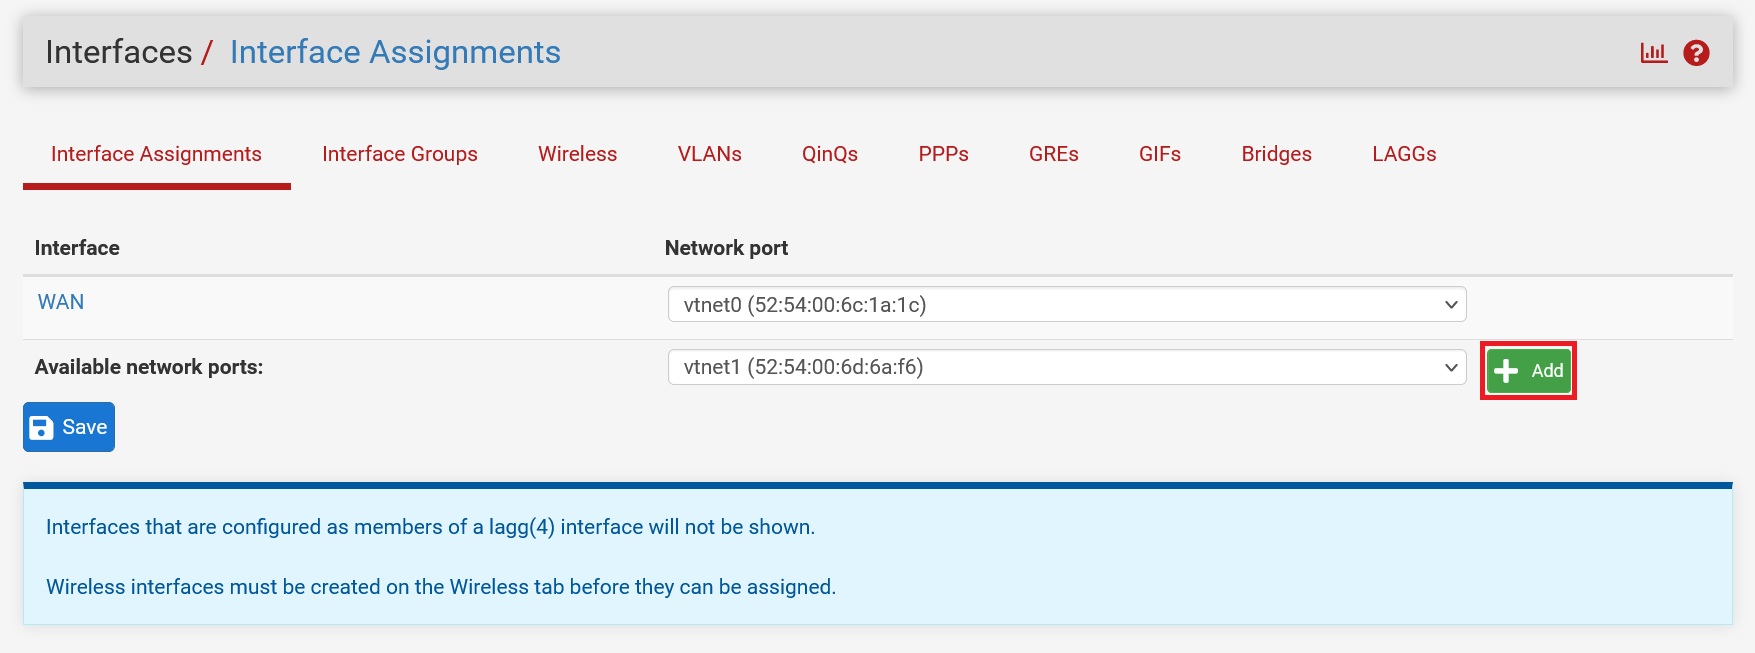
Your private network (LAN) adapter is automatically detected by pfSense. Click 'Add' to add it.
Step 4
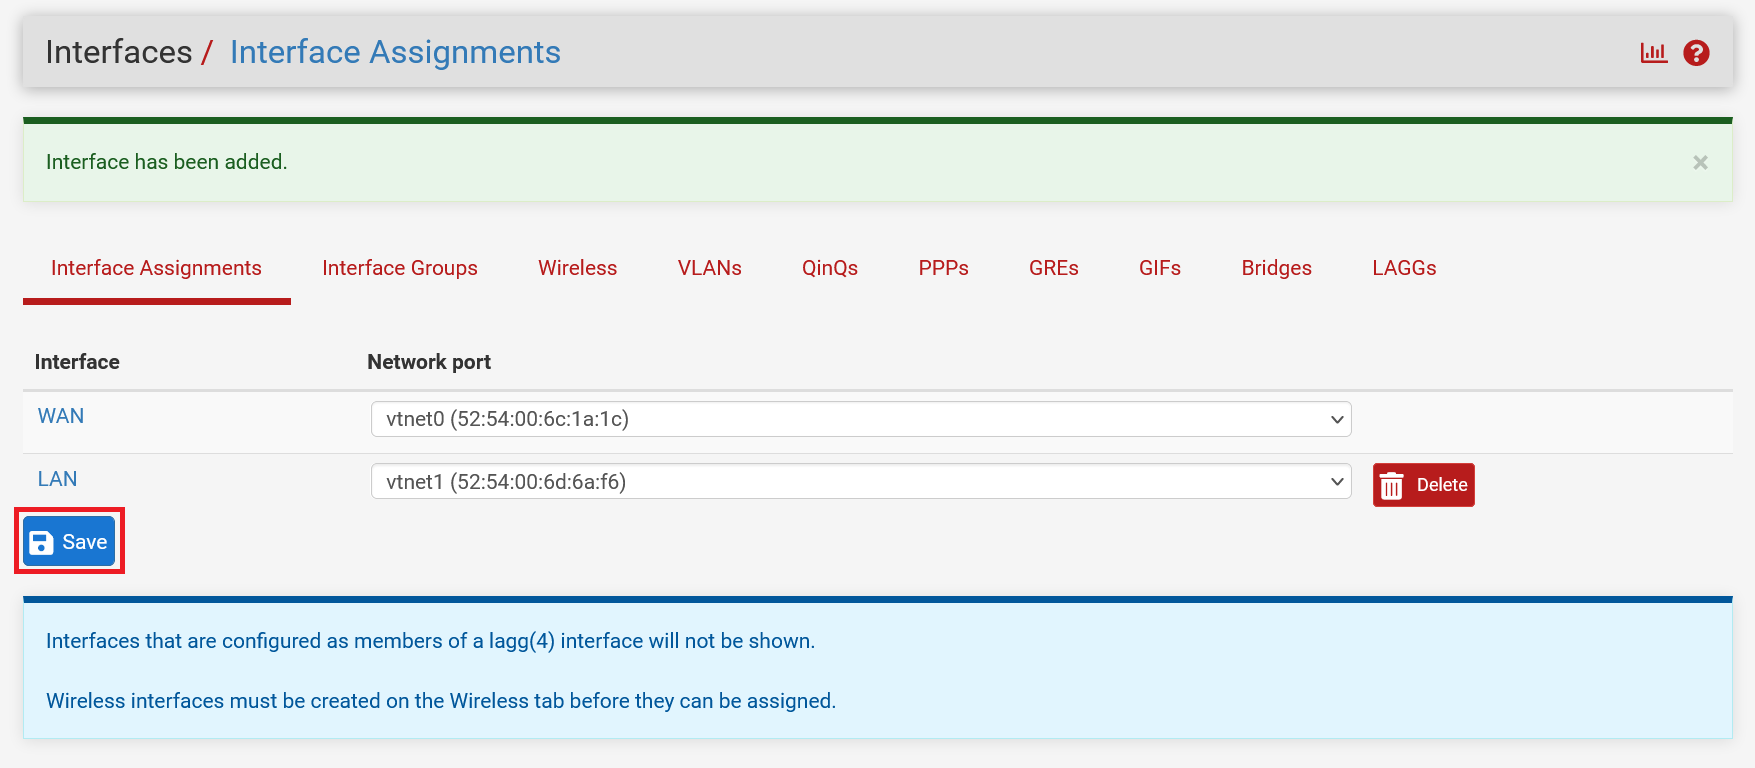
The adapter name has now been changed from vtnet1 to LAN. Click 'Save' to save the changes.
Step 5
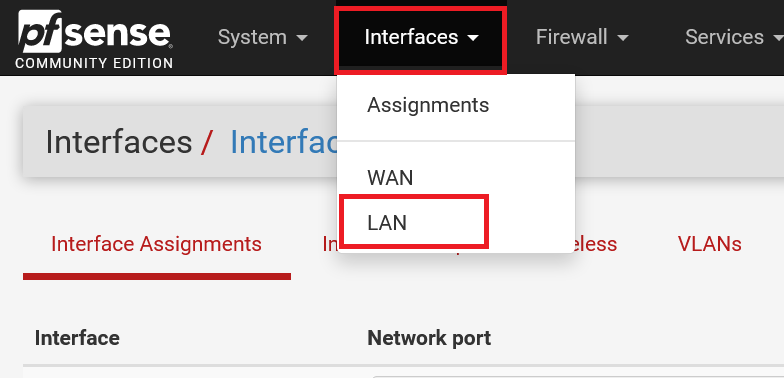
Click 'Interfaces' > 'LAN' in the top menu. If the previous steps went well, the LAN option has been added here after step 4.
Step 6
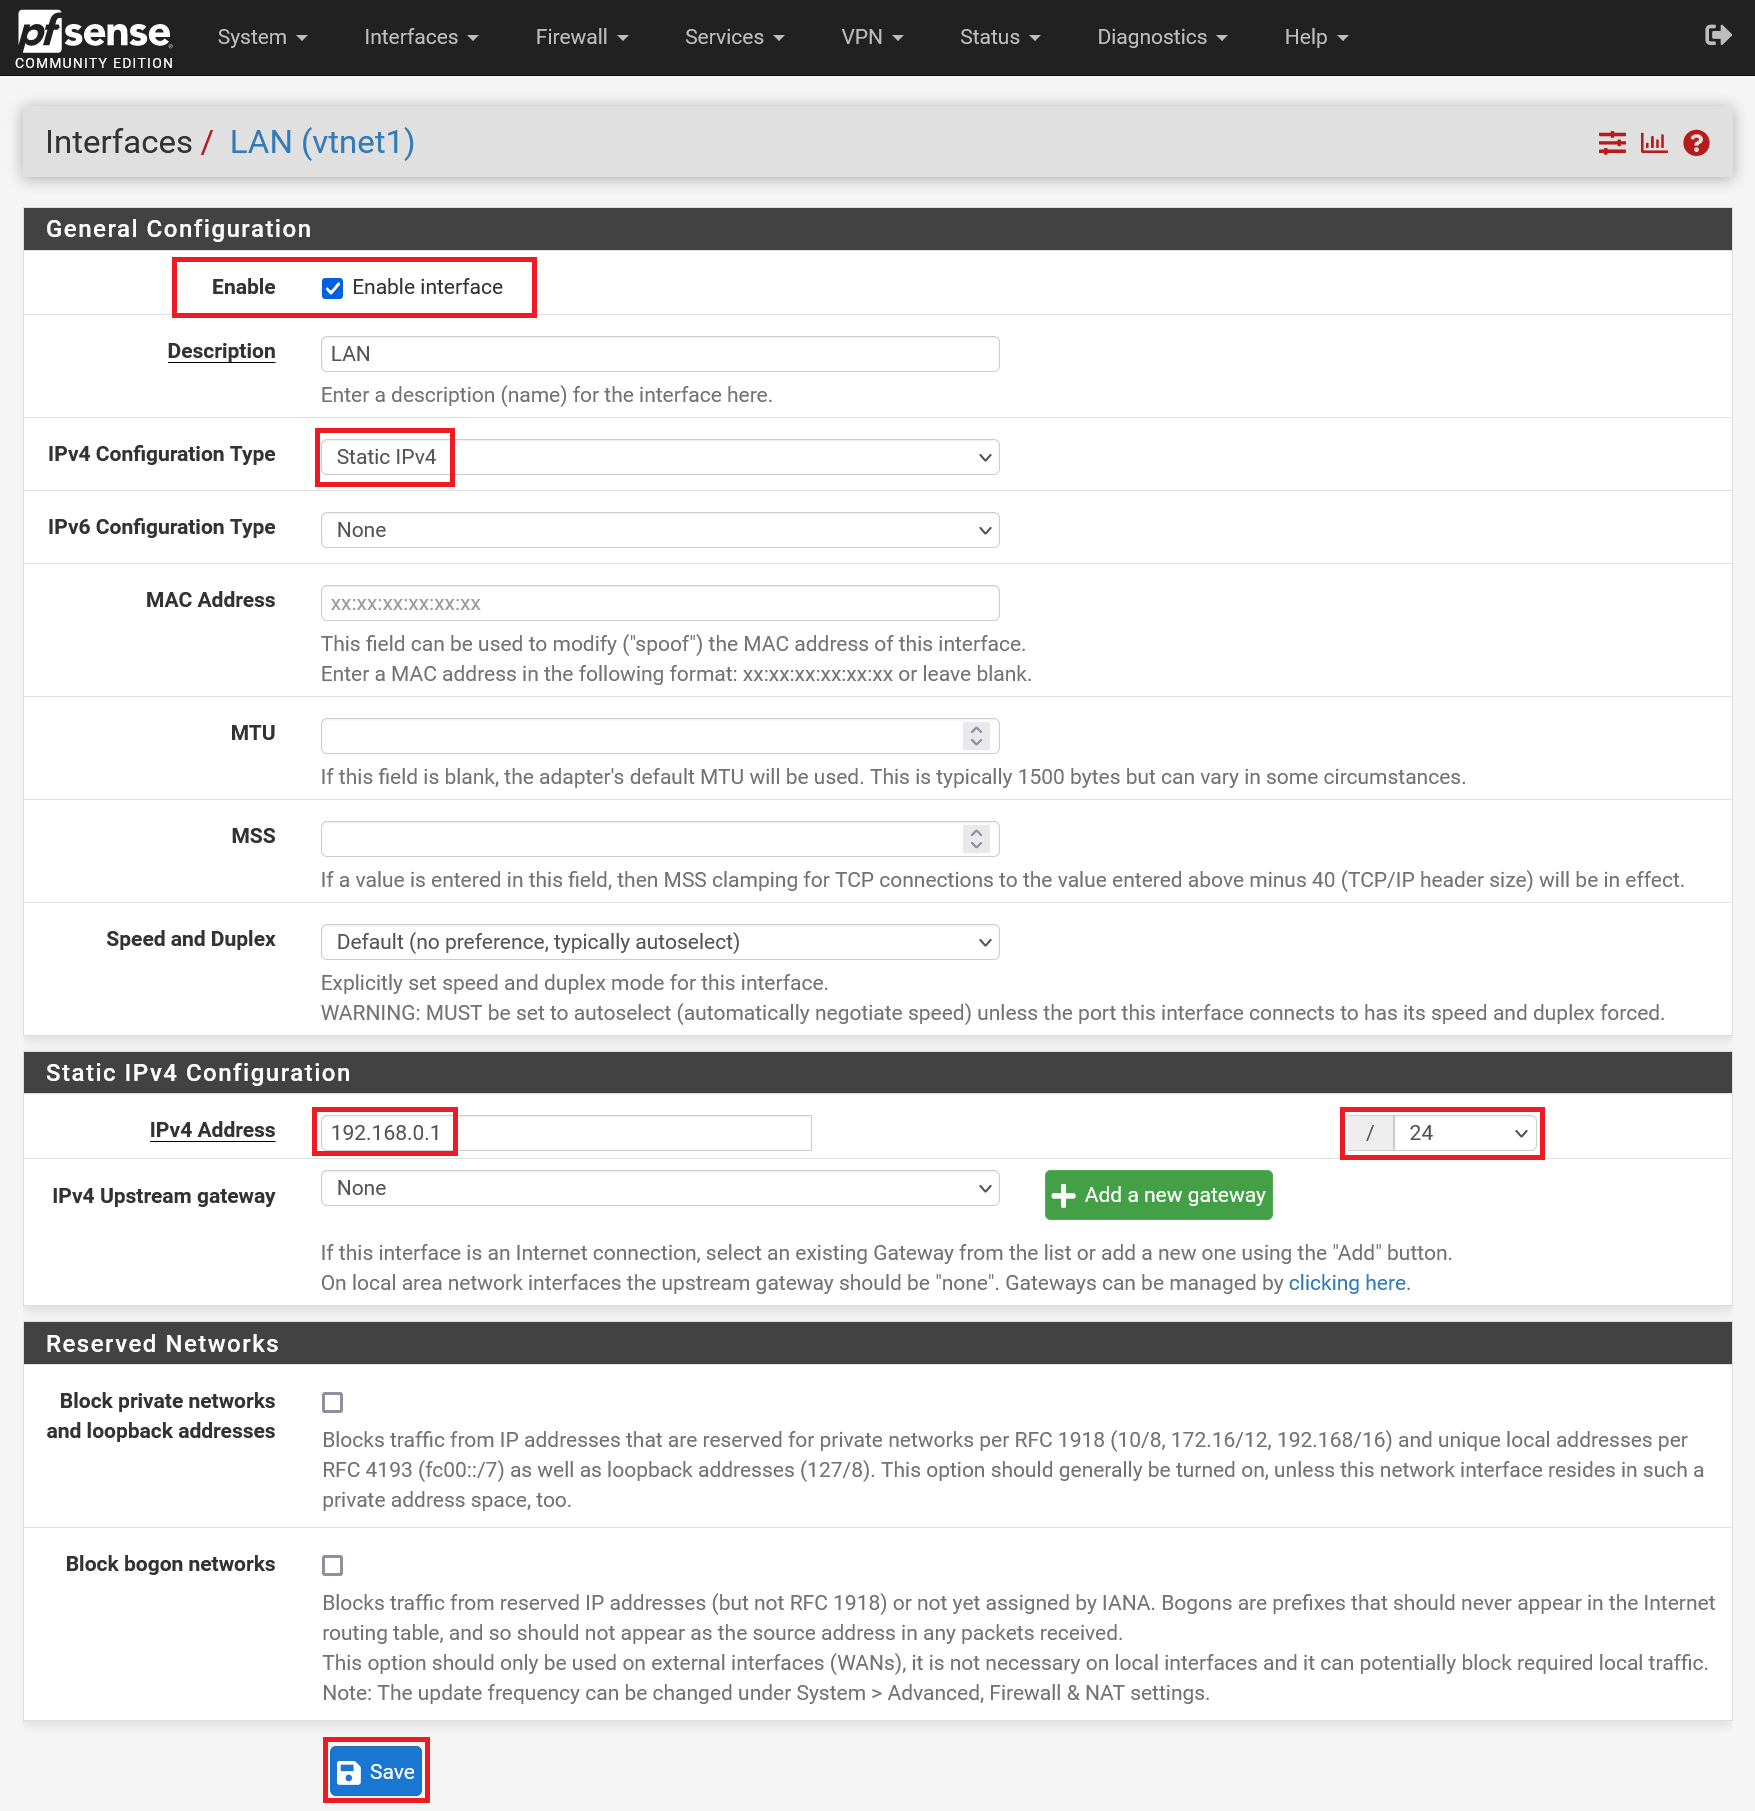
Set the LAN Interface and click 'Save'. The minimum required options are:
- Enable: Enable the interface, otherwise you will not be able to use it
- IPv4 Configuration Type: Set to Static Ipv4
- IPv4 address: Enter a LAN IPv4 address and a subnet mask. An automatic configuration of pfSense uses 192.168.1.1 and /24 respectively but you are free to choose, as long as you choose an IP address reserved for private networks. See RFC1918 for more information.
Step 7
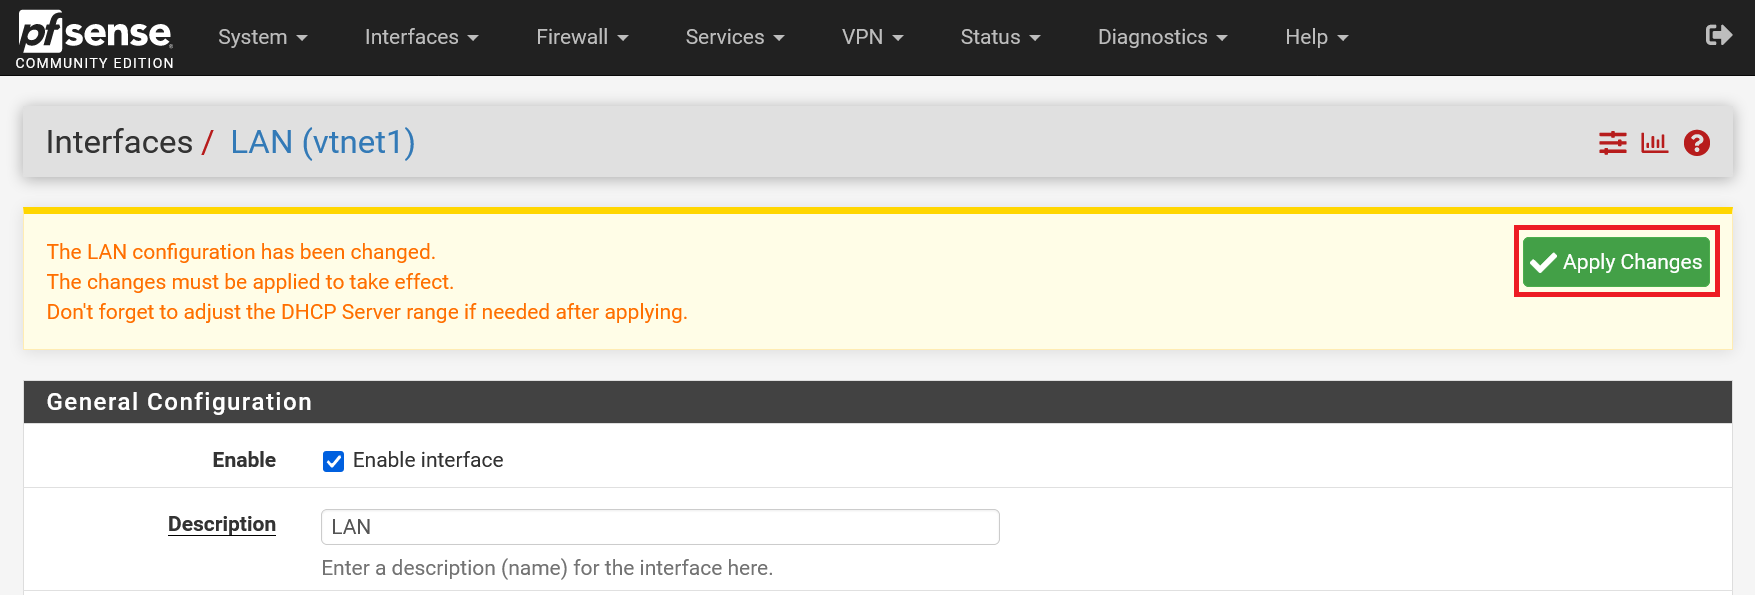
You will now be automatically returned to the top of the page. Click 'Apply changes' to apply the changes.
Your LAN Interface is now configured and that brings us to the end of this tutorial .