You are free to use your own nameservers for your domain. In this article we will show you how to set your own nameservers in our control panel.
If you are using your own nameservers, the DNS settings in the TransIP control panel will no longer be used. The DNS records will have to be configured on your own nameservers.
Step 1
Log in to your control panel, go to 'Domain', and click on your domain on the left side (do not tick the box).
Step 2
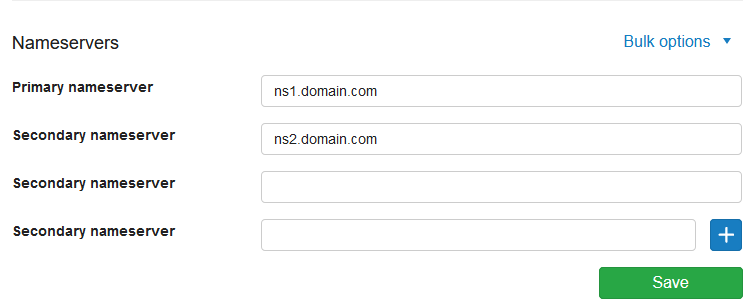
Scroll down to 'Advanced domain settings' > 'Nameservers'. Replace the nameservers with your own nameservers.

If the TransIP settings are switched on, you will see 'Domain settings' instead. If this is the case, switch the TransIP settings off first. Afterwards, you can add your nameservers.

Step 3
Click 'Save'

Additional information
When entering the nameservers, the following is of importance:
- You can add up to 13 nameservers by clicking the blue '+' button. The maximum amount may vary depending on the domain extension.
- You can delete a line by clicking the red 'x' button.
If you use your own name server on the same domain name, you are to submit the IP address (glue record) of your name server. A glue record is the IP address of a name server at the register.
For example: If you want to use the nameservers ns0.yourdomainname.com and ns1.yourdomainname.com for yourdomainname.com. Extra options will appear:
- 'Gluerecord IPv4': Fill in the IP address of your nameserver.
- 'Gluerecord IPv6': Fill in the IPv6 address of your nameserver if it has one. If you do not have an IPv6 address for your nameservers, leave this empty.
Your changes will be processed after saving. It can take up to 24 hours before the change is implemented. More information on this can be found via 'Why can't I see my DNS changes?'.


