In this article, we will show you how to install a language pack for Office 2016 on our platform (see our Microsoft Essentials for more information).
Step 1
Log in to your control panel, go to the 'BladeVPS' tab and click the name of your VPS for which the Microsoft license is active.
Step 2
Scroll down and click the gear behind 'Microsoft Essentials'.

Step 3
Click 'Microsoft Office 2016 Standard'.

Step 4
Under license overview, you will find two download links for the 'Multi language pack'. These disks contain language packs for all languages supported by Office.
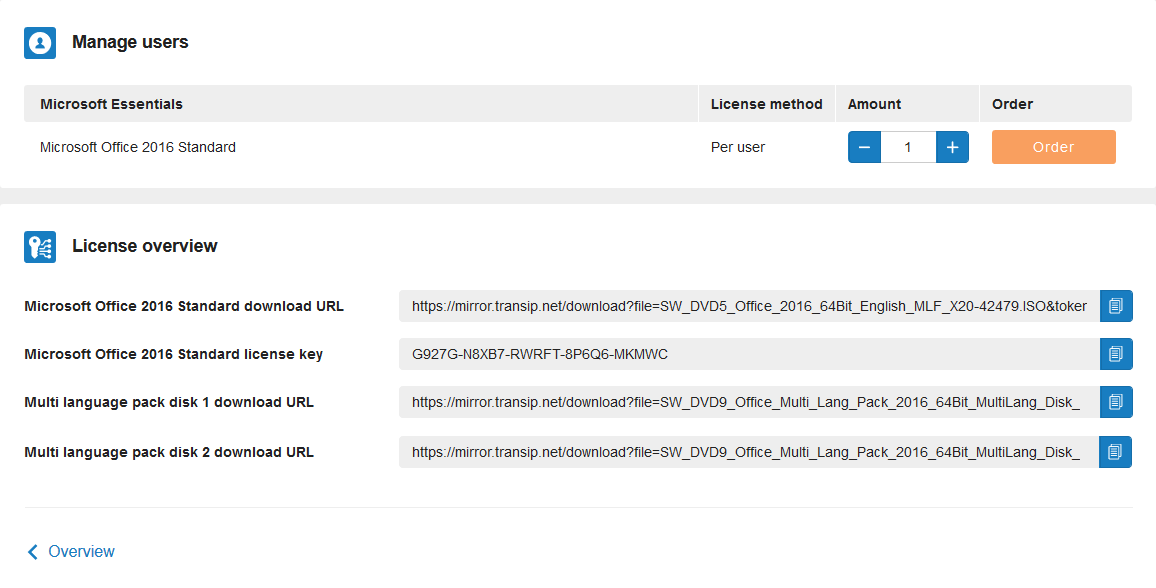
Click the copy button behind the language pack disk link and use it to download the language pack from your VPS. Do this one by one for both language packs.
Step 5
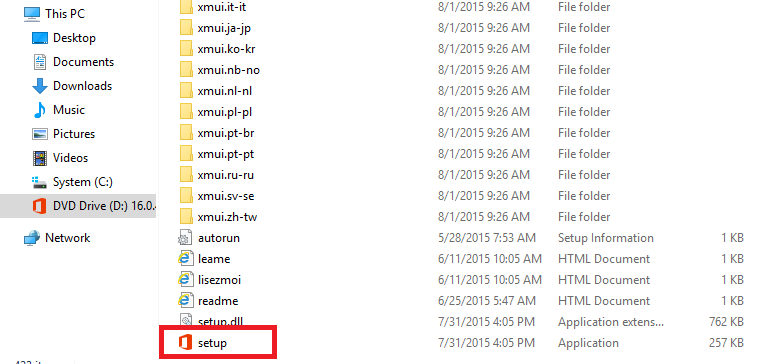
Open the downloaded file (Windows mounts it automatically) and run setup.
Step 6
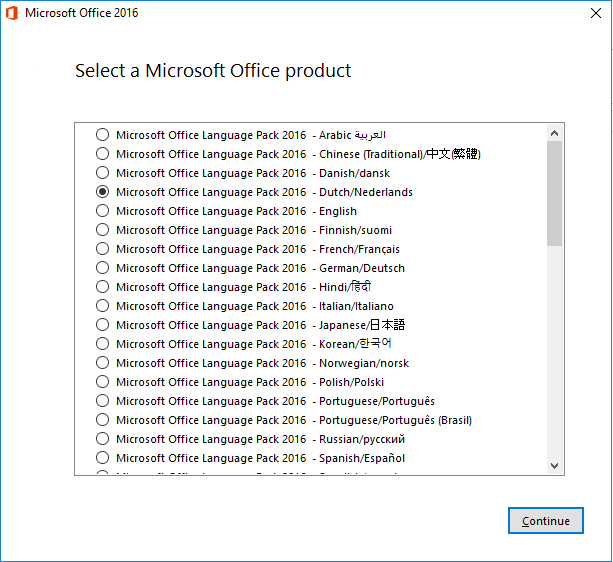
Choose a language to install and click 'Continue'.
Step 7
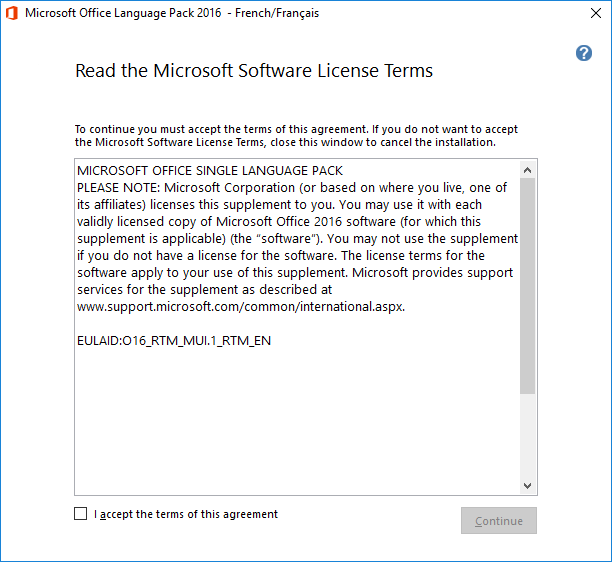
Agree to the conditions to continue with the installation.
Step 8
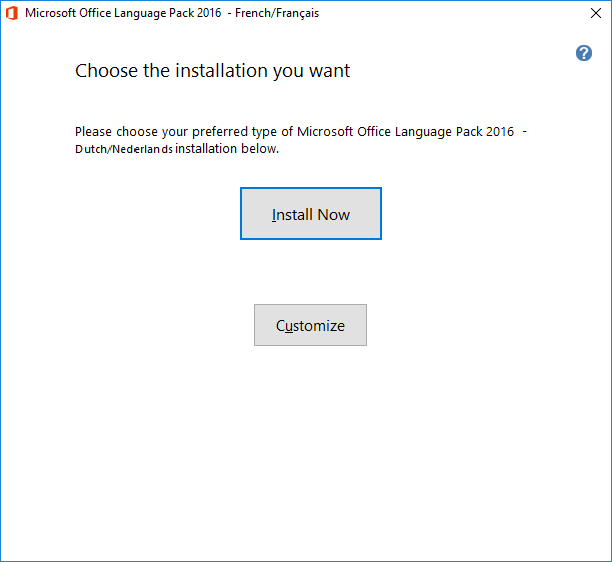
Optionally, you can adjust the installation and, for example, choose for which Office products you want to install the language. When you're done, click 'Install now'.
Step 9
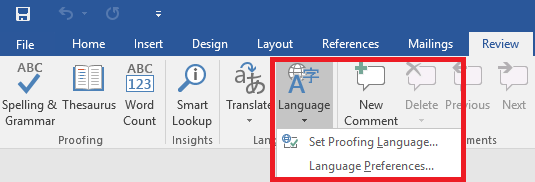
After the installation, you can change the language of the spelling check, or the general language preferences, by navigating to the 'Review' tab in Word and clicking 'Language' > 'Set Proofing Language' or 'Language Preferences' respectively.
You are now done adding the additional language to Office 2016! Should you have any questions left regarding this article, do not hesitate to contact our support department. You can reach them via the ‘Contact Us’ button at the bottom of this page.


