


In this article, we provide a guide for the installation process of CentOS 7. Would you like to know how to reinstall your VPS? Then, take a look at our article '(Re)Installing an OS on your VPS'.
Step 1
After ordering / reinstalling your CentOS 7 VPS, you will be greeted by the language selection menu in the VPS console.
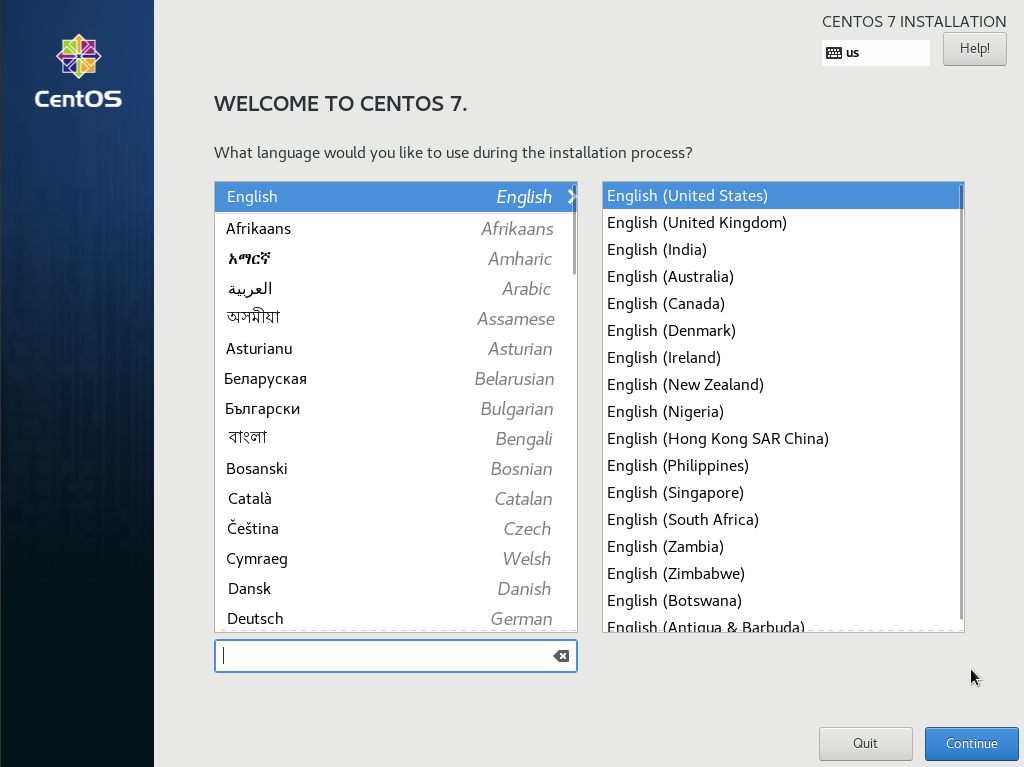
We recommend choosing English: There is more documentation in English than in any other language for CentOS 7, which makes problem-solving / following manuals much easier.
Step 2
You will now see the 'Installation summary' screen. It may take a moment for all options to be available. First, adjust the localization as desired (or go to step 3 if you do not want to change it).
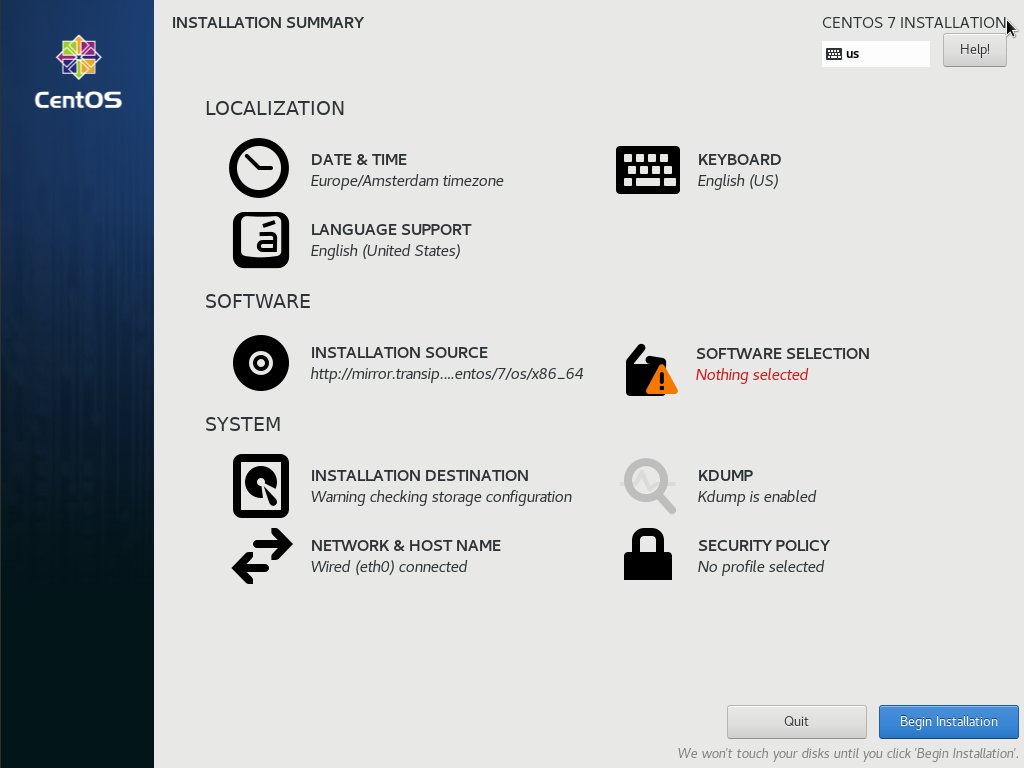
Under 'Localization' you will find three options:
-
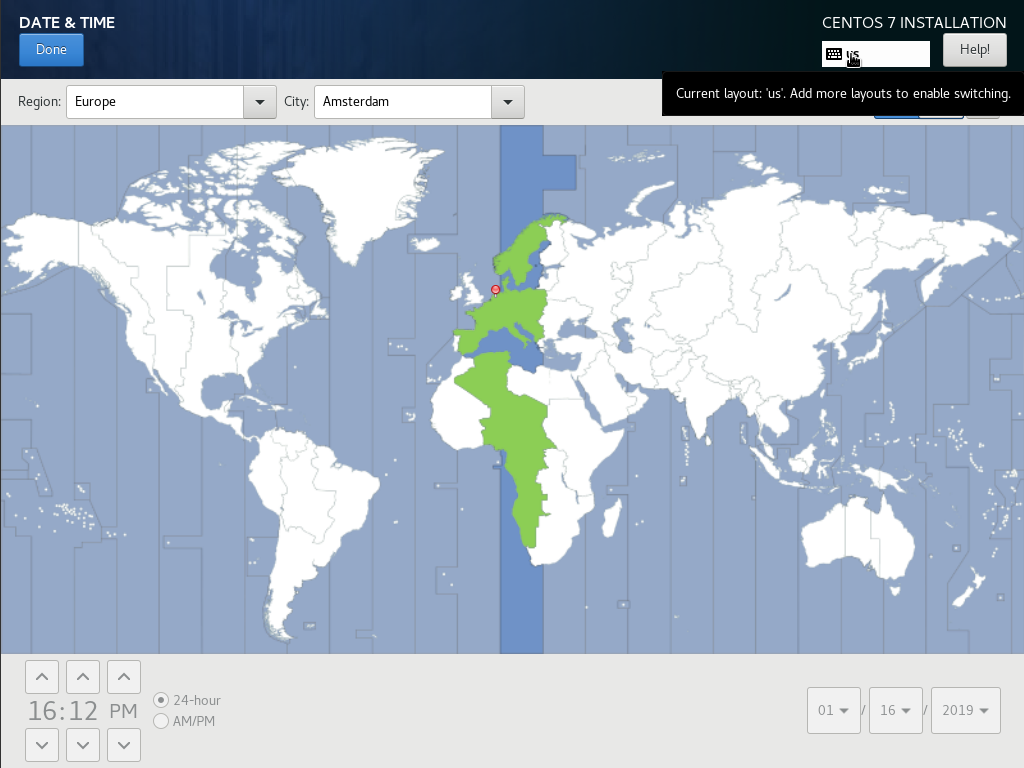
Date & Time: Adjust your time zone if it is not correct. When you click this option, you will see a map of the world, on which you can indicate your (global) position and the date & time is set automatically.
-
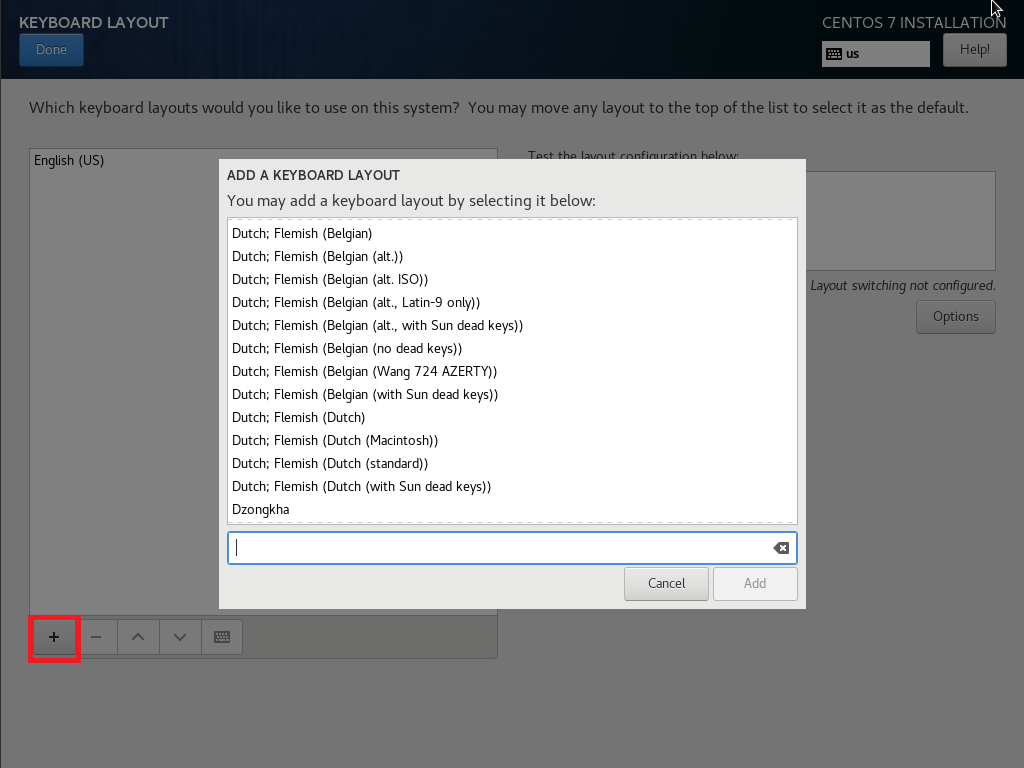
Keyboard: With this option, you adjust the language of your keyboard by clicking the plus and adding the desired layout. You can always do this afterward from command-line and we advise you not to change this during installation (unless you use an azerty keyboard, for example).
-
Language Support: Choose the languages in which you can view your installation. We recommend English again because the CentOS community also mainly uses English.
Under 'Software', you will find two options: 'Installation Source' and 'Software Selection'. The Installation Source indicates that you are using our mirror to install CentOS 7 and you do not have to adjust anything.
Click 'Software Selection' to select which software you want to select. We recommend a 'Minimal Install': this only installs the essentials and prevents you from installing software that you never use. In Linux, it is easy to add the software you want to use from command-line later.
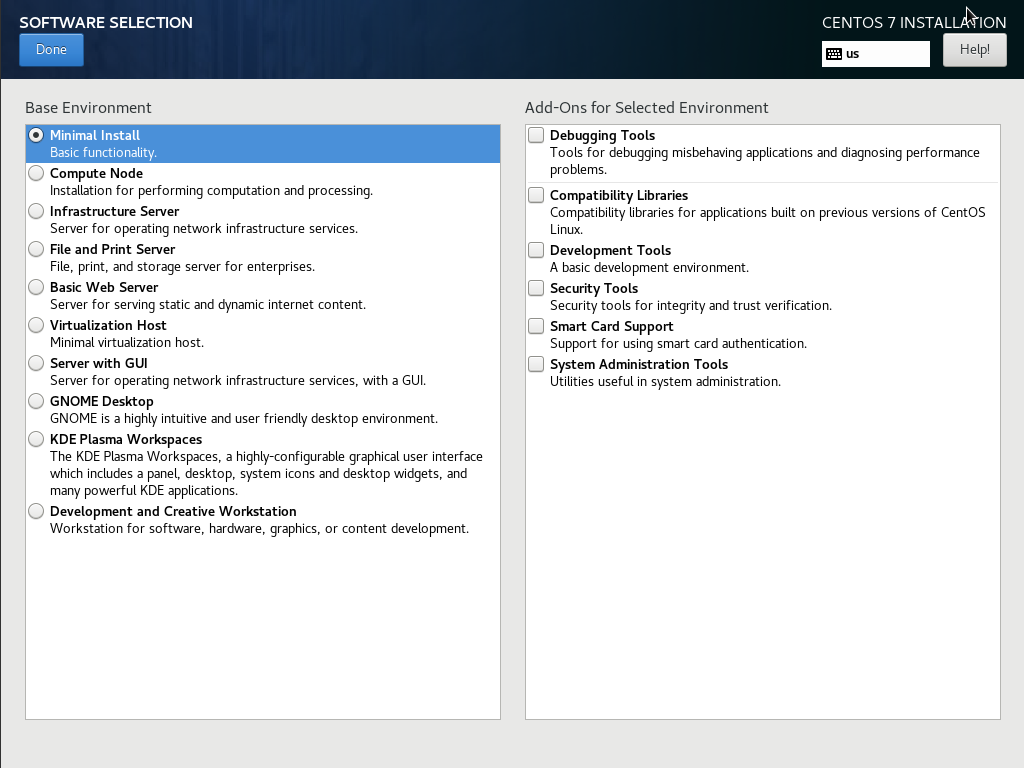
- In our manuals, we often refer to the text editor nano. This is part of the base package (or install it with yum -y install nano).
- CentOS 7 comes supplied with a minimal installation with SSH. You do not have to install this separately.
- We do not recommend the use of a GUI. The performance of a desktop environment on a virtual server will never be the same as a physical computer and for the purpose for which VPSs are usually used (e.g. website, database, application, and / or email hosting), a GUI within Linux is not required.
Step 4
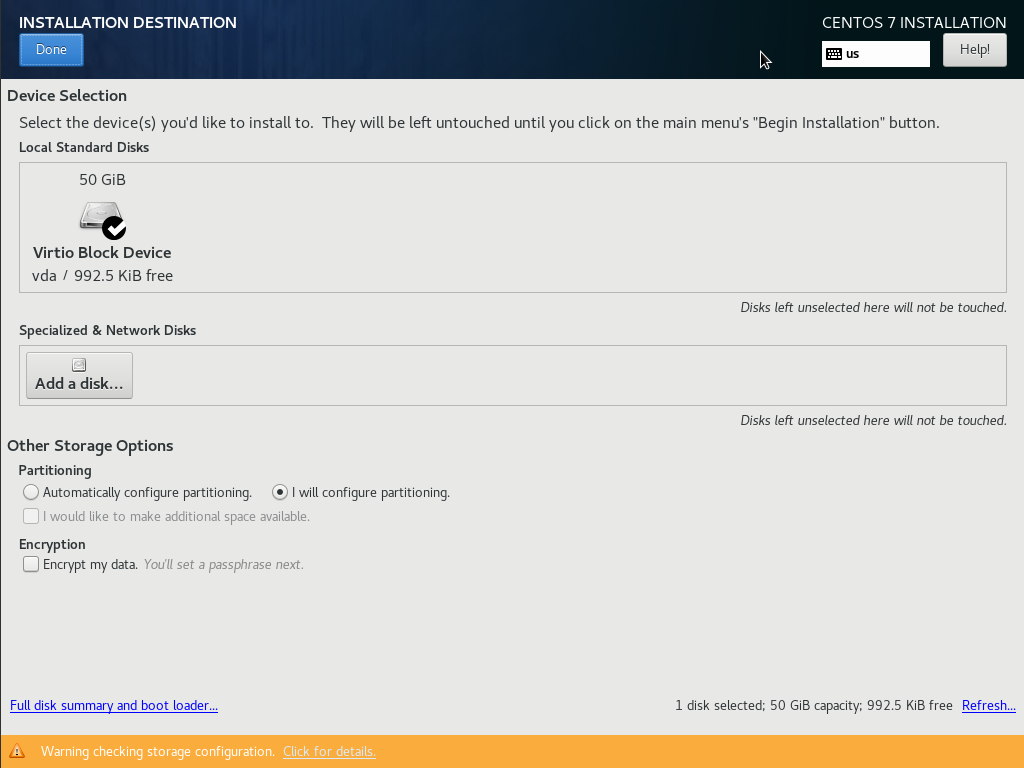
Then click 'Installation Destination' and select SSD under 'Local Default Disks' and 'Automatically configure partitioning' (you will find more information about what partitions are here). This is the recommended method for new installations or reinstallations where previous data may be overwritten.
-
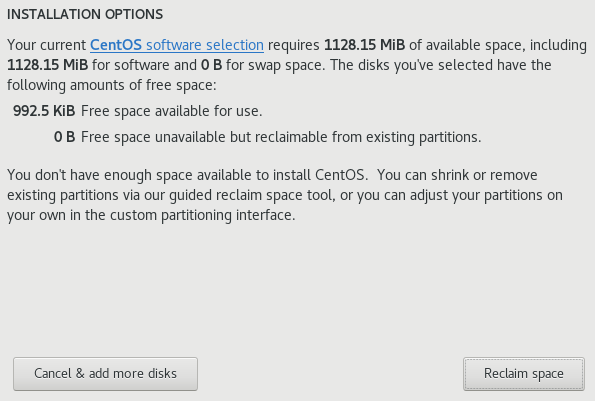
Are you reinstalling an existing VPS? You will then be notified that there is too little space available. Click the 'Reclaim space' option.
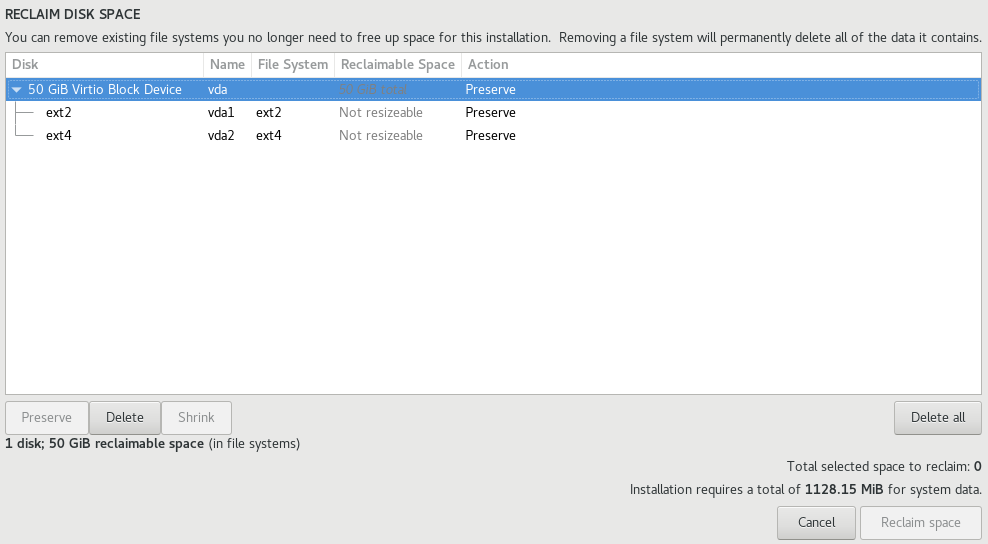
You will see an overview of your partitions as below. Click 'Delete all' followed by 'Reclaim space' at the bottom right to free all disk space for your new installation.
- For security, you can choose 'Encrypt my data' here. You then get an option to set up a passphrase. You will then always have to provide the passphrase first when your VPS (re)starts. If you lose the passphrase, you will never be able to access your VPS again and a reinstallation is the only option.
- Optionally, you can configure your partitions yourself by choosing the option 'I will configure partitioning'. You then have the freedom to decide how much space is assigned to the different partitions and you can choose the type of partition (e.g. Standard, LVM, BTRFS) and file system (e.g. xfs, ext4). The manual configuration is a more advanced topic to which we will devote a separate article to in the future.
Step 5
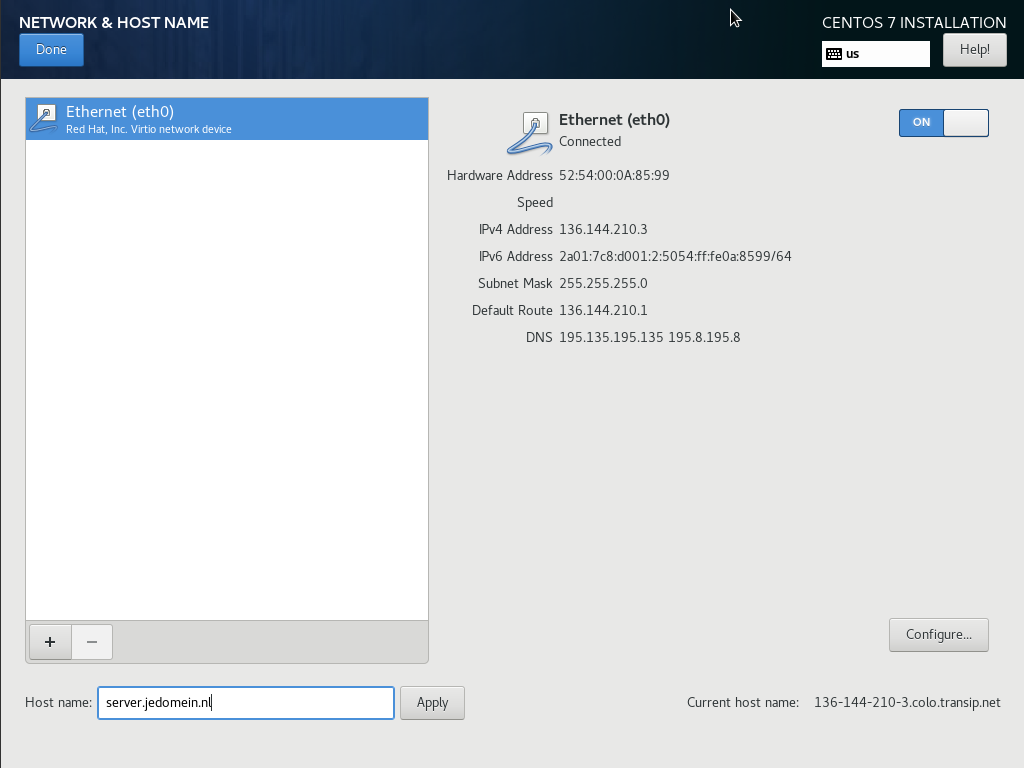
Next, click 'Network & Host name'. The hostname which is set by default is a placeholder. Change this (for example, use the syntax server.yourdomain.com) and do not forget to create a DNS record for the hostname in the DNS settings of your domain.
Step 6
Click 'Begin Installation' at the bottom right of the 'Installation Summary' screen. It is not necessary to configure a security policy unless your organization requires this. This has no negative impact on the security of your VPS.
Step 7
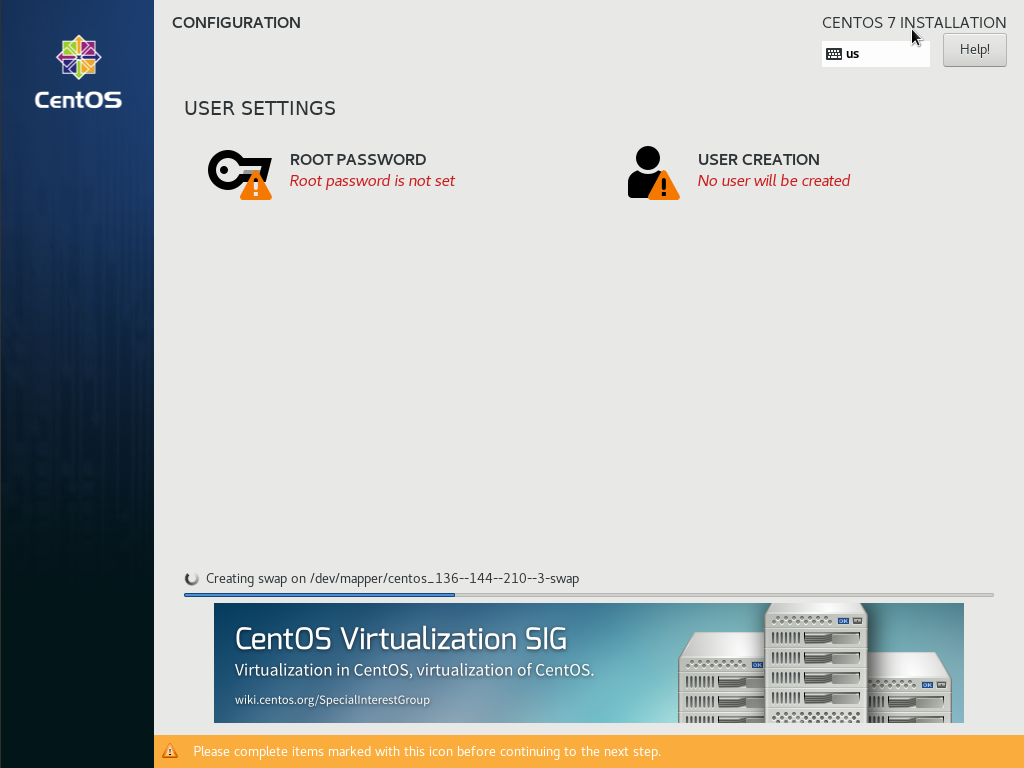
You can now create users and set a root password while CentOS starts installing the packages.
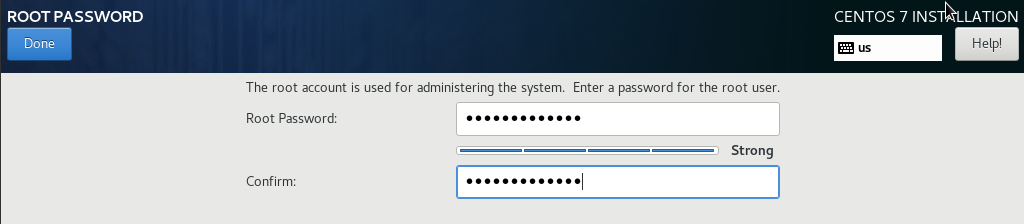
Click 'Root Password' and set a strong password.
Step 8
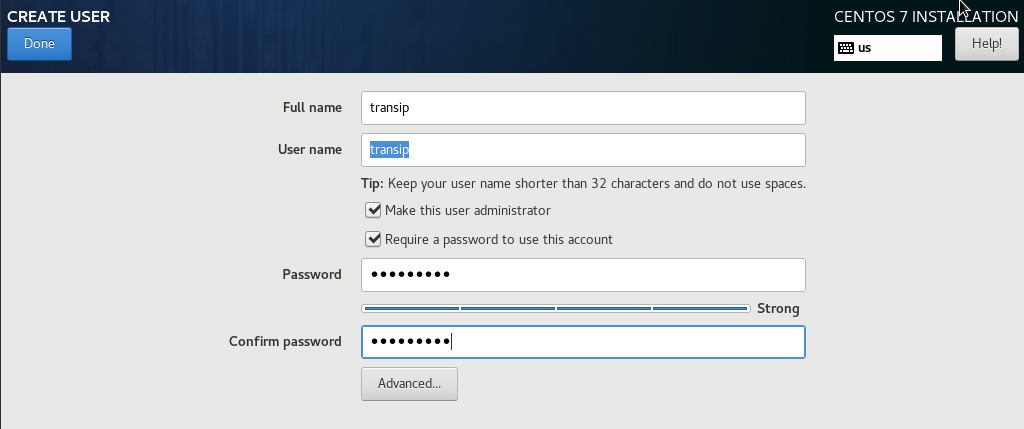
Then, click 'User Creation' and create at least one user. Optionally, you can make this user administrator.
Step 9
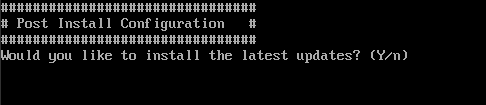
After the installation, you will be asked if you want to install all the latest updates of installed packages. We always welcome updating your VPS for security reasons, so choose 'Y' here.
After installing the updates, your VPS is ready to install. You will now see the login screen of your VPS and can immediately start with the further configuration!
Should you have any questions left regarding this article, do not hesitate to contact our support department. You can reach them via the ‘Contact Us’ button at the bottom of this page.