


Windows VPSs are installed with the most recent network drivers that were available at the time the installation image was updated.
For the most stable performance and accessibility of your VPS, we recommend installing the latest network drivers on a regular basis. In this article, we show you where you can find the latest network drivers and how you can manually update the network drivers.
Step 1
Connect to your VPS via RDP. To update the drivers, you need a user with administrator rights.
Step 2
Open a browser (e.g. Chrome) and open the page: https://fedorapeople.org/groups/virt/virtio-win/direct-downloads/stable-virtio/virtio-win.iso.
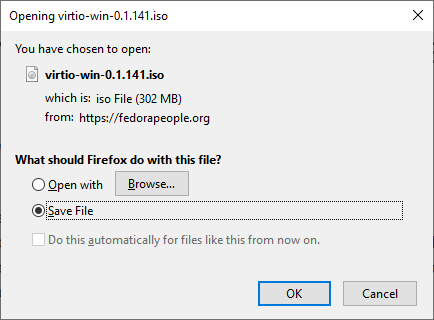
You will automatically be asked to save the file on your VPS or to open it. Choose to save the file. You can then close your browser.
Step 3
Open the Downloads window of your browser (usually, the shortcut is ctrl + j), or in Windows Explorer, navigate to where you saved the file and double-click the downloaded file.
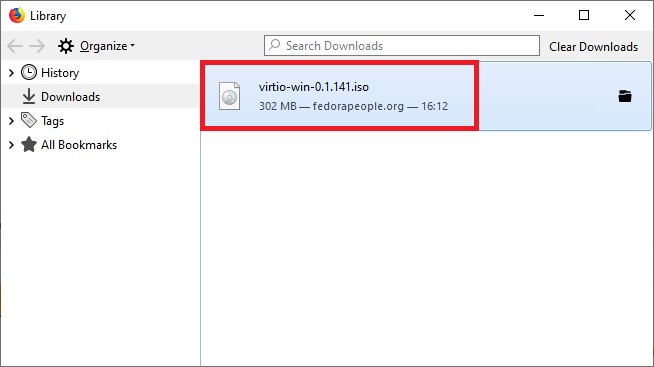
Windows will now automatically mount the ISO and open it in explorer.
Step 4
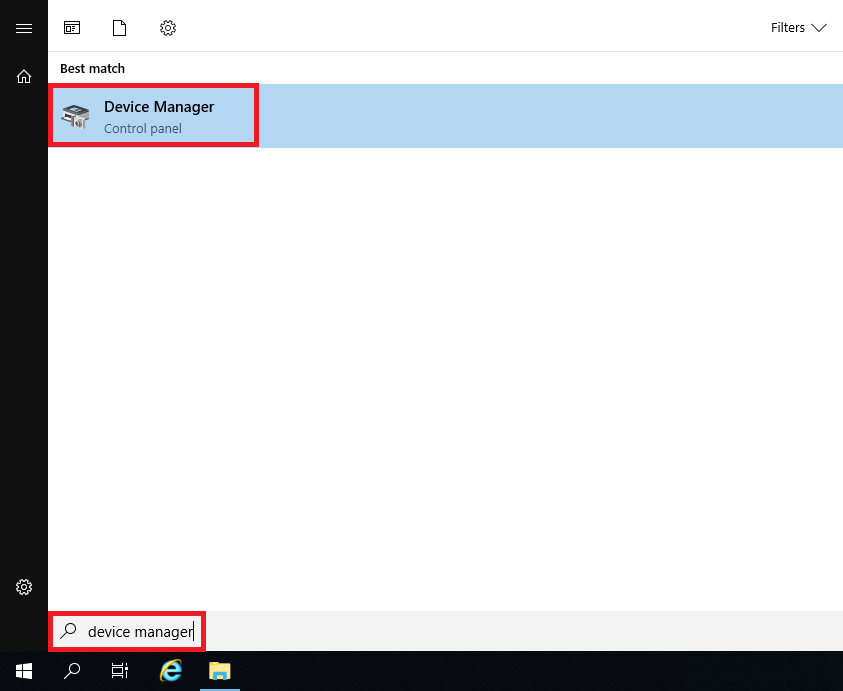
Press the Windows Start button and search for 'Device Manager'. Click the result that appears.
Step 5
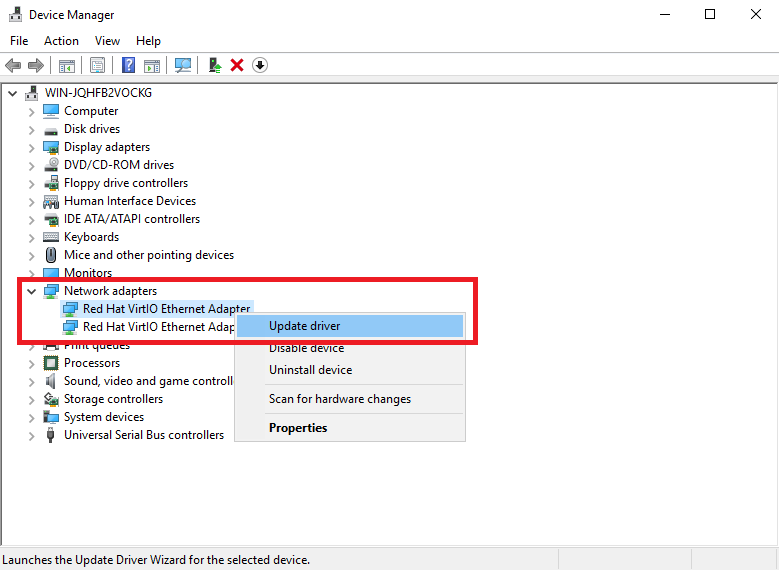
The Device Manager window will open. Open the overview of the Network adapters and click the option called 'Red Hat VirtIO Ethernet Adapter' with the right mouse button. Then, select the 'Update driver' option.
Step 6
The wizard for updating your drivers opens. Click the 'Browse my computer for driver software' option.

Step 7
You will now be asked where your drivers are located. Click 'Browse ...' and in the 'Browse For Folder' window, select the disk on which the drivers are located. This will normally be the D:\ drive and can be recognized by the name 'virtio-win'.
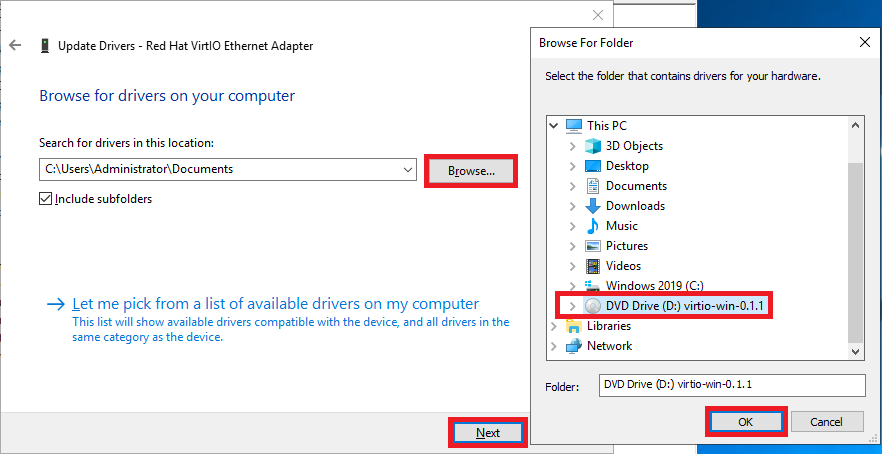
Then, click 'Ok' followed by 'Next' to confirm your choice (leave the checkmark in the 'Include subfolders' option).
Step 8
The drivers will now be installed automatically. Is your VPS already up-to-date? You will then see the message 'The best drivers for your device are already installed'.
The network drivers for your Windows VPS have now been updated and you can close the wizard. Don't forget to restart your VPS at a suitable time.
Should you have any questions left regarding this article, do not hesitate to contact our support department. You can reach them via the ‘Contact Us’ button at the bottom of this page.