With our Web Hosting packages you have the option to use different caching options. To use Ramdisk on your WordPress website, a few simple steps are required. In this article we explain these steps.
Install a caching plugin
Log in to your WordPress dashboard and install a caching plugin. We use WP Super Cache in this example. Don't forget to enable the plugin after installing it.
Go to the plugin settings and change the status to 'Caching On'. Next, click the 'Update Status' button.
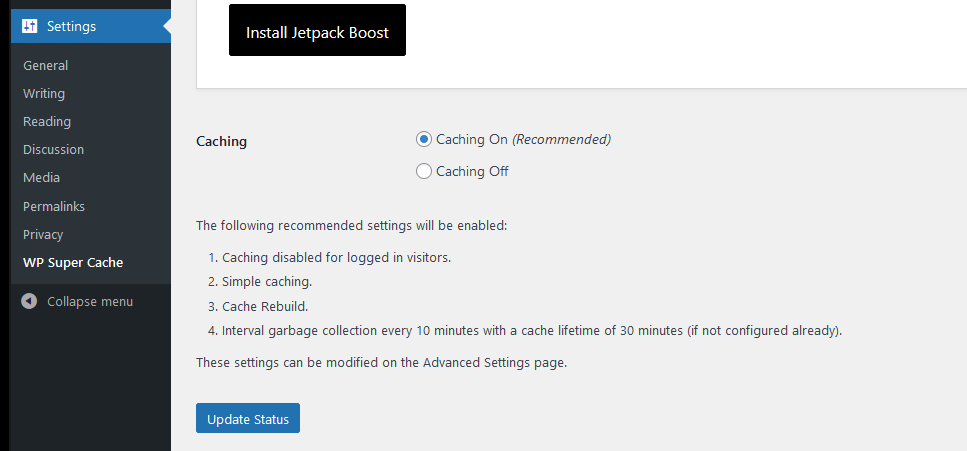
It is important that you can find the location of the cache, you need this to enable Ramdisk. For WP Super Cache, you can find the location in the pligin's advanced settings. By default the location is '/www/wp-content/cache'.
Activate Ramdisk
Step 1
Log in to the control panel and click 'Shared Hosting' in the menu. Next, select your domain below 'Products'.
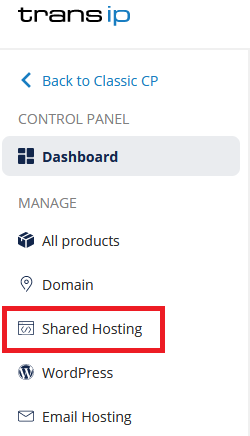
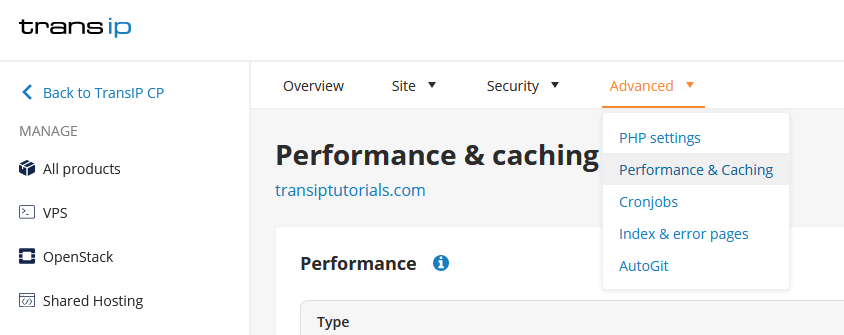
Next, click 'Advanced' at the top, followed by 'Performance & caching'.
Step 2
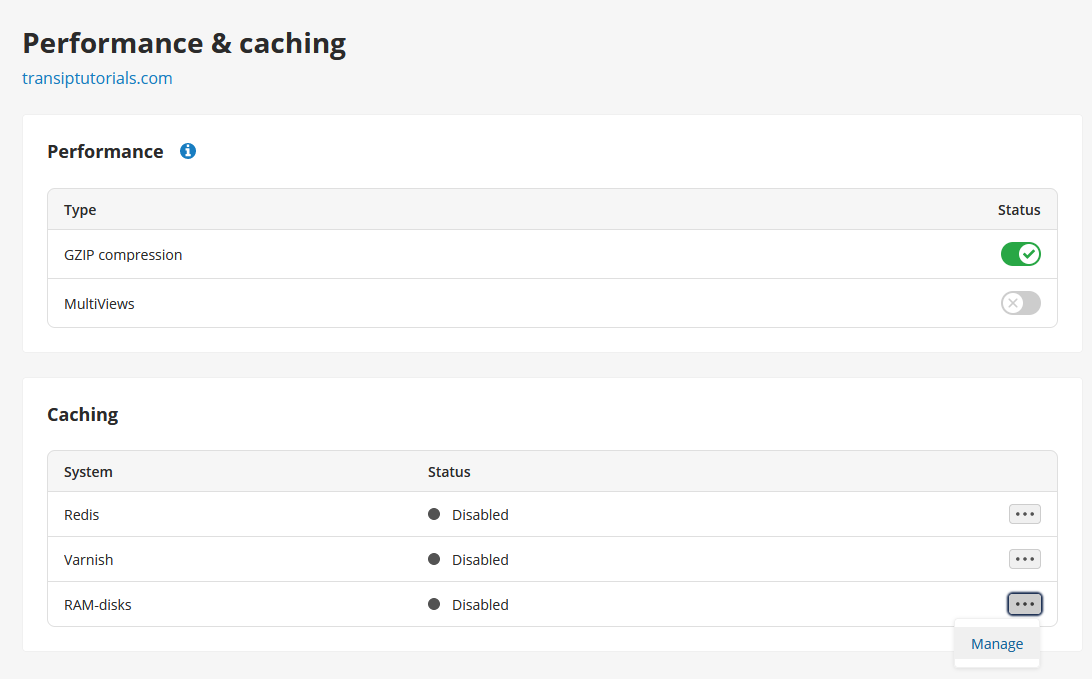
In the 'Performance & caching' overview, click the three dots next to 'RAM-disks', followed by 'Manage'.
Step 3
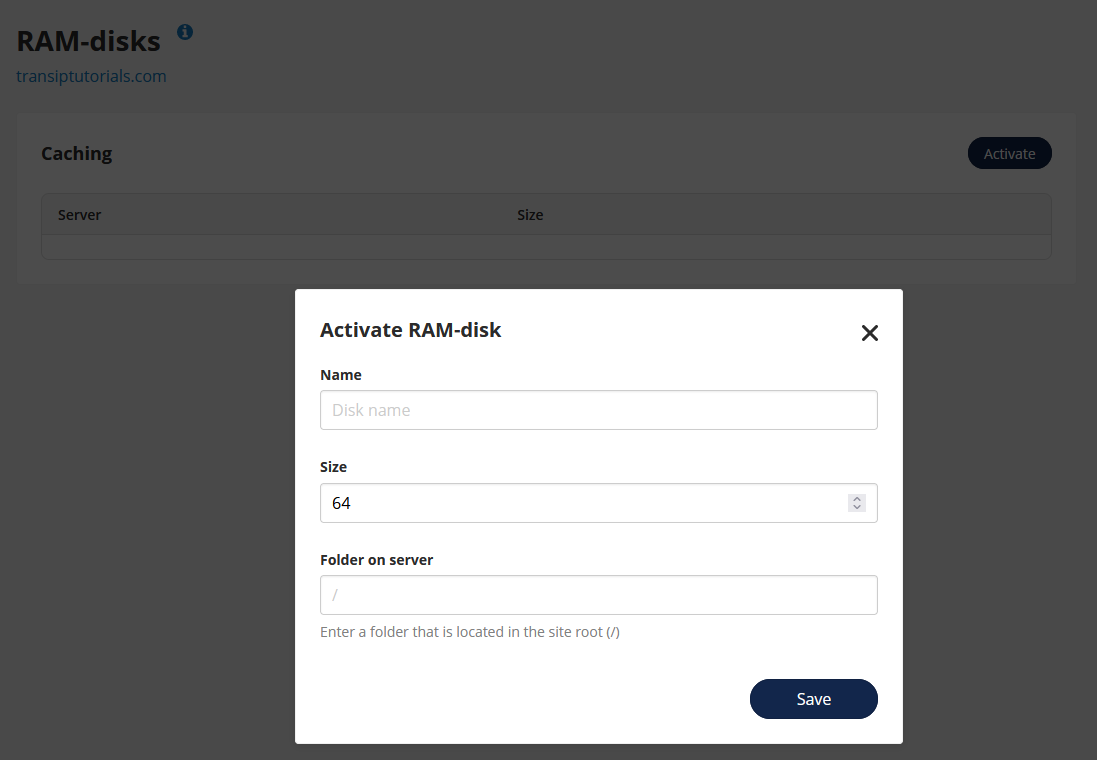
To activate RAM-disk, click 'Activate'.
Enter a Name for the disk, set a Size and enter the Folder on the server you wish to assign to the RAM-disk.
In our example we enter /www/wp-content/cache here, becasue this is the location where WP Super Cache is activated. Click 'Save' once you are ready.
The cache is now located in Ramdisk, which allows it to be read more quickly when your website is loaded.


