Once you have a web hosting package active on your domain name, you can install a desired CMS and start building your website. In addition to the most commonly used WordPress installation via the control panel, your web hosting package also supports the use of other CMSs, such as Joomla!
Installing Joomla consists of a few simple steps: Create a database and database user, and upload the correct files to your web hosting package. After this, visit your website via the browser to go through the installation steps. In this article, we will take you through all the steps.
Create a database and database user
Step 1
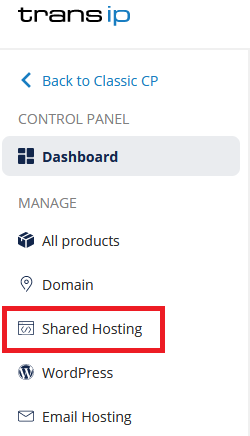
Within your control panel , go to 'Shared Hosting' via the left menu. Then click on your domain name under 'Products'.

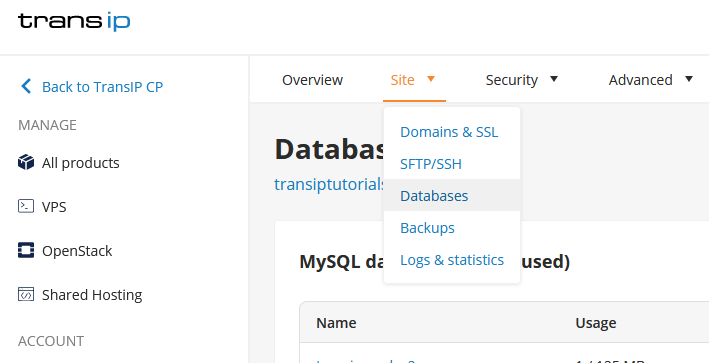
Click 'Site' at the top and then 'Databases'.

Step 2
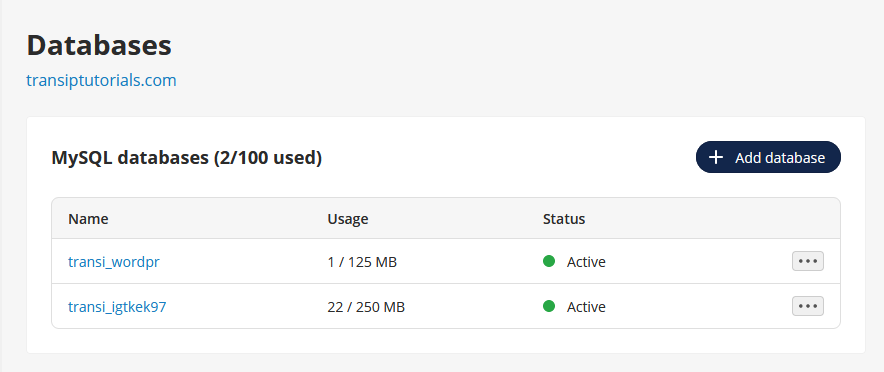
You are now viewing the database overview page. Here, click '+ Add database'.

Step 3
Now choose a name for your database and allocate space for it.
After this, click 'Save'.

Step 4
After a few moments your database will be active. In order to use the database you also need to create a user. You do this by clicking on the three dots in the overview and then 'Manage users'.

Then click '+ Add User' to set a username and password.
After this, click 'Save'.

Install Joomla
Step 1
Go to the Joomla website and download the latest version.
Step 2
Upload the files via the File manager to the root of your website , by default this is the /www/ folder. You can do this by simply dragging the .zip file to the File manager. You will then immediately be asked if you want to unzip it, click on 'Upload and Unzip' to do so. Please note: Unzipping may take a while.

You can also choose do this via SFTP.
Step 3
Now visit your website via a browser and go through the steps of the Joomla Installer. In the first screen you can select a language and give your Joomla site a name. Click on 'Setup Login Data' to go to the next step.

Step 4
Create login details for your Joomla Site now. The email address you enter here will be used when you lose your login details.
Click 'Setup Database Connection' once you are done.

Step 5
Fill in your database details to allow the website to connect to your created database. You will need the following details:
- The database name
- The username and password
- The hostname of the database. You can find this by clicking on the database name in the database overview in your control panel. The hostname is always your database name followed by '.db.transip.me'.
You do not need to change the other fields. Click 'Install Joomla' when you have entered all the correct information.

Do you get an error message about the database version after clicking 'Install Joomla'? Please contact support , they can help you solve this.

Step 6
You will now see a message saying the installation needs an extra step to complete. To do this, you need to remove a .txt file from your 'installation' folder. The exact name of the file will be named in the message.
To do this, open the File manager and navigate via the /www/ folder to the /installation/ folder. Select the .txt file mentioned in the message and delete it by clicking on the trash can icon.

Once removed you can click 'Install Joomla' again in the Joomla Installer to complete the installation.


