The 403 Forbidden error indicates that the server is restricting you from accessing a particular page. The error message has several possible causes, the most common will be covered in this article.
It is always advisable to first consult your error log when encountering error messages on your website. This wat you can hopefully find the cause immediately, so you do not have to try every single possible solution.
Error log
The error log indicates in most cases why you encounter an error on your website. Although it does not always indicate the problem, it does allow you to search more specifically for the solution.
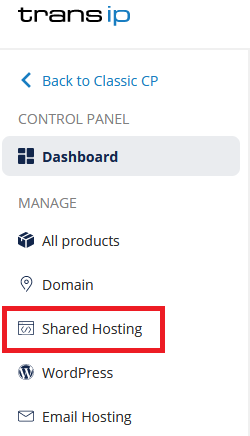
To view your error log, log in to the control panel and click 'Shared Hosting' in the menu. Next, select your domain below 'Products'.


Open the 'Logs' folder and look for the 'error.log' file. Download it and open it using notepad++ or a similar program.
You will find the errors on your website here. Based on these messages you should be able to determine the cause of the error message.
Check the settings in your control panel
You can easily check a number of causes of the 403 Forbidden error via your control panel. Therefore, check whether the following settings are configured correctly:
- Make sure your site path points to the correct folder: the root directory of your website. For most websites, this is the '/www/ directory. In the article 'The DocumentRoot of your website' you will find more information about setting up your site path.
- On the same page where you can adjust your site path, you can see whether your website is enabled or disabled. A disabled website will show a 403 error message. You can find the correct steps in this article.
- If your website cannot find an index file, it will return a 403 error. So make sure that your index file is present in your website's root folder, and that it present in the list of index files in your control panel. In the article 'Configuring your own index and error pages on web hosting' we explain how to set this up correctly in the control panel.
- If you have WordPress brute force protection enabled and have made too many login attempts, then you will encounter a 403 Forbidden message on your website. In this case you will not be able to log in via the blocked IP address temporarily. You can check whether this is the case by logging in to your website via another network (for instance 4G or 5G on your phone). You can find the option for WordPress brute force protection in the article 'The webfilters on web hosting'.
Disable plug-ins
On WordPress websites, it may be the case that you do not see any (relevant) error messages in the error log. Still, the reason could be a plugin.
You can check this by disabling all WordPress plugins. Does the website work after that, and do you no longer see an error message? Then you know that the error message was caused by a plugin.
Turn them back on, one by one. The moment your website is unavailable after activating a plugin, you will immediately know which plugin caused the error. Once you found the culprit, disable that plugin one last time and reinstall it, or look for an alternative plugin.
In the article 'Activating and deactivating WordPress plugins' we explain step by step how to do this.
Corrupt .htaccess file
As with plugins, you can check whether the .htaccess file is causing the error by (temporarily) disabling it.
Log in to the control panel and click 'Shared Hosting' in the menu. Next, select your domain below 'Products'.

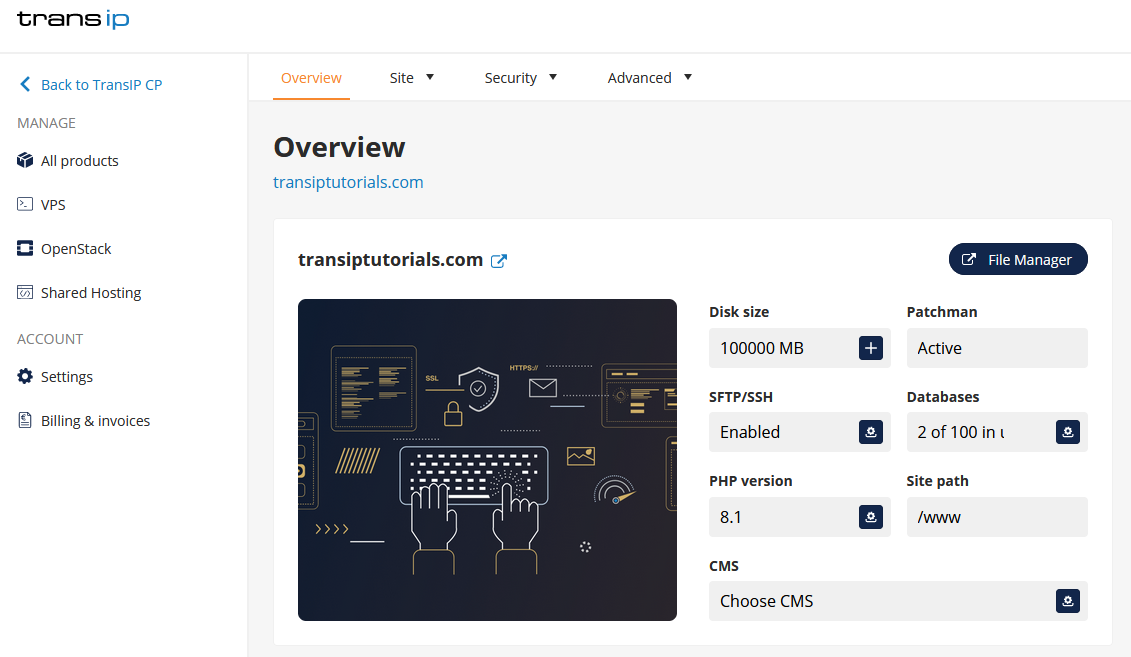
In the overview, click 'File Manager' on the right side of the screen.

Open the folder which contains your website's files, in most cases this is the /www/ folder. Find the file called '.htaccess' and save it first by right clicking -> 'Download'. This way you can easily restore the file later, if it turns out not to be the culprit.
Next, delete the file from your file manager by right clicking -> 'Delete...' and visit your website afterwards. Is the website available again? Then the .htaccess file was corrupt and you need to create a new .htaccess file.
You can easily generate a new .htaccess file by logging into your WordPress dashboard and clicking 'Settings' -> 'Permalinks' in the menu. Click the 'Save changes' button at the bottom and a new .htaccess file will be created.
In this article we showed you different causes and solutions for the '403 Forbidden' message.


