


Lens for Kubernetes is a desktop application that can be used as a central management point for your Kubernetes clusters. It also provides a convenient interface for monitoring your Kubernetes cluster. With Lens, you can manage multiple clusters, view hardware resource usage, access logs, and much more. You can even manage a cluster through the 'built-in' terminal and deploy Helm charts from the Lens interface.
Lens Desktop is a standalone application available for all major operating systems. This tutorial explains how to install Lens and how to get started using it.
Before following this tutorial, make sure you have downloaded your Kube config file.
Step 1
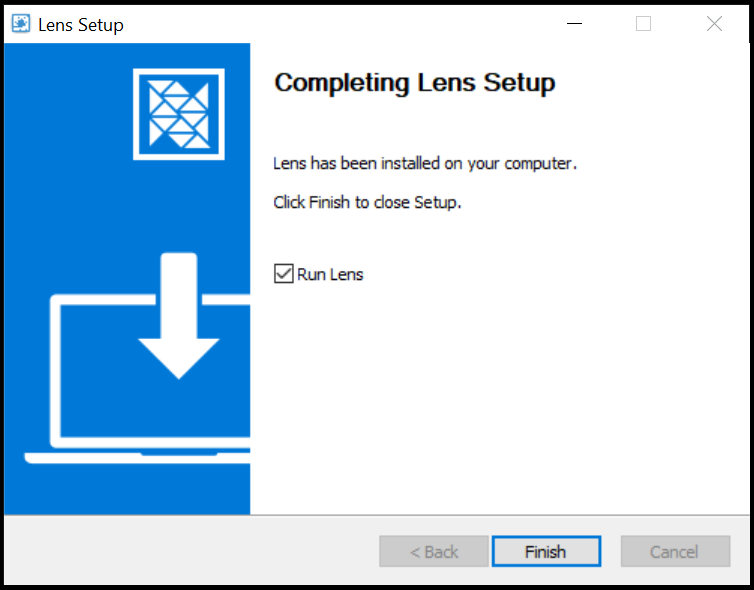
Installing Lens Desktop itself is straightforward: download the appropriate version of Lens Desktop from the Lens homepage and install it.
Step 2
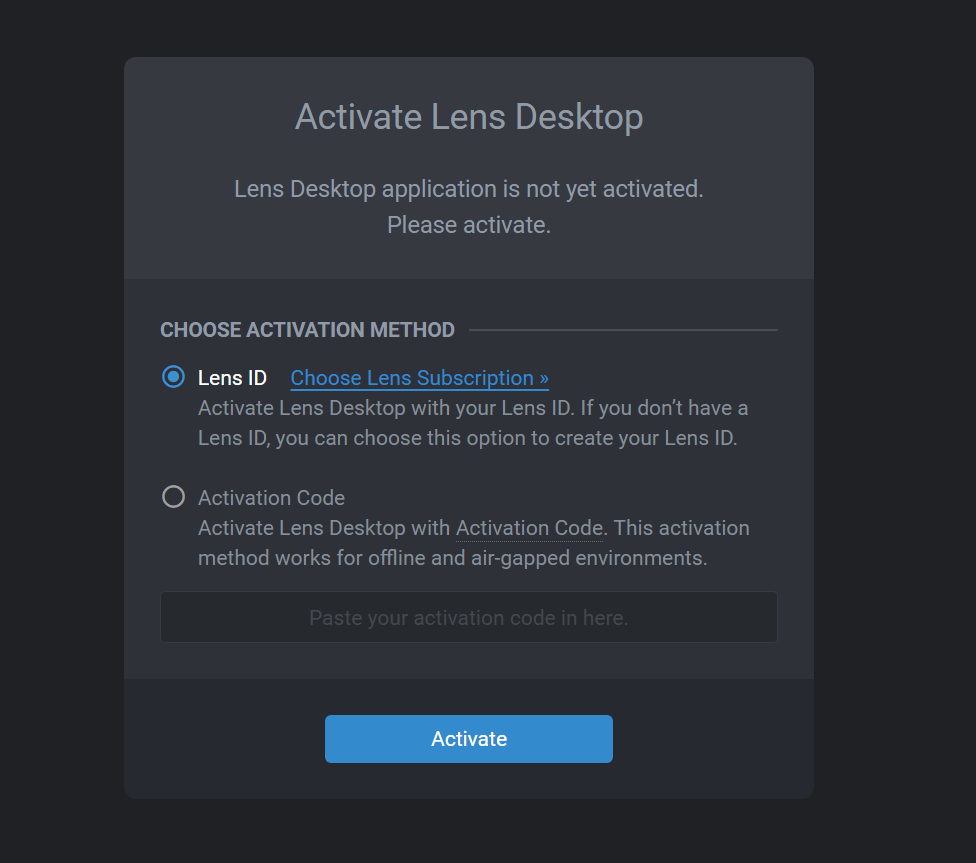
After installation, you will be prompted to activate Lens Desktop. We assume that you do not yet have a Lens ID. Select 'Lens ID' and click 'Activate' to create one.
Step 3
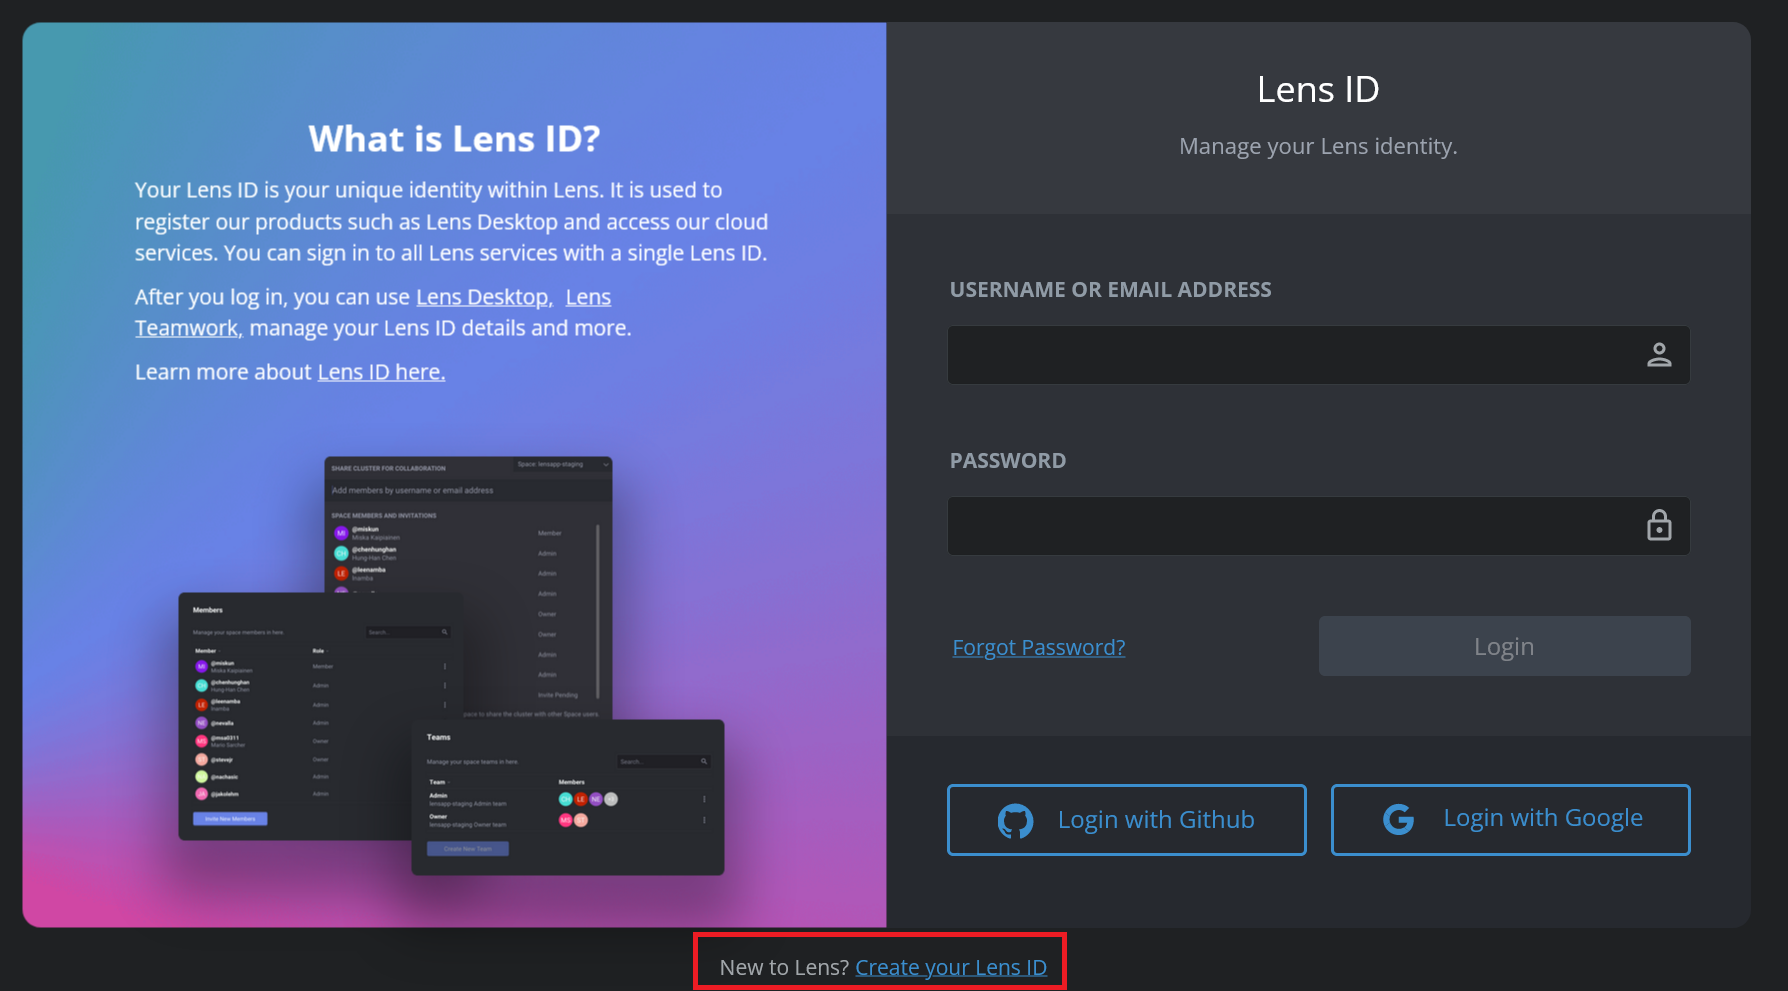
In the new window, click 'Create your Lens ID'.
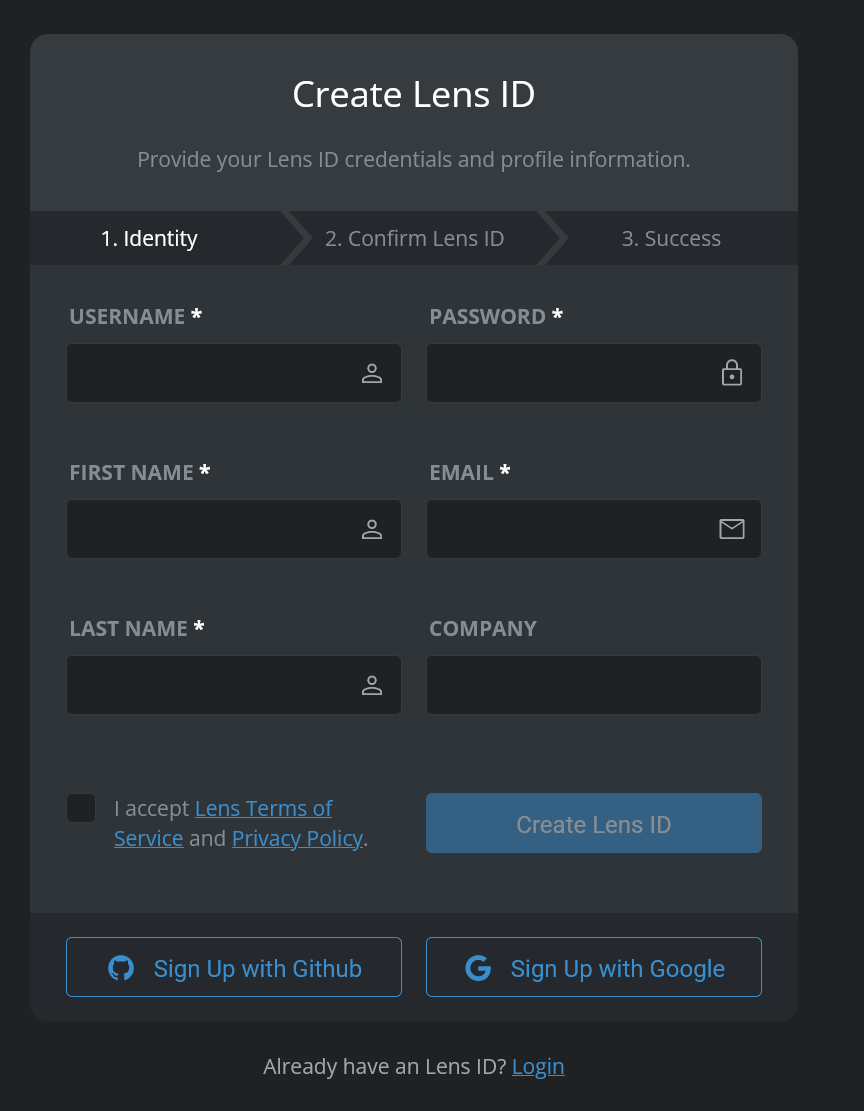
Enter the requested information, accept the terms and conditions, and click 'Create lens ID' or sign in with GitHub or Google.
Step 4
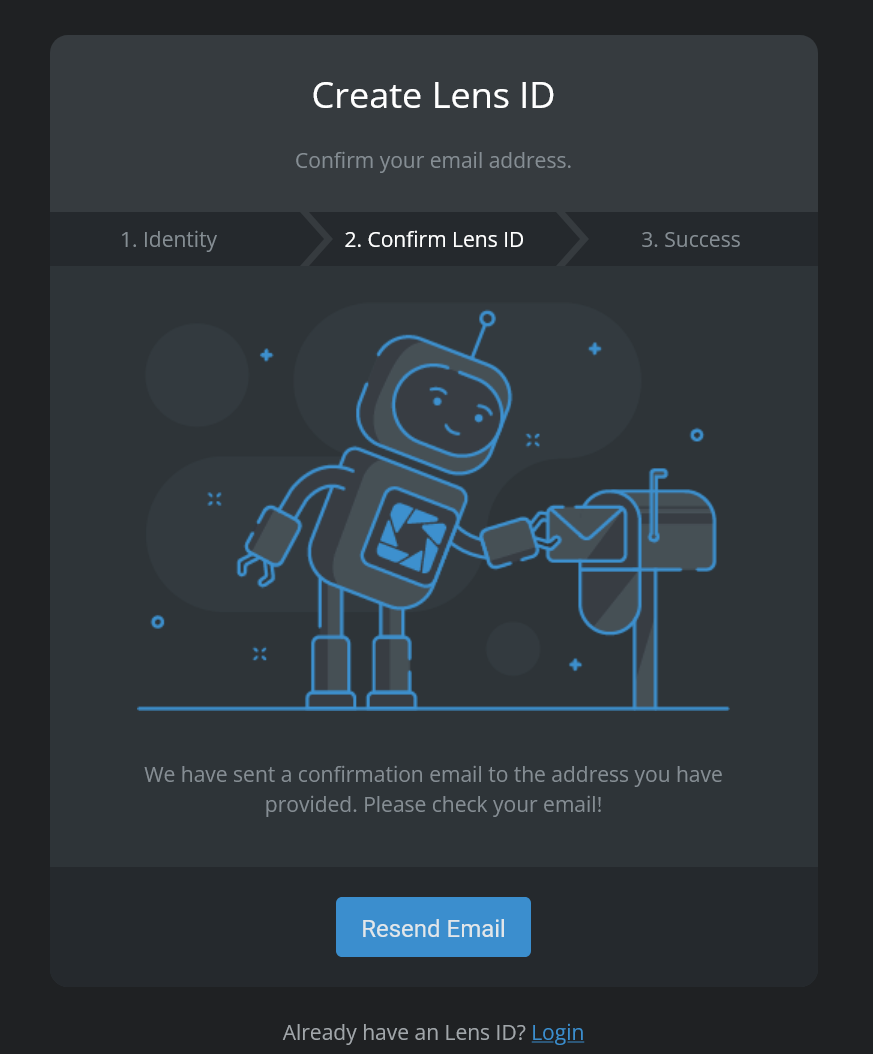
You will receive a confirmation email. Find it and use the activation link to activate your account.
Step 5
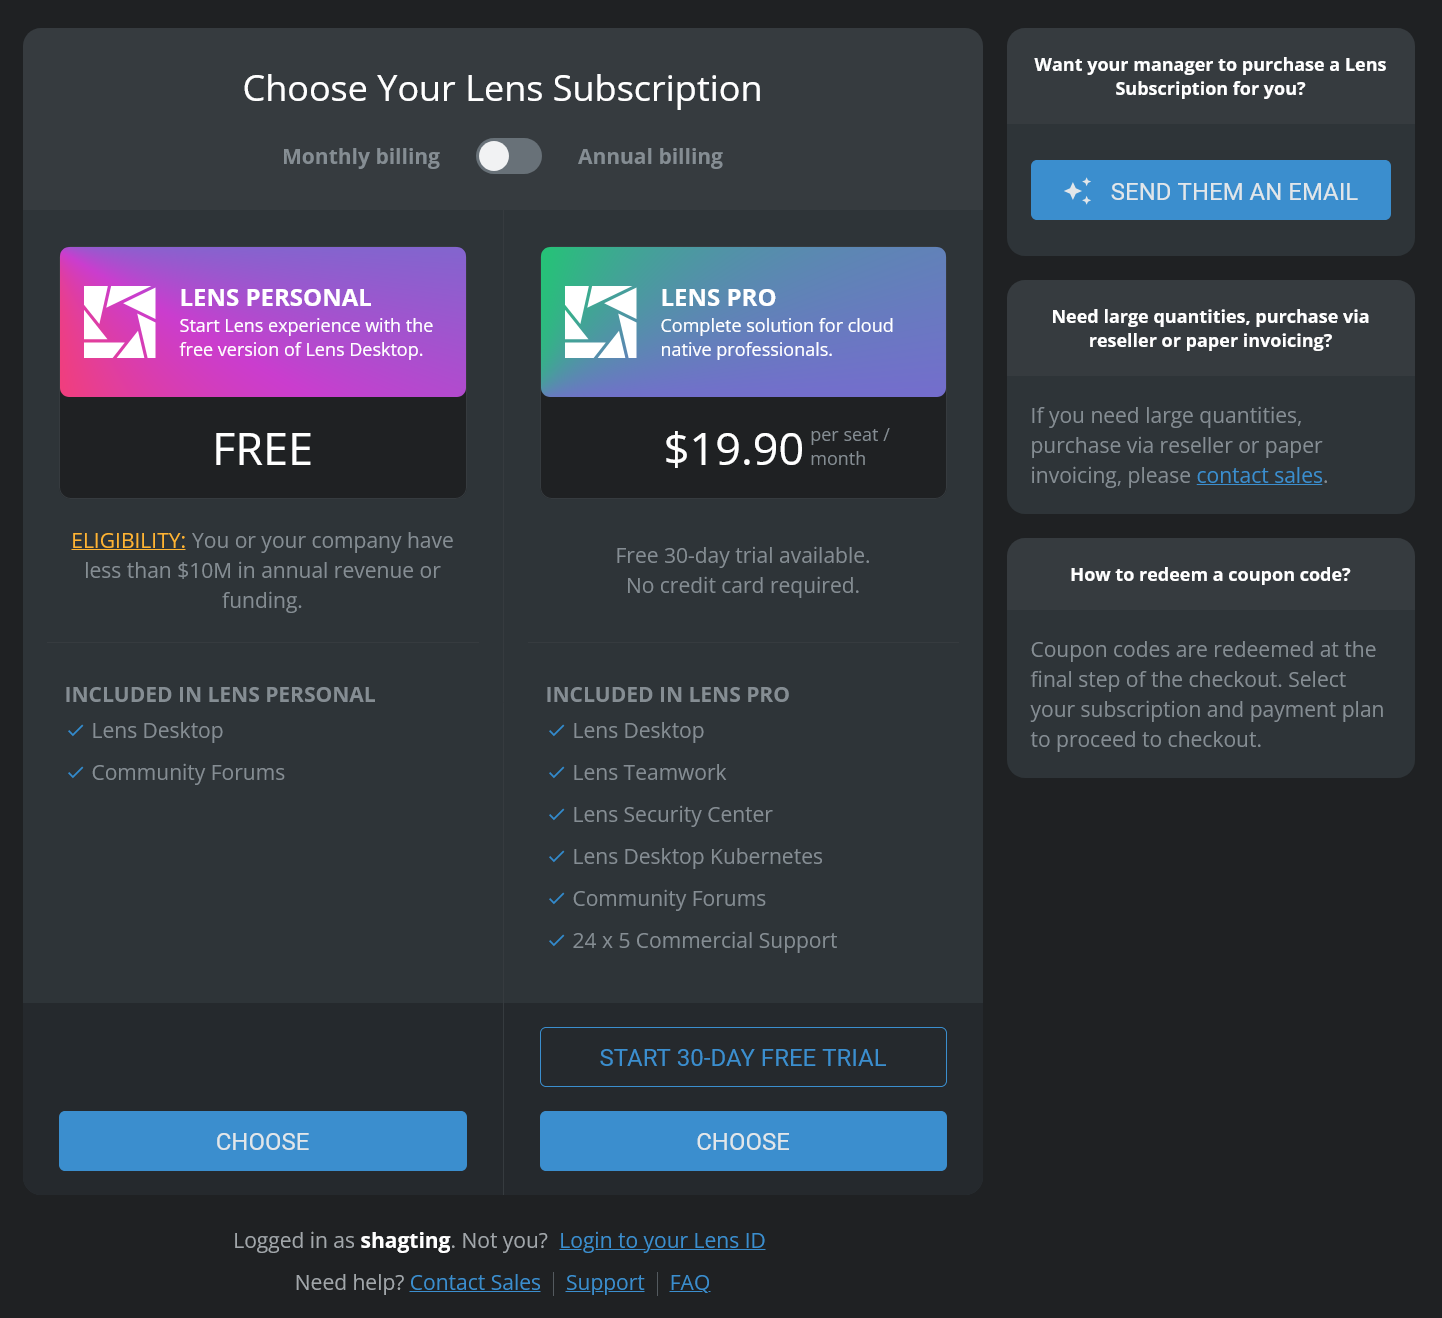
Lens comes in a free and paid version. Choose the version you want to use (see this page for a description of the paid components). The free version is sufficient for cluster management.
Step 6
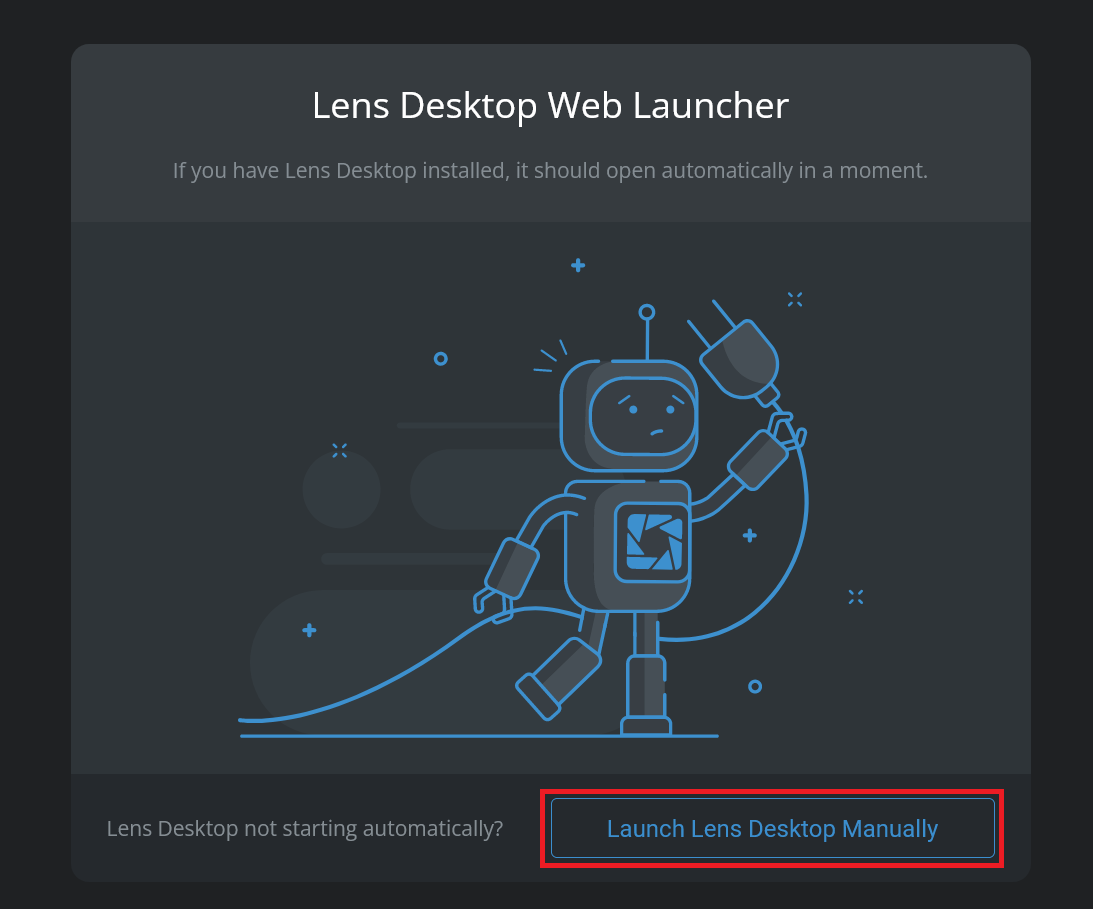
In your account's left-hand menu, click 'Lens Desktop'.

Then select 'Launch Lens Desktop Manually'.
Step 7
You are now in the Lens desktop application. Click 'Browse Your Local Catalog'.
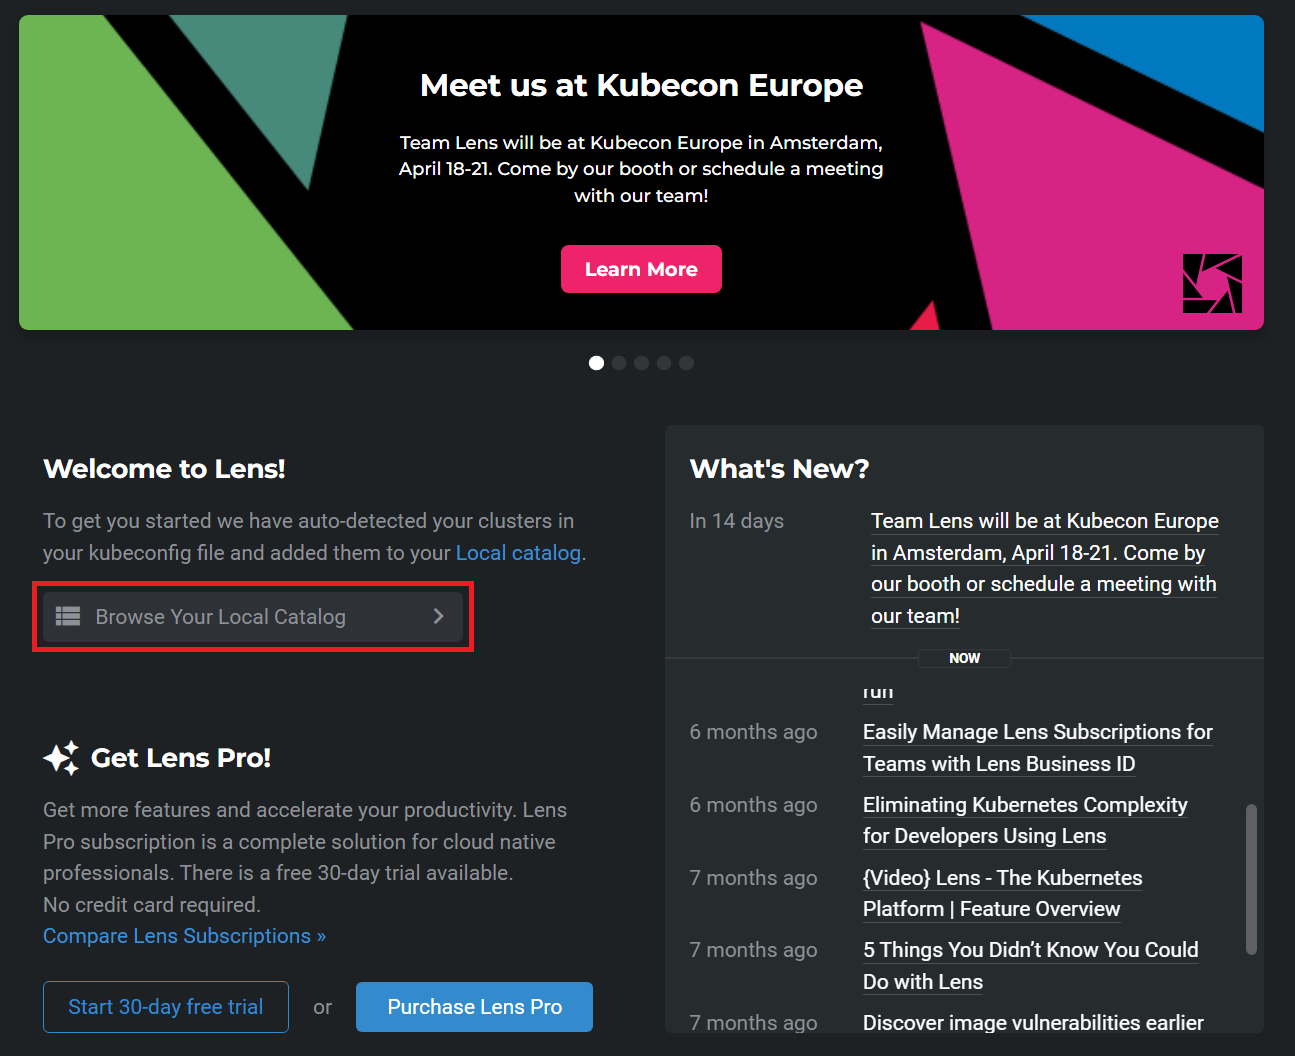
Lens will automatically recognize your Kube config directory. If you don't see your cluster, add it in the next step.
Step 8
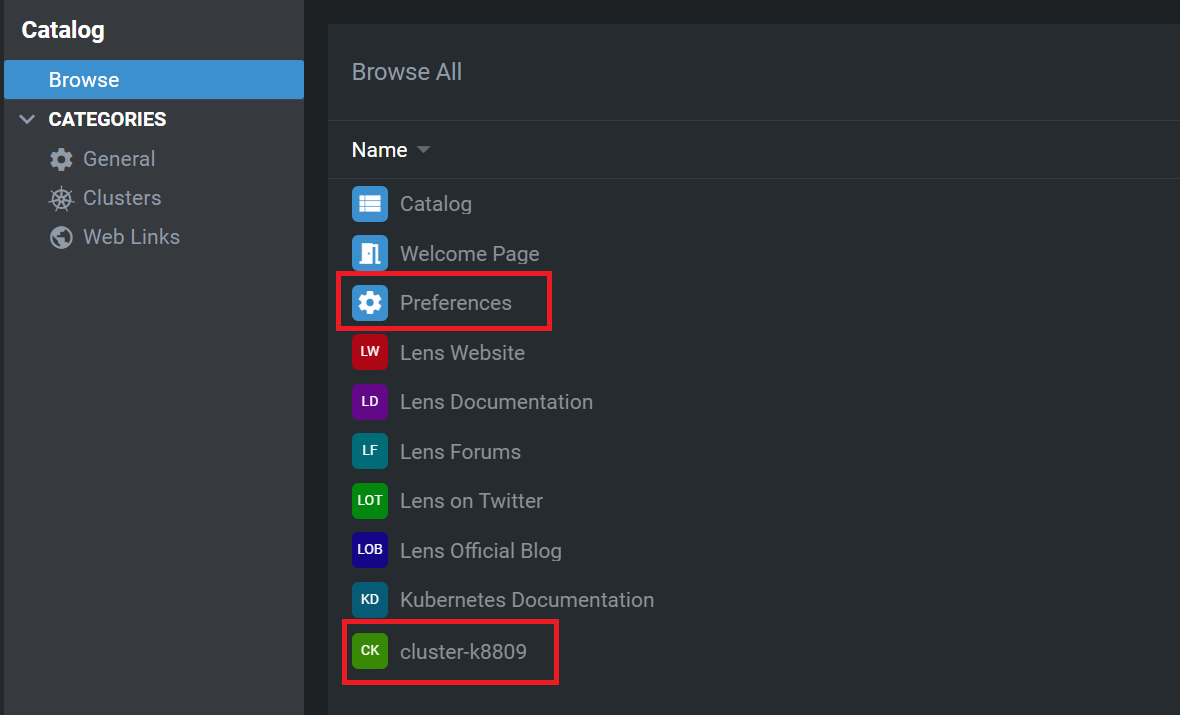
Click 'Preferences' > 'Kubernetes' and manually add the location of your cluster if necessary. Additionally, add repositories that you plan to use, and at least the prometheus-community repository that you need for the next step.

Step 9
Close the preferences and click on the name of your Kubernetes cluster in the catalog. You will now see the overview below. Prometheus is an open-source monitoring framework for Kubernetes, and if you haven't installed it on your cluster yet, you'll see the message in the screenshot.
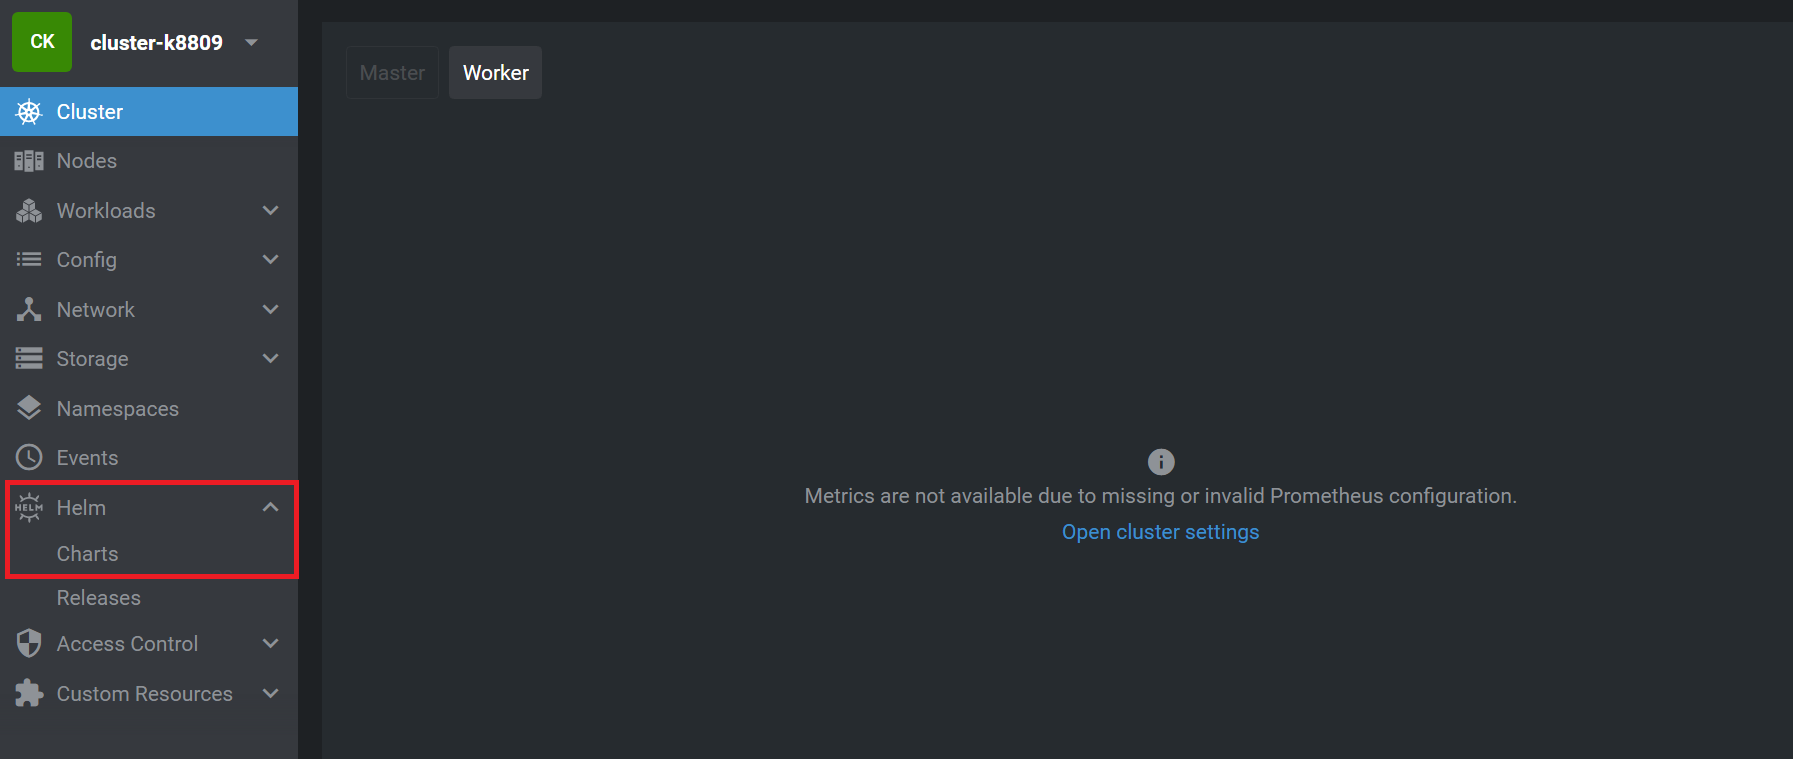
Click 'Helm' > 'Charts' in the left-hand menu to tackle this directly. Search for 'Prometheus' and select the 'kube-prometheus-stack' from the prometheus-community repository. Click 'Install' in the upper right corner to install Prometheus.
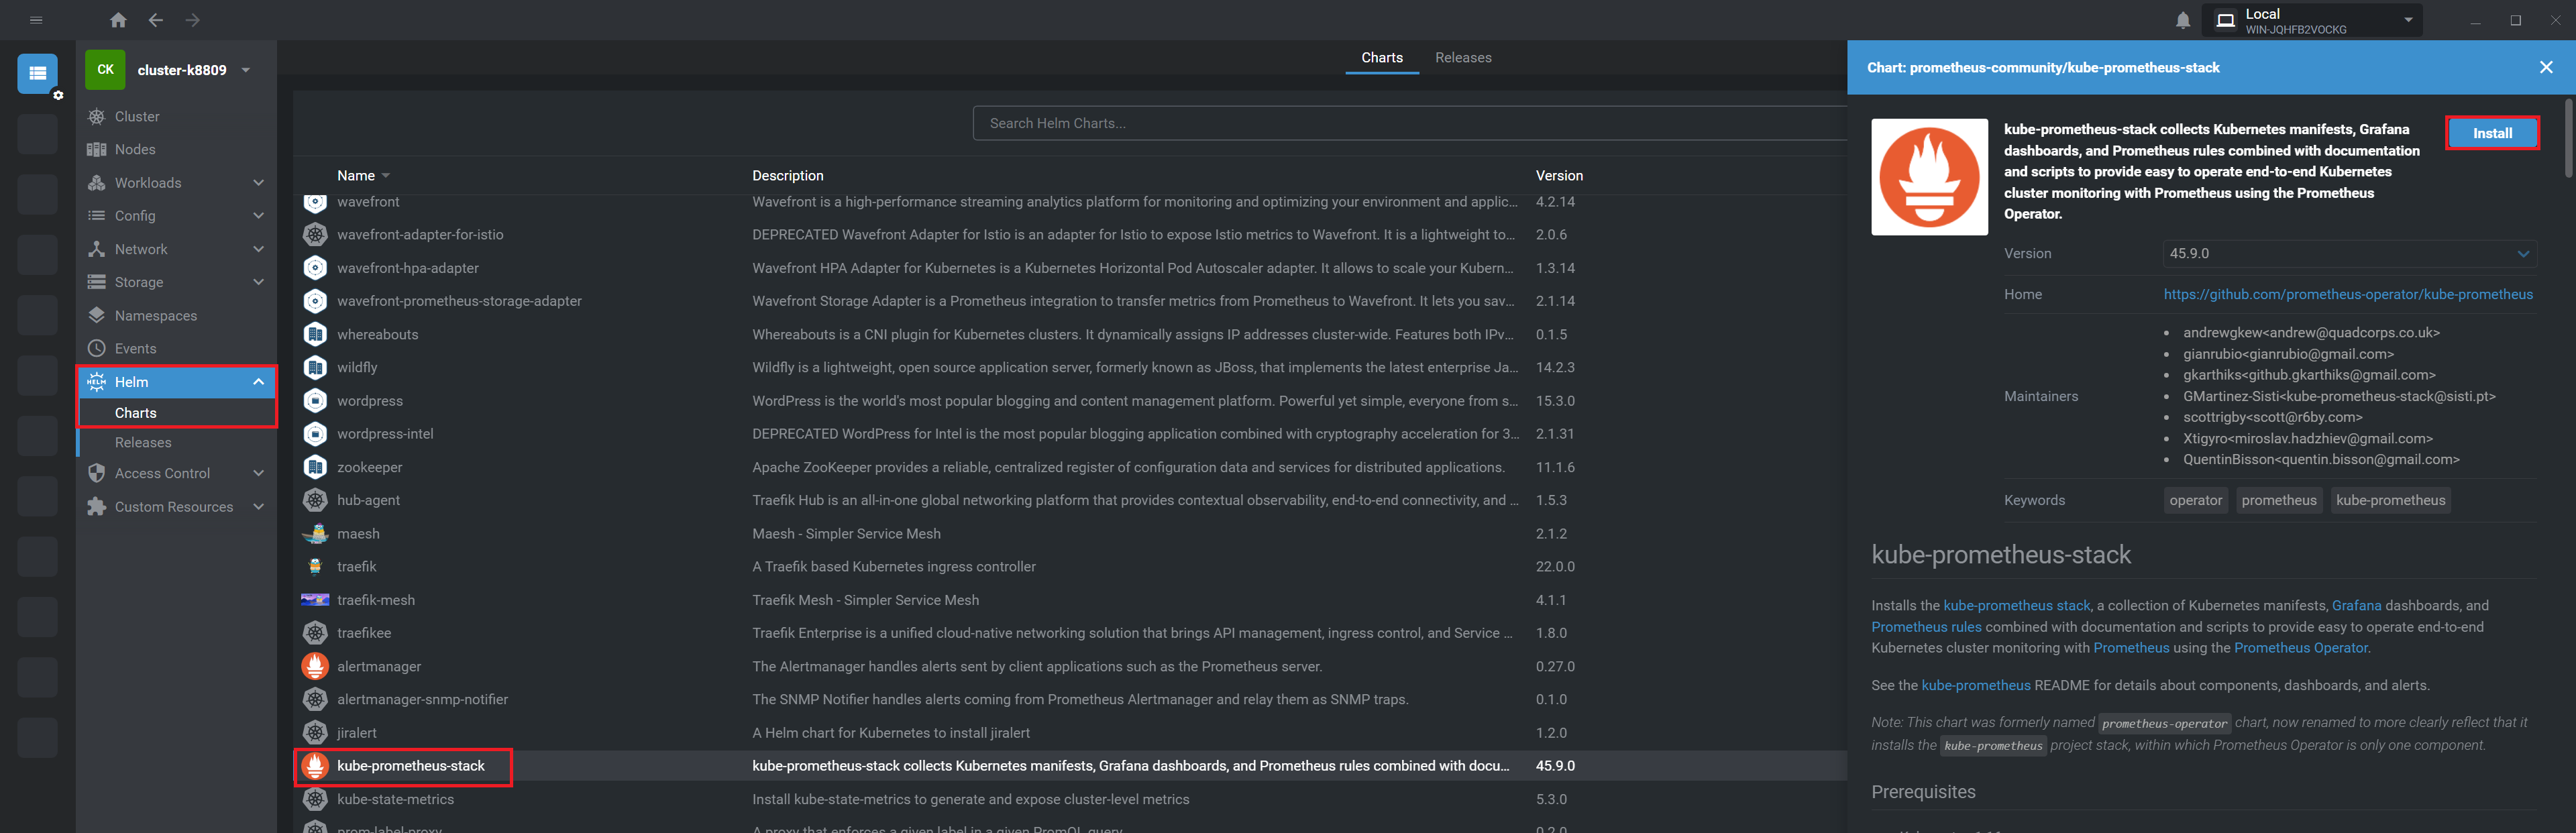
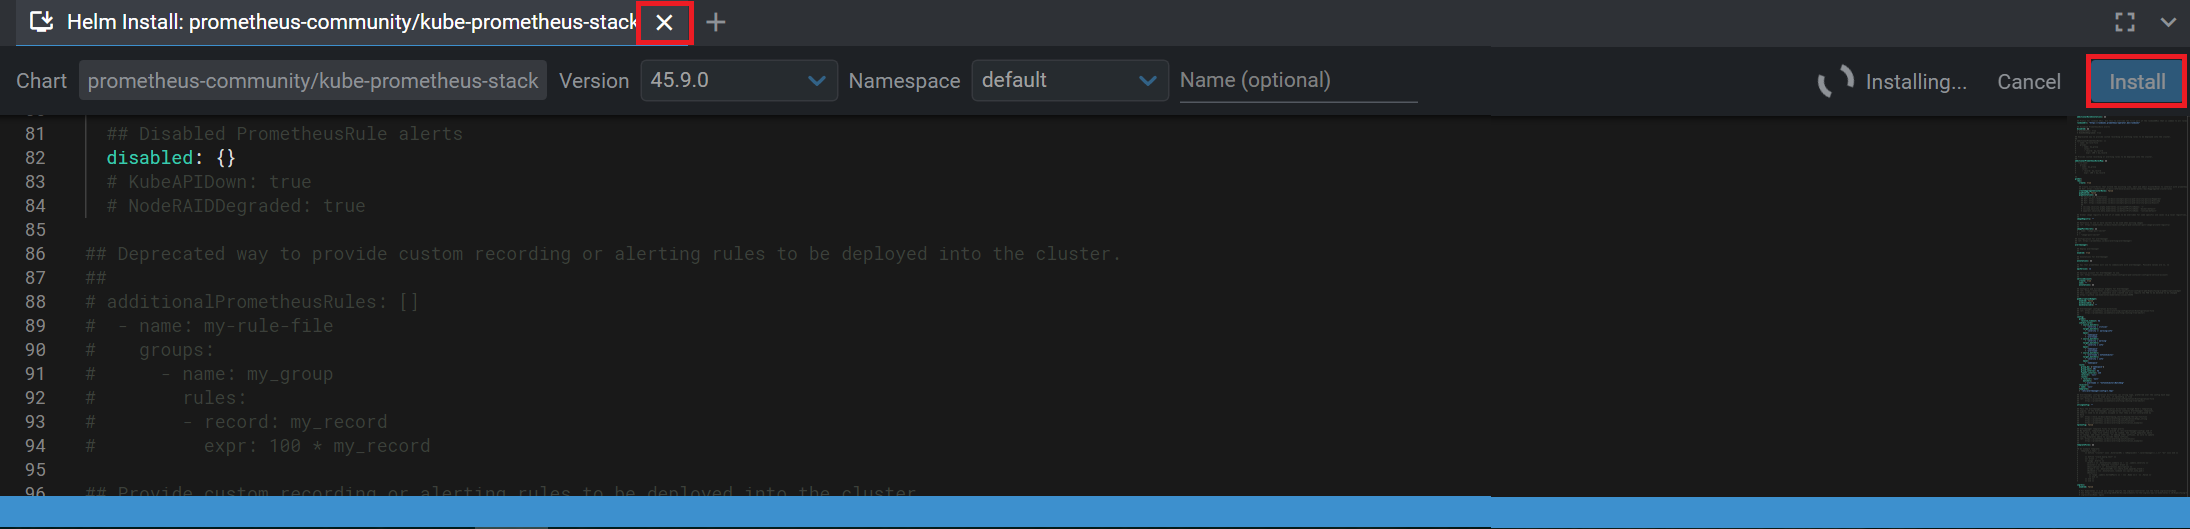
You will see the contents of the Helm chart at the bottom, and you can still modify it as desired. However, it is not necessary in this case, and you can click 'Install' directly. Close the window after installation by clicking the cross.
Step 10
When you return to the home page of your cluster, you will now see an overview of your cluster's resource usage.
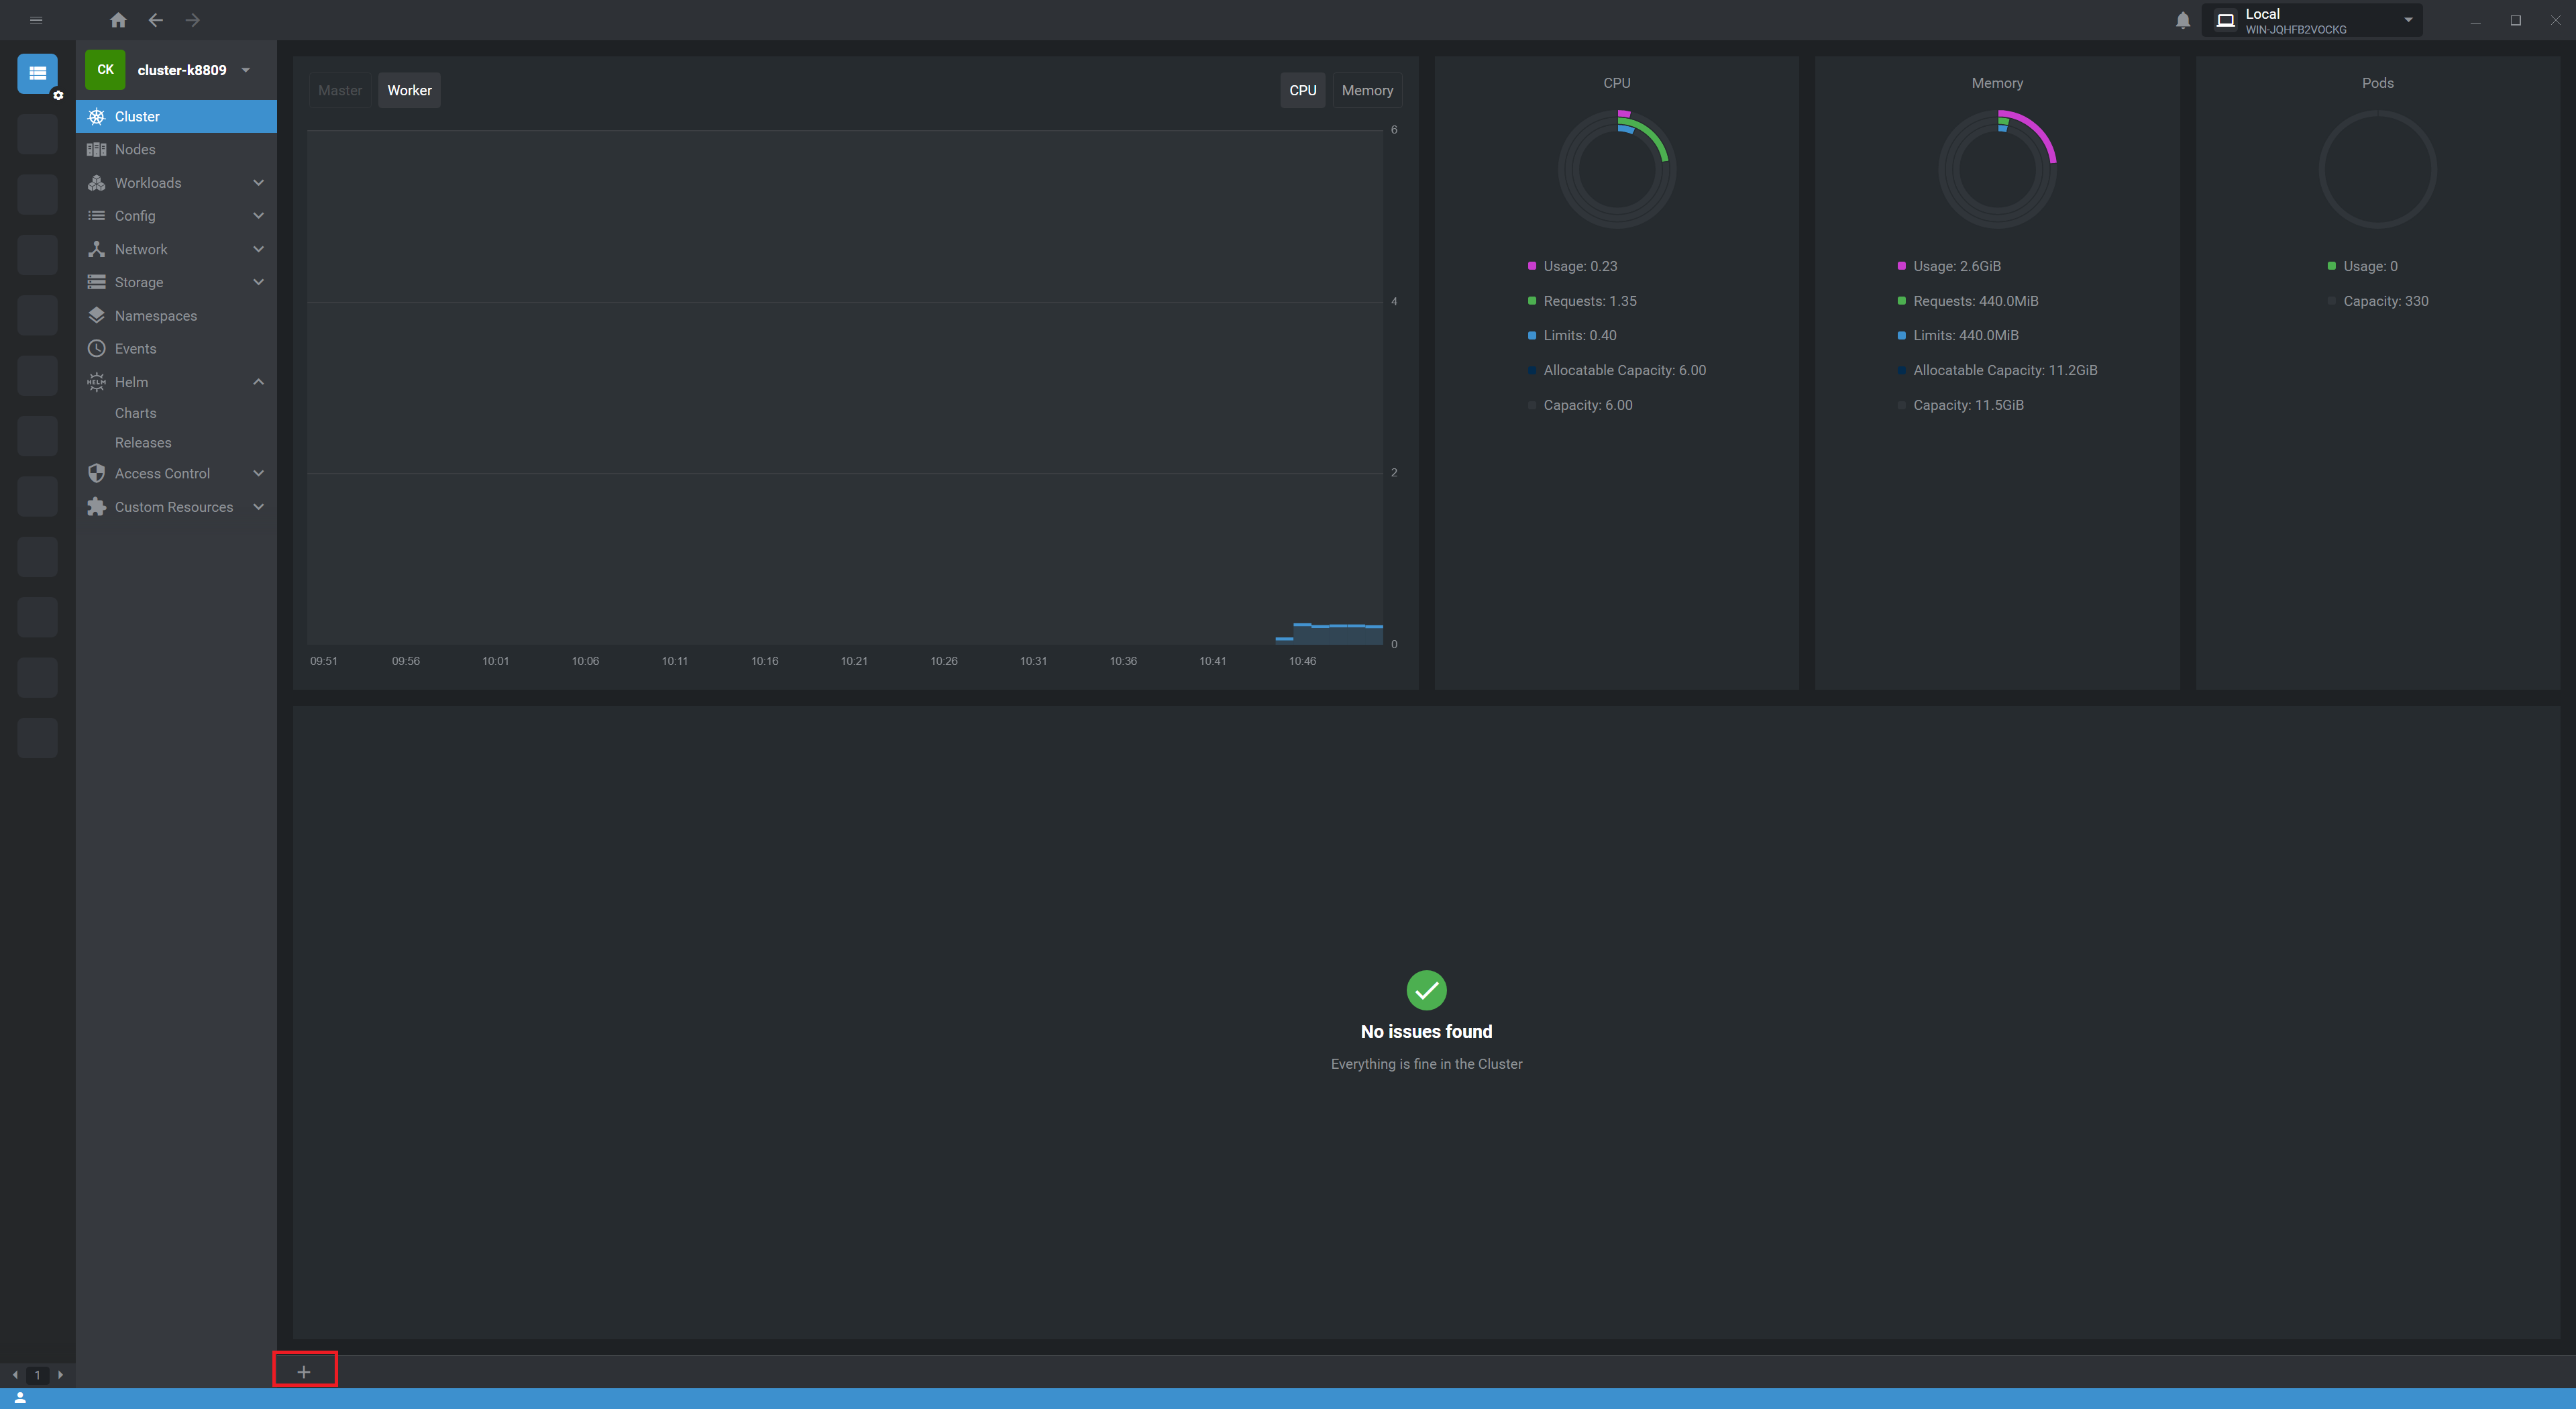
You have already seen how to deploy a Helm chart. Additionally, it is useful to know that you can click on the name of your cluster at the top left, followed by 'Settings' to adjust the settings. At the bottom, you can click on the '+' symbol to start a terminal session and manage your cluster directly.
Furthermore, Lens is intuitive and fun to use. We therefore recommend clicking around the available options to get a feel for all the information available within Lens.