In this article, we provide a guide for the installation process of Rocky Linux 8. Would you like to know how to reinstall your VPS? Then, take a look at our article '(Re)Installing an OS on your VPS'.
In this tutorial we assume a manual installation of Rocky Linux 8. If you're using the Fast Installs install proces, you'll receive a minimal install with, if applicable, log in details sent by email.
Step 1
After ordering / reinstalling your Rocky Linux 8 VPS, you will be greeted by the language selection menu in the VPS console.
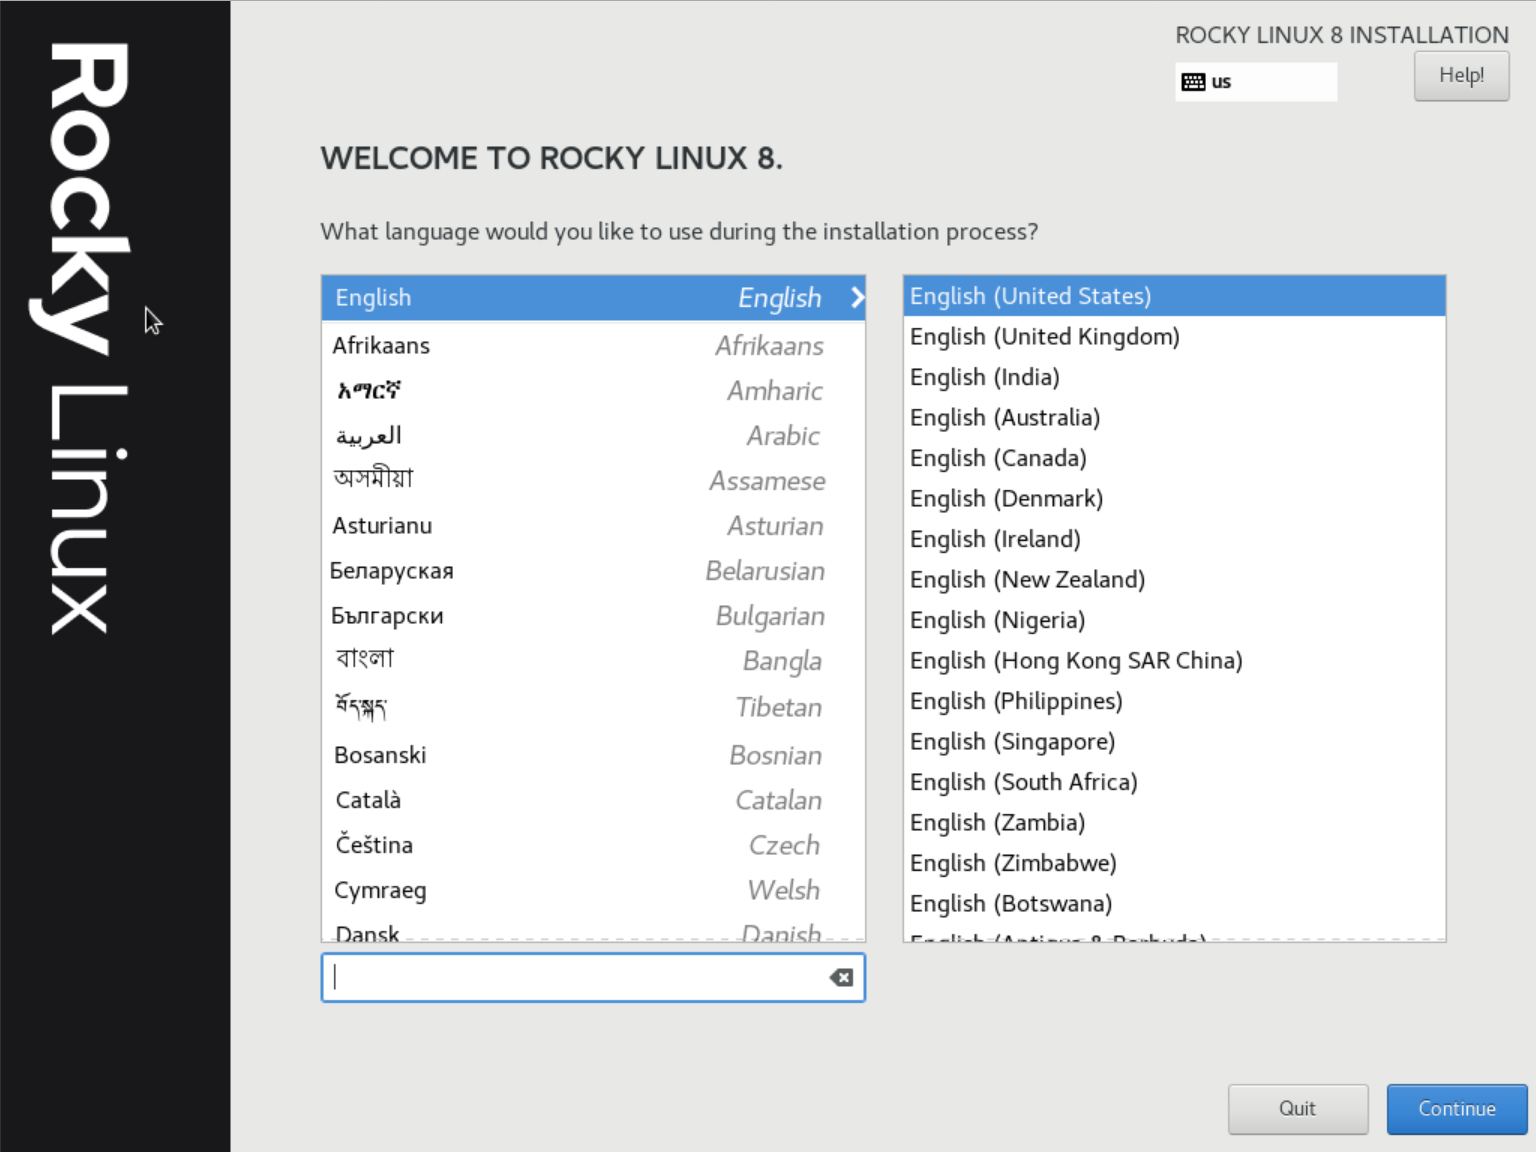
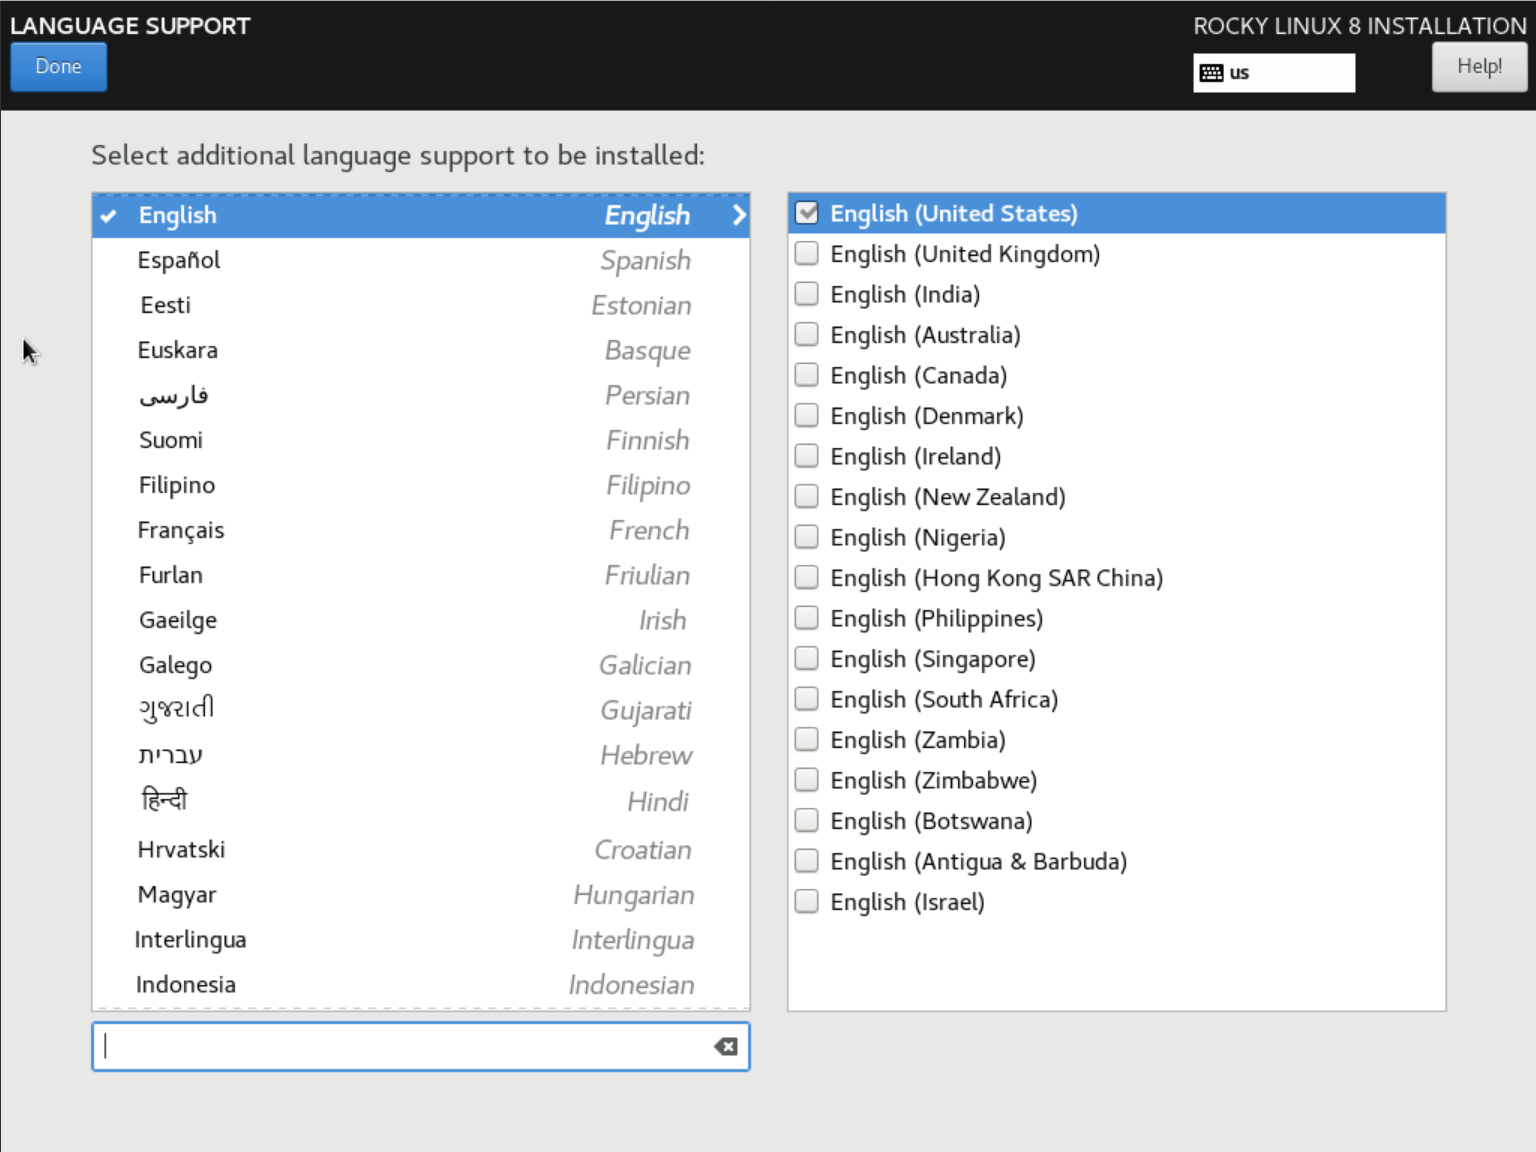
We recommend choosing English: There is more documentation in English than in any other language for Rocky Linux 8, which makes problem-solving / following manuals much easier.
Step 2
You will now see the 'Installation summary' screen. It may take a moment for all options to be available. First, adjust the localization as desired (or go to step 3 if you do not want to change it).
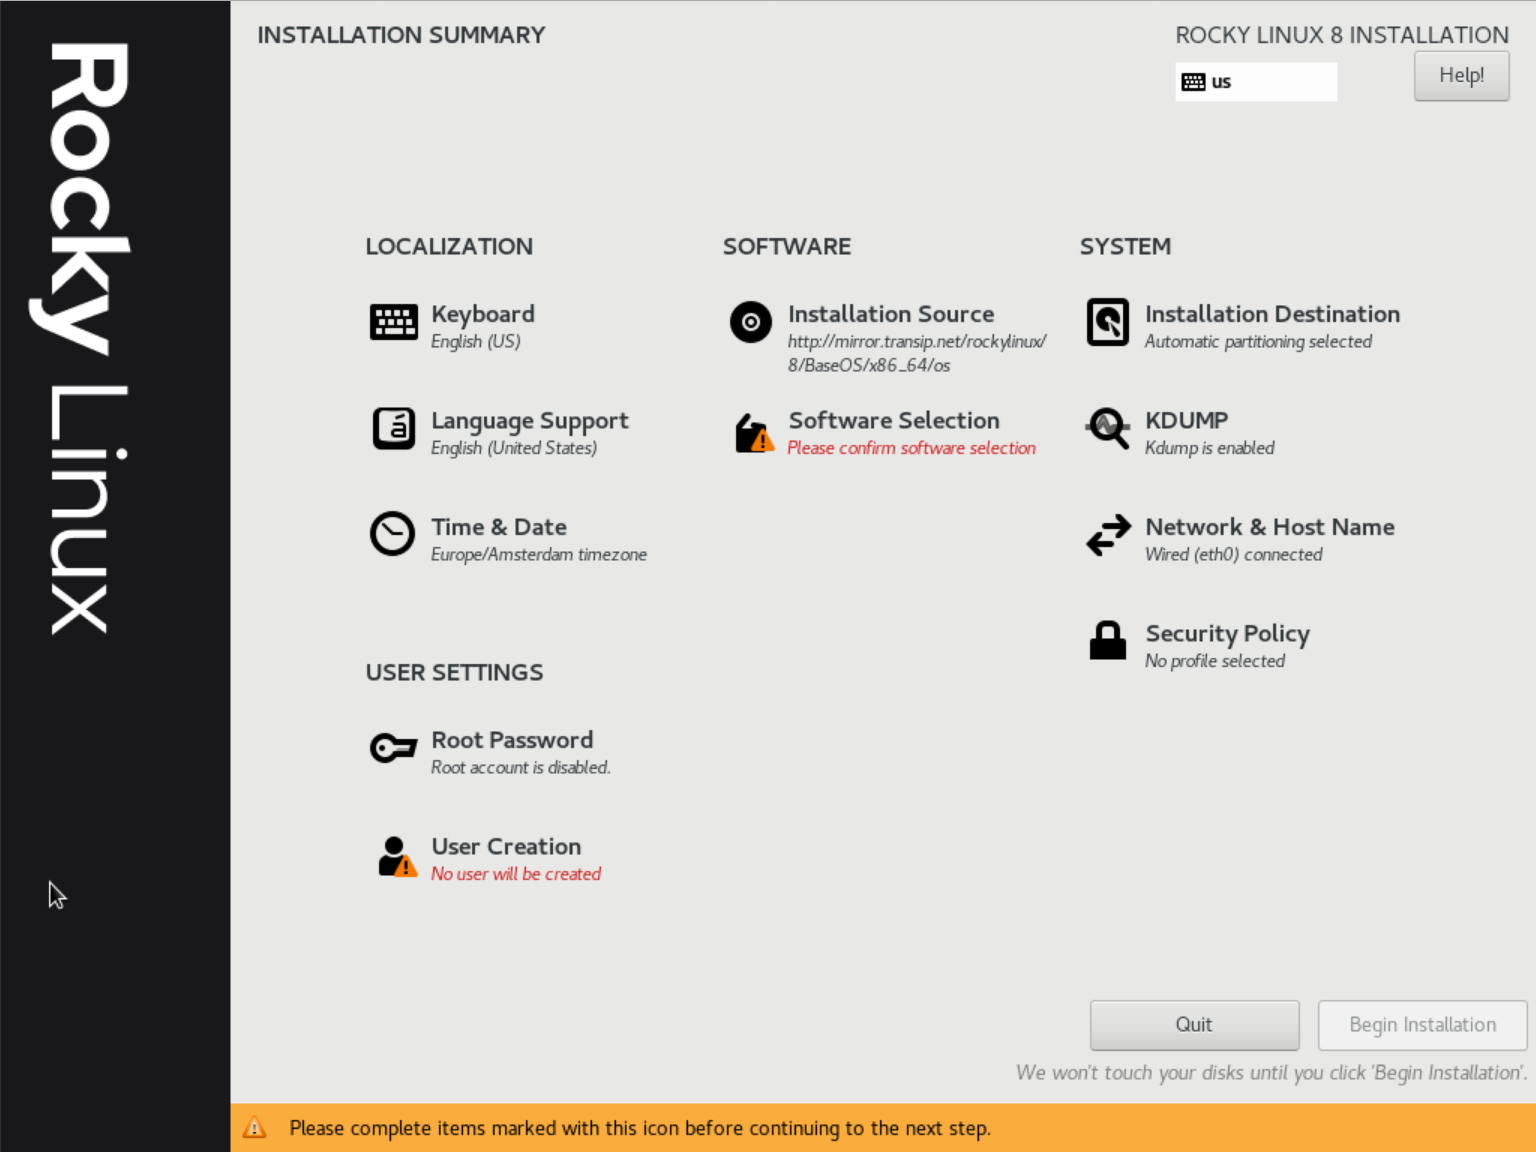
Under 'Localization' you will find three options:
-
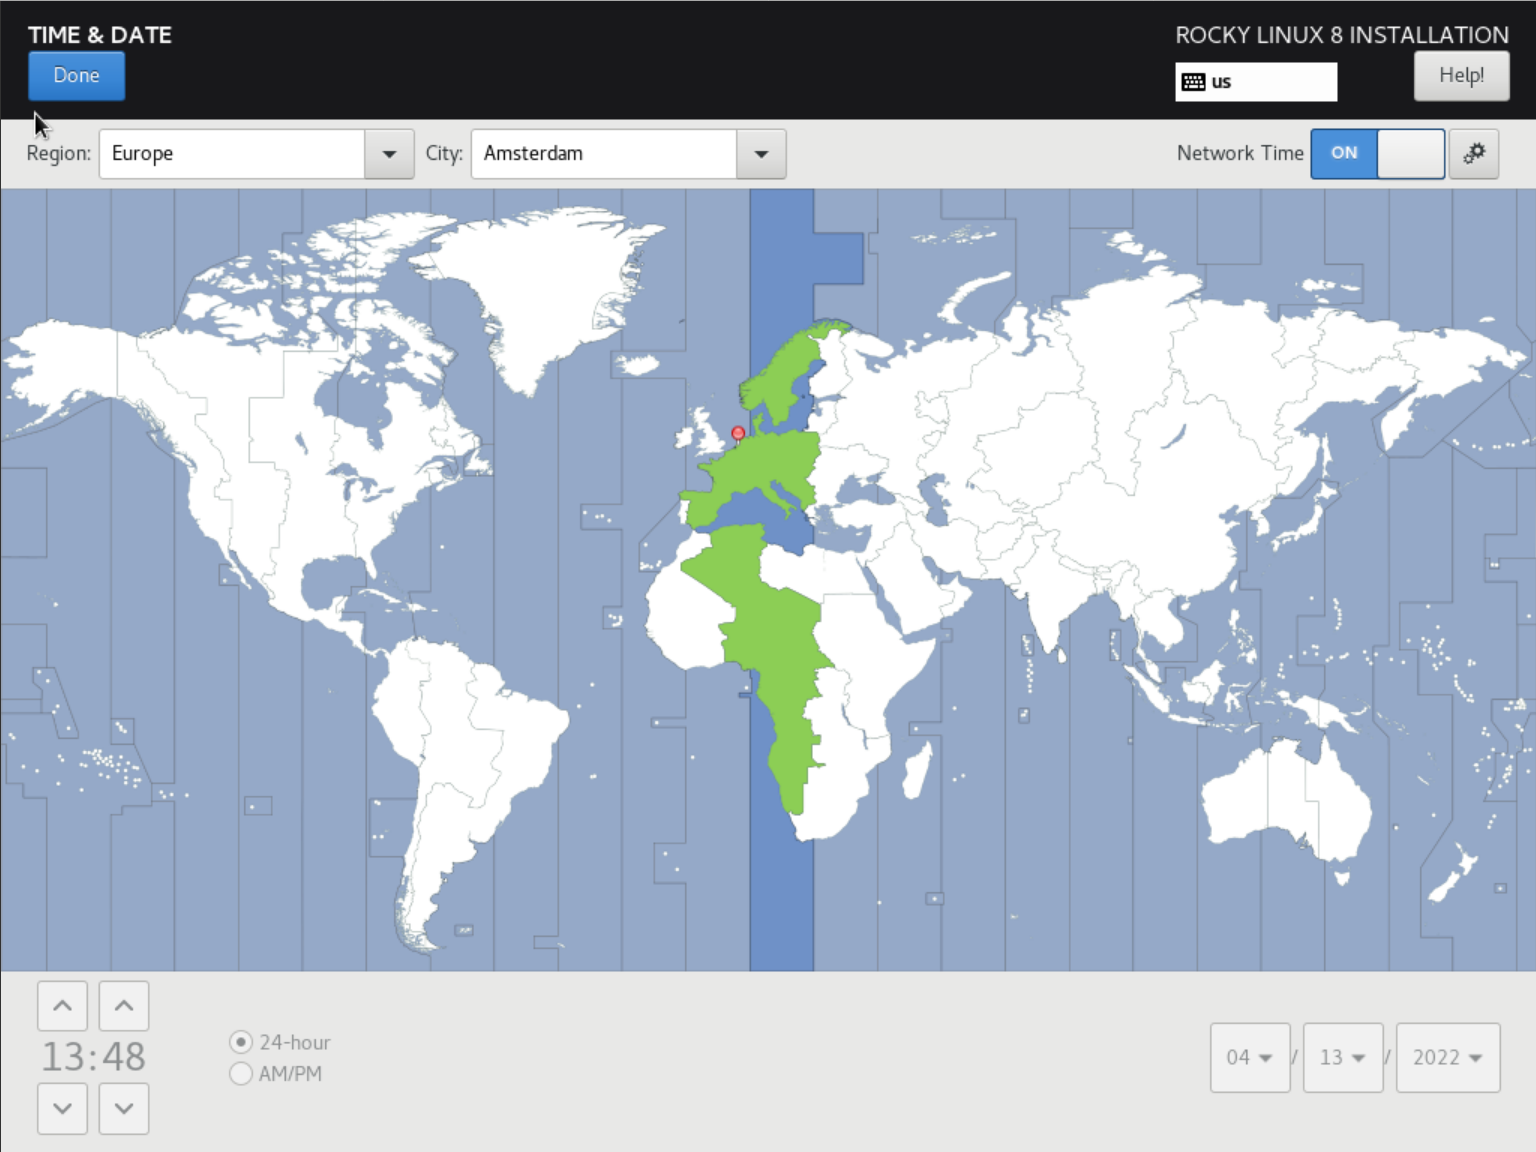
Date & Time: Adjust your time zone if it is not correct. When you click this option, you will see a map of the world, on which you can indicate your (global) position and the date & time is set automatically.
-
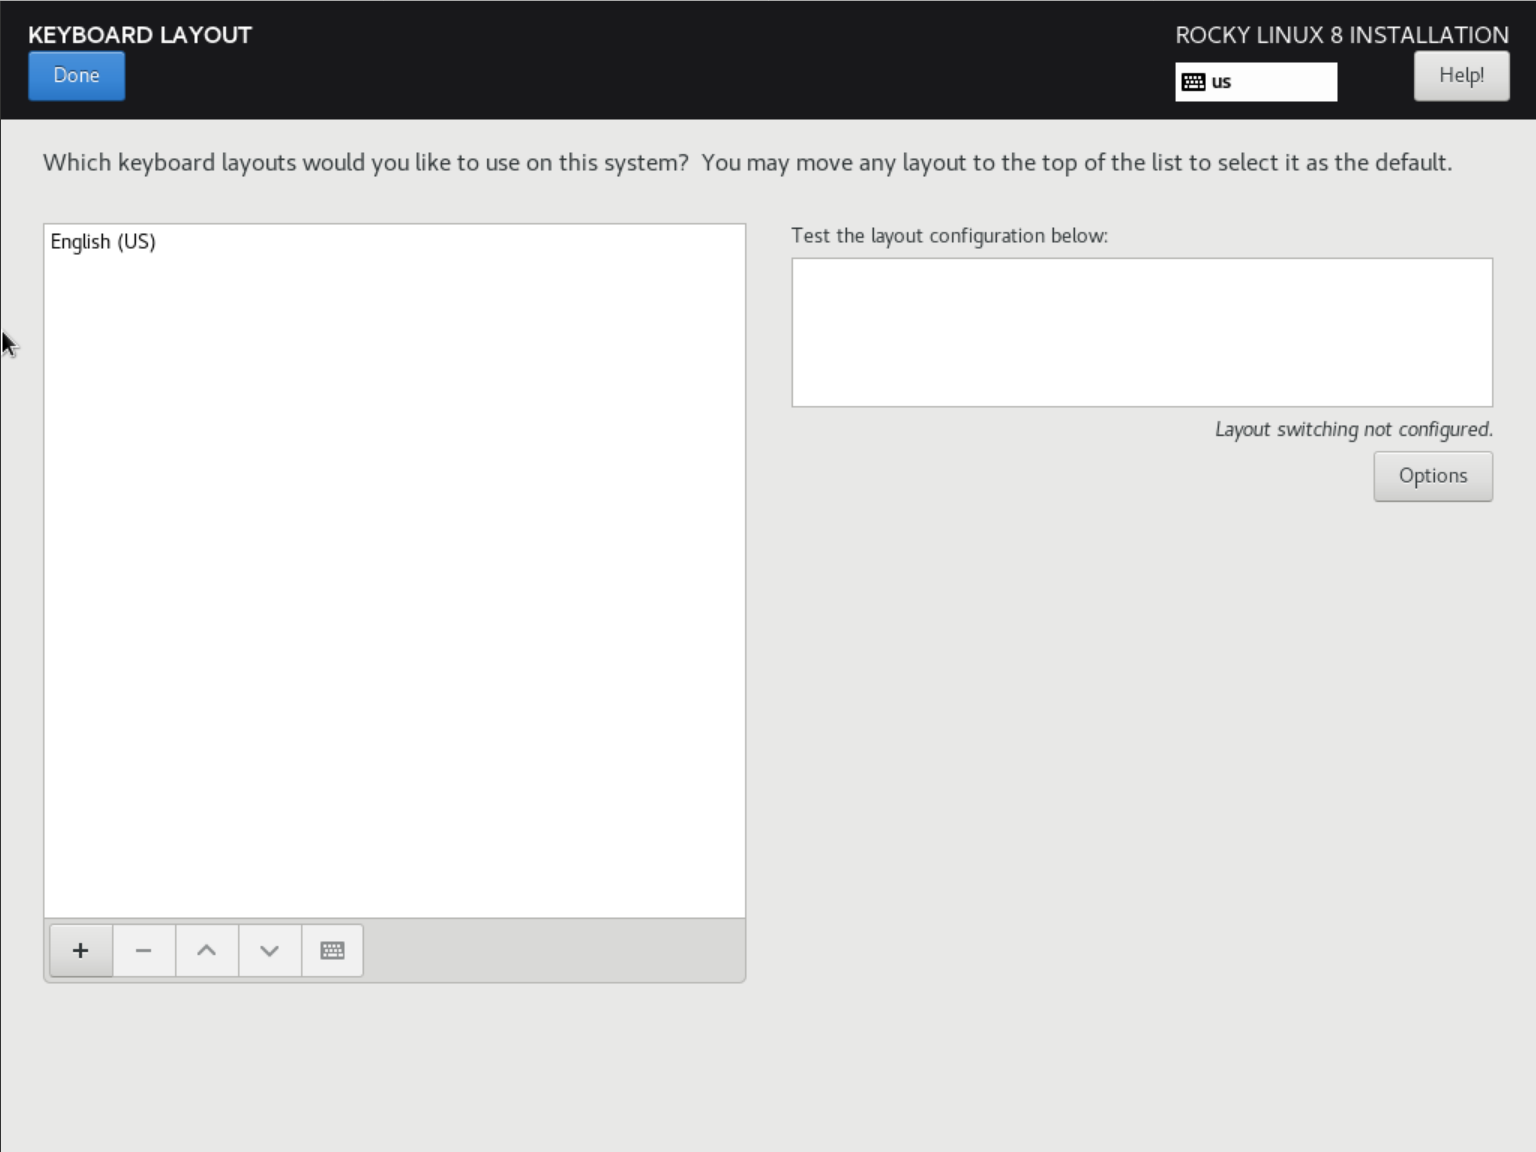
Keyboard: With this option, you adjust the language of your keyboard by clicking the plus and adding the desired layout. You can always do this afterward from command-line and we advise you not to change this during installation (unless you use an azerty keyboard, for example).
-
Language Support: Choose the languages in which you can view your installation. We recommend English again because the Rocky Linux community also mainly uses English.
Under 'Software', you will find two options: 'Installation Source' and 'Software Selection'. The Installation Source indicates that you are using our mirror to install Rocky Linux 8 and you do not have to adjust anything.
Click 'Software Selection' to select which software you want to select. We recommend a 'Minimal Install': this only installs the essentials and prevents you from installing software that you never use. In Linux, it is easy to add the software you want to use from command-line later.
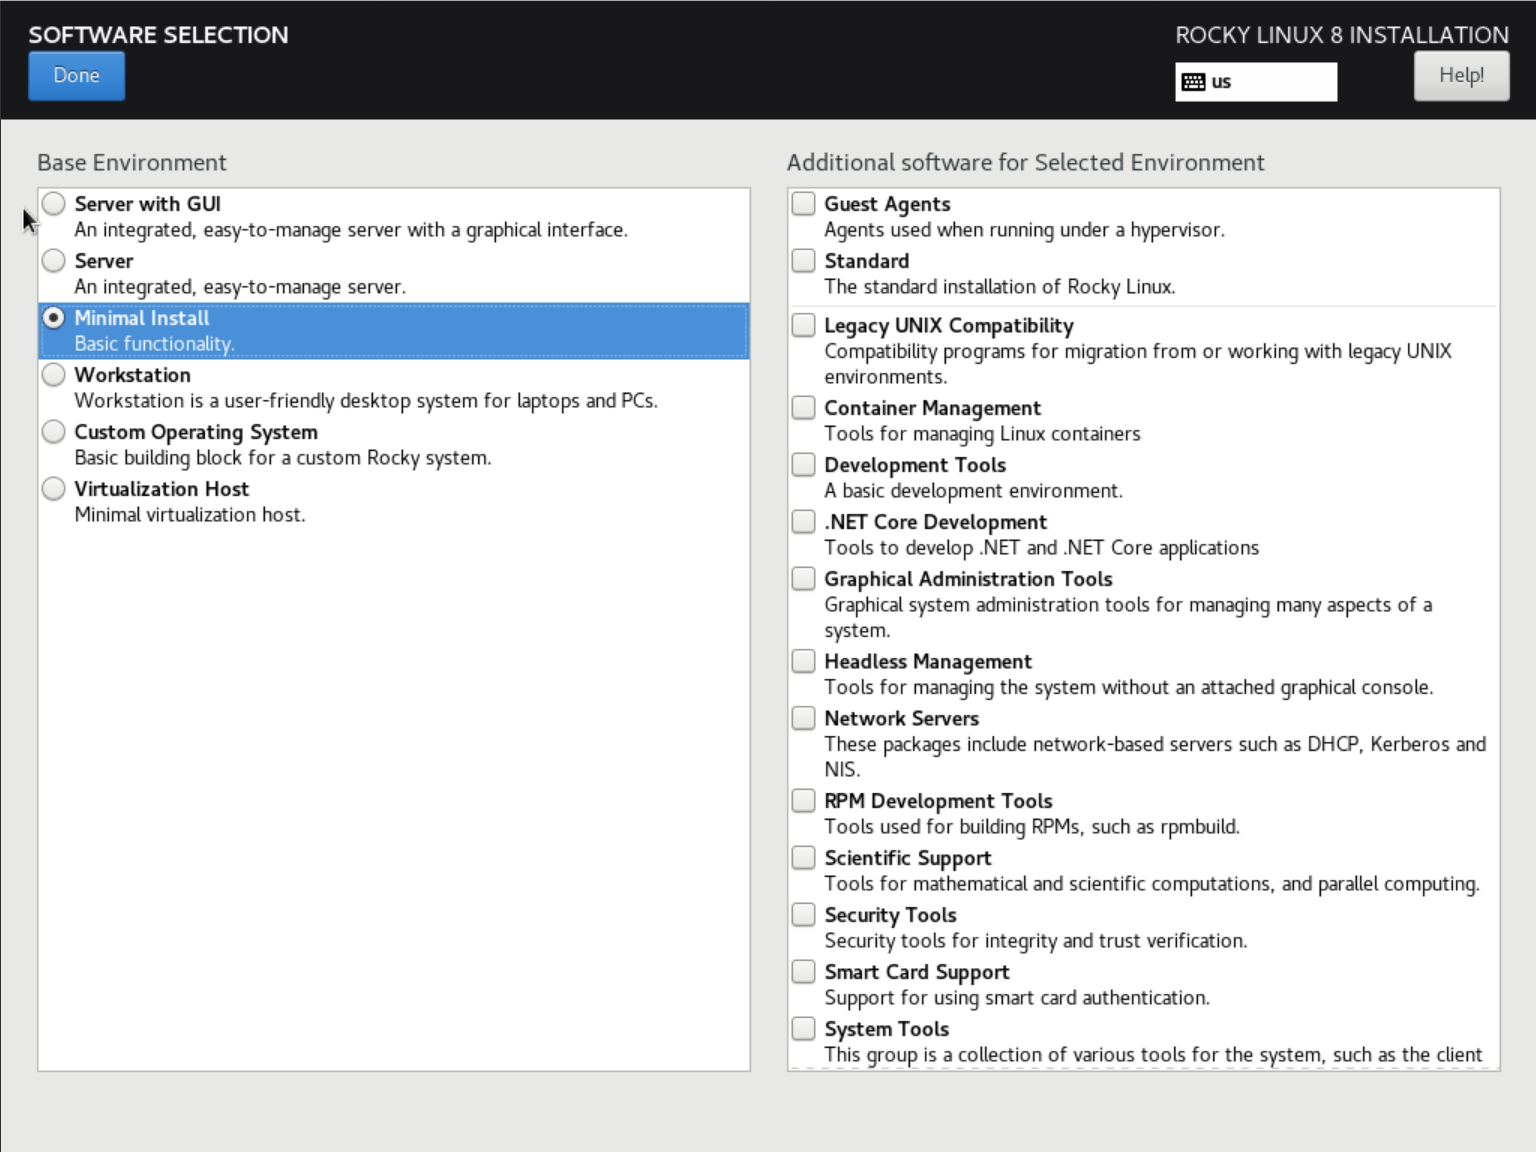
- In our manuals, we often refer to the text editor nano. This is not installed by default and can be installed later with dnf -y install nano).
- Rocky Linux 8 comes supplied with a minimal installation with SSH. You do not have to install this separately.
- We do not recommend the use of a GUI. The performance of a desktop environment on a virtual server will never be the same as a physical computer and for the purpose for which VPSs are usually used (e.g. website, database, application, and / or email hosting), a GUI within Linux is not required.
Step 4
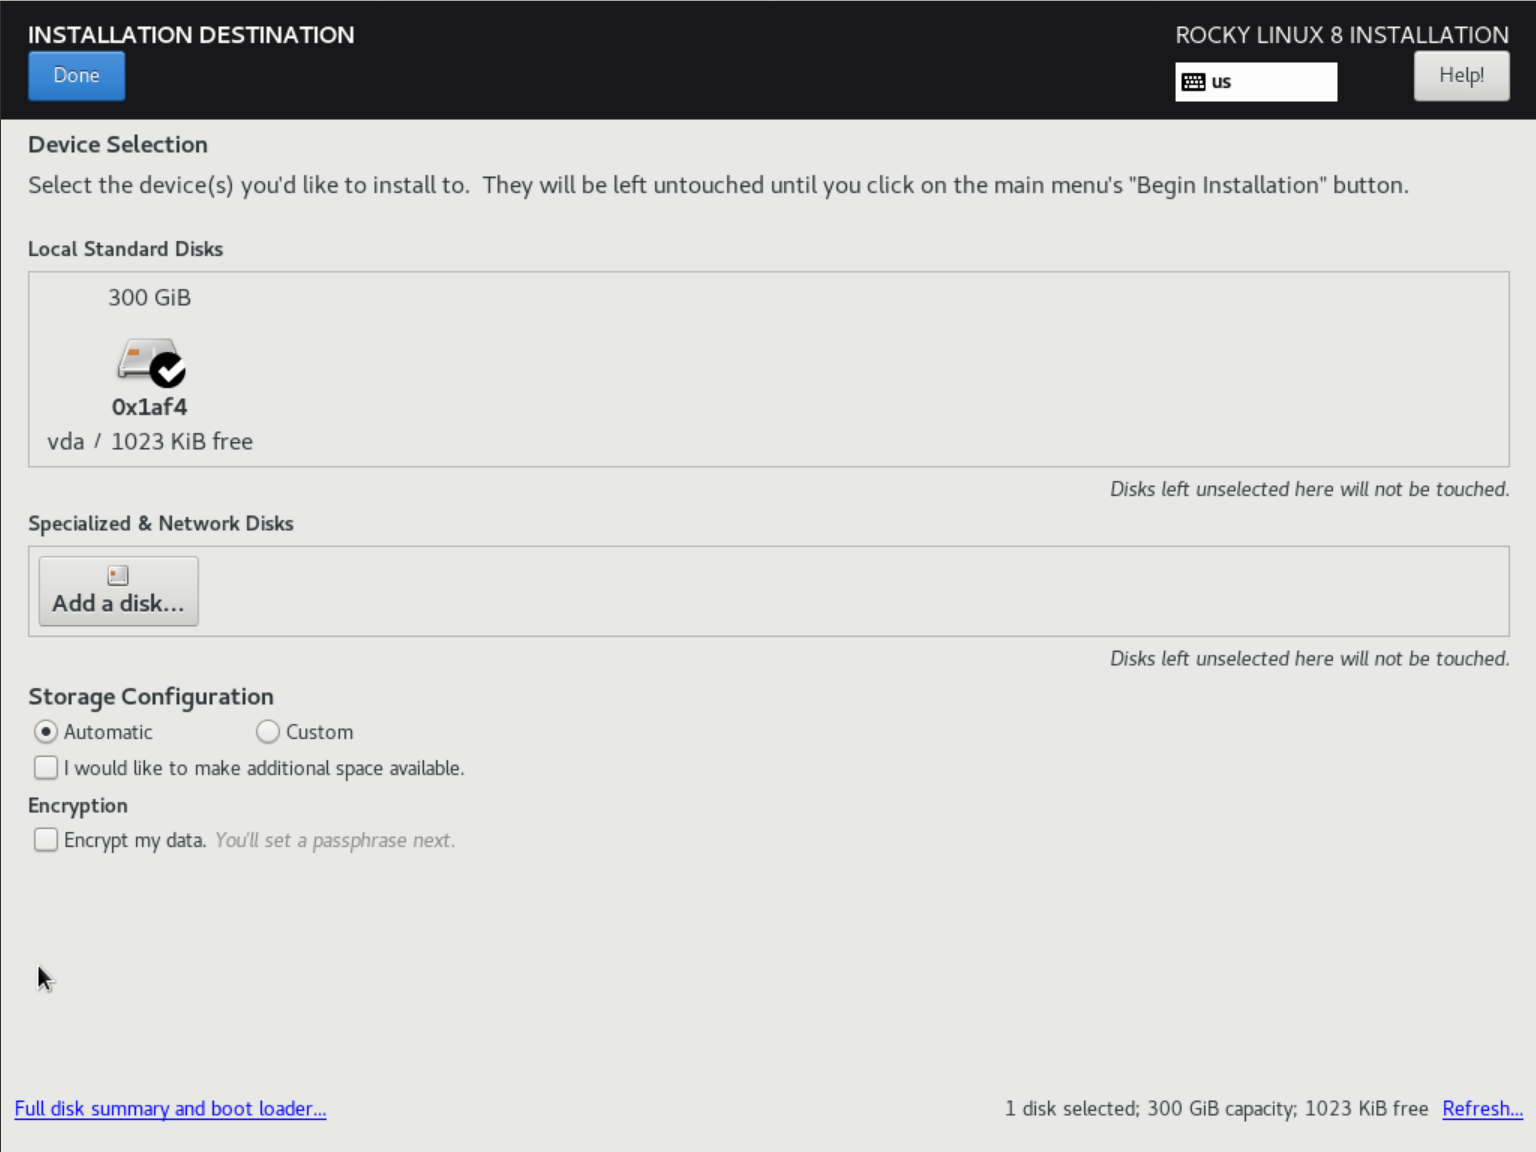
Then click 'Installation Destination' and select SSD under 'Local Default Disks' and 'Automatically configure partitioning'. This is the recommended method for new installations or reinstallations where previous data may be overwritten.
Step 5
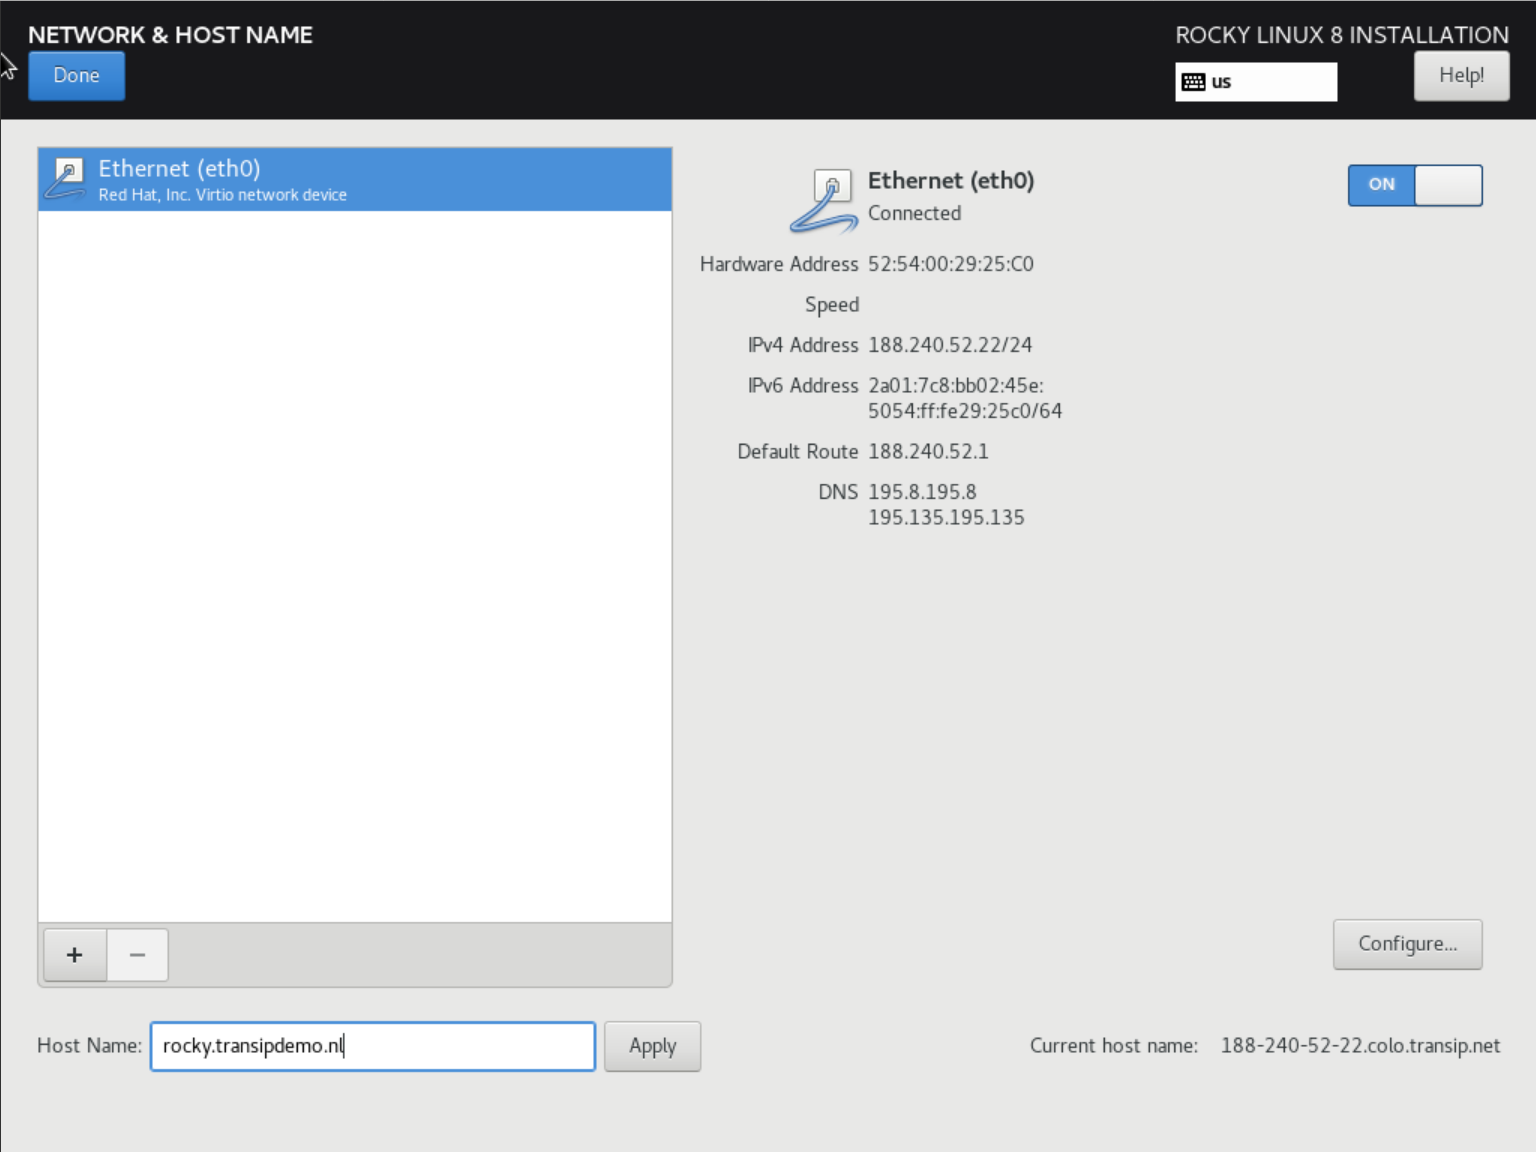
Next, click 'Network & Host name'. The hostname which is set by default is a placeholder. Change this (for example, use the syntax server.yourdomain.com) and do not forget to create a DNS record for the hostname in the DNS settings of your domain.
Step 6
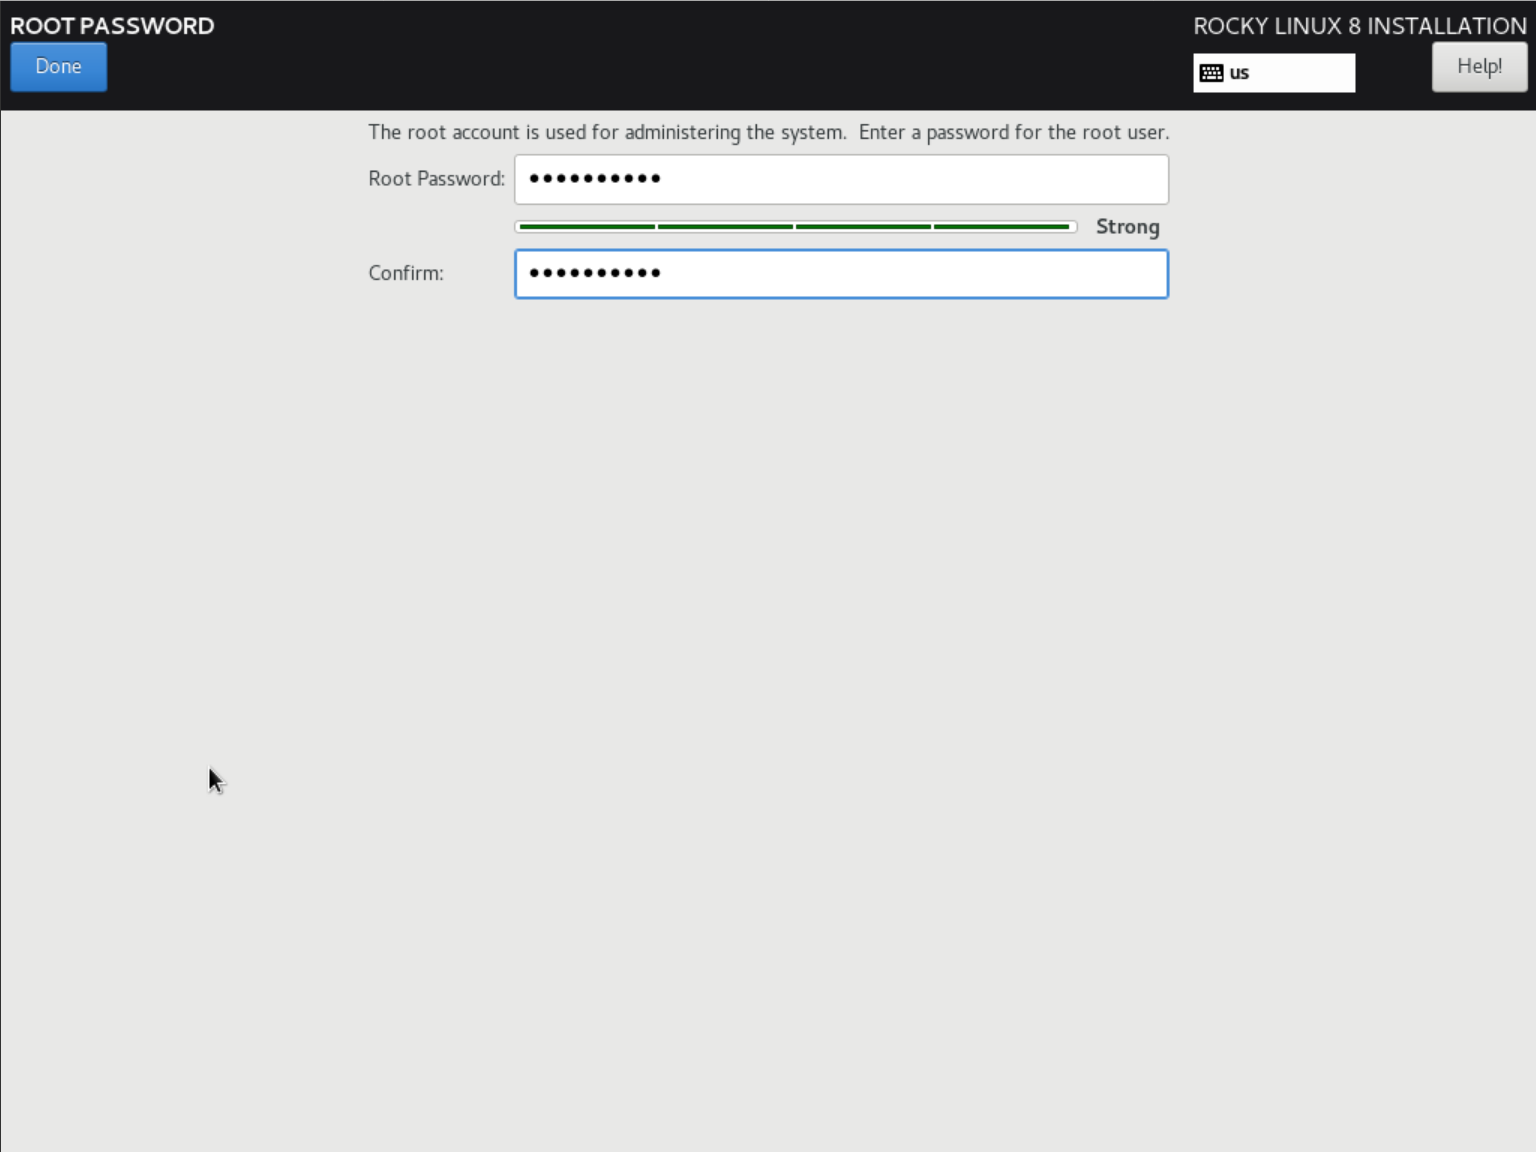
Click 'Root Password' and set a strong password. If you don't want to create a root user you can proceed to step 7 instead.
Step 7
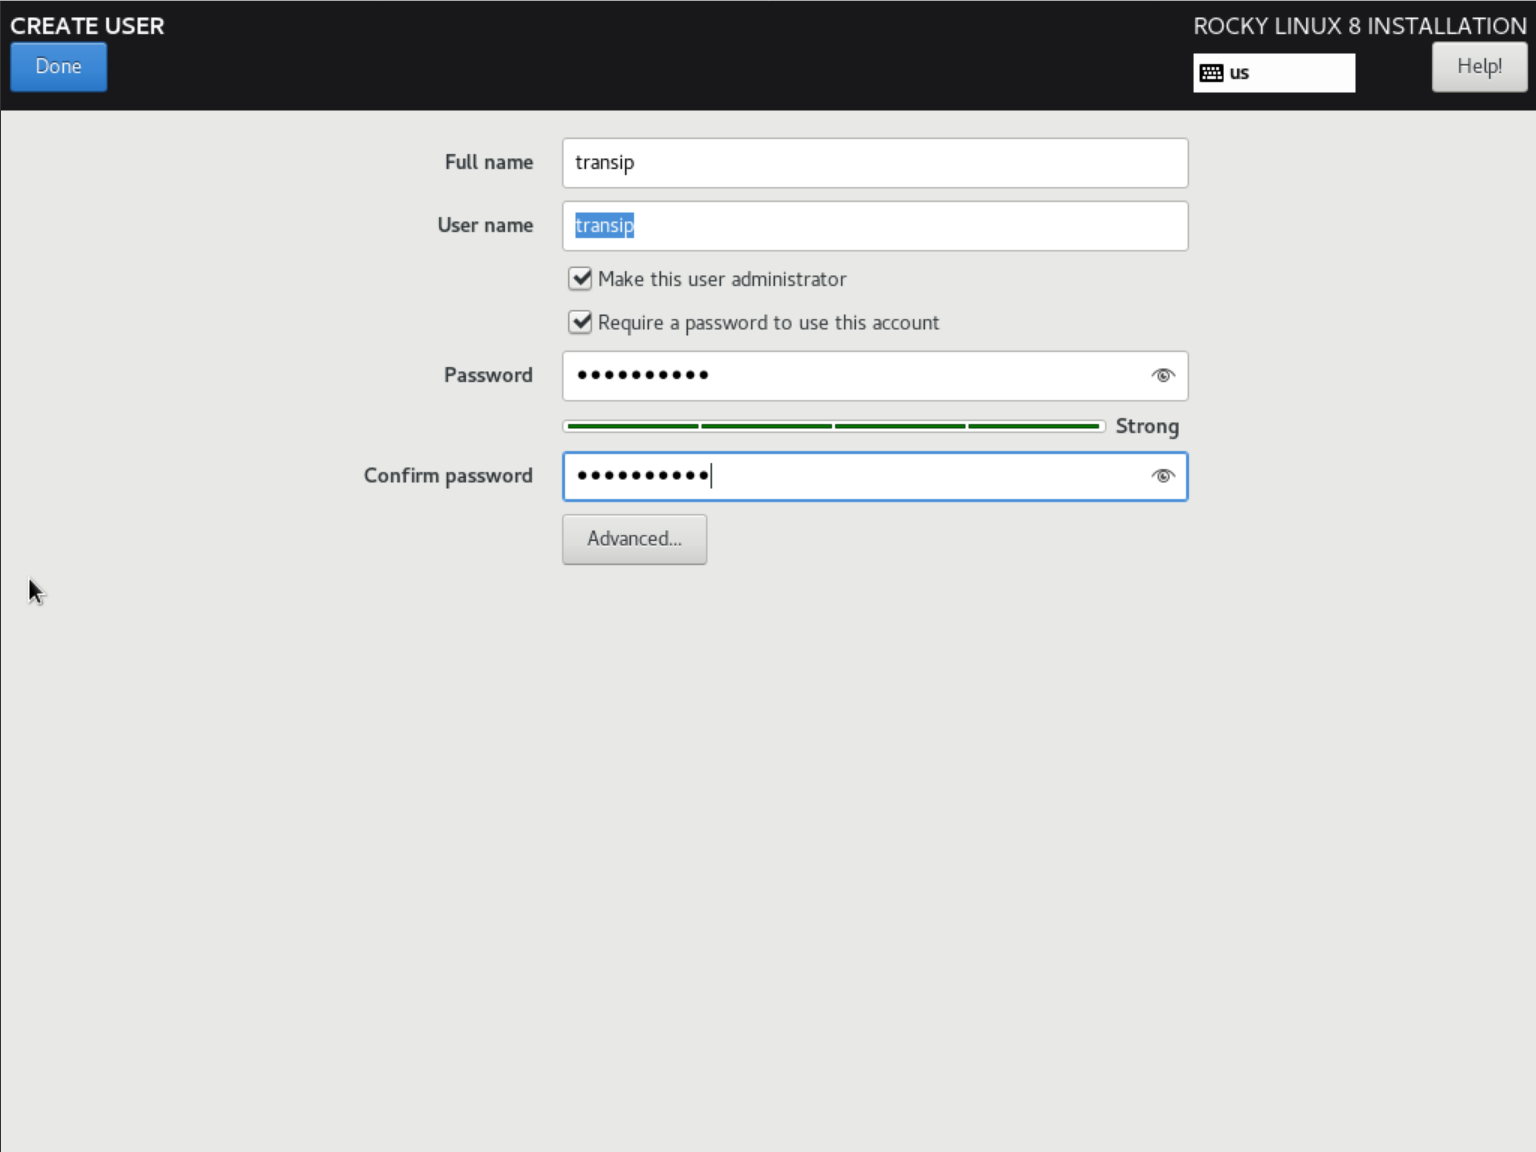
Then, click 'User Creation' and create at least one user. Optionally, you can make this user administrator.
Step 8
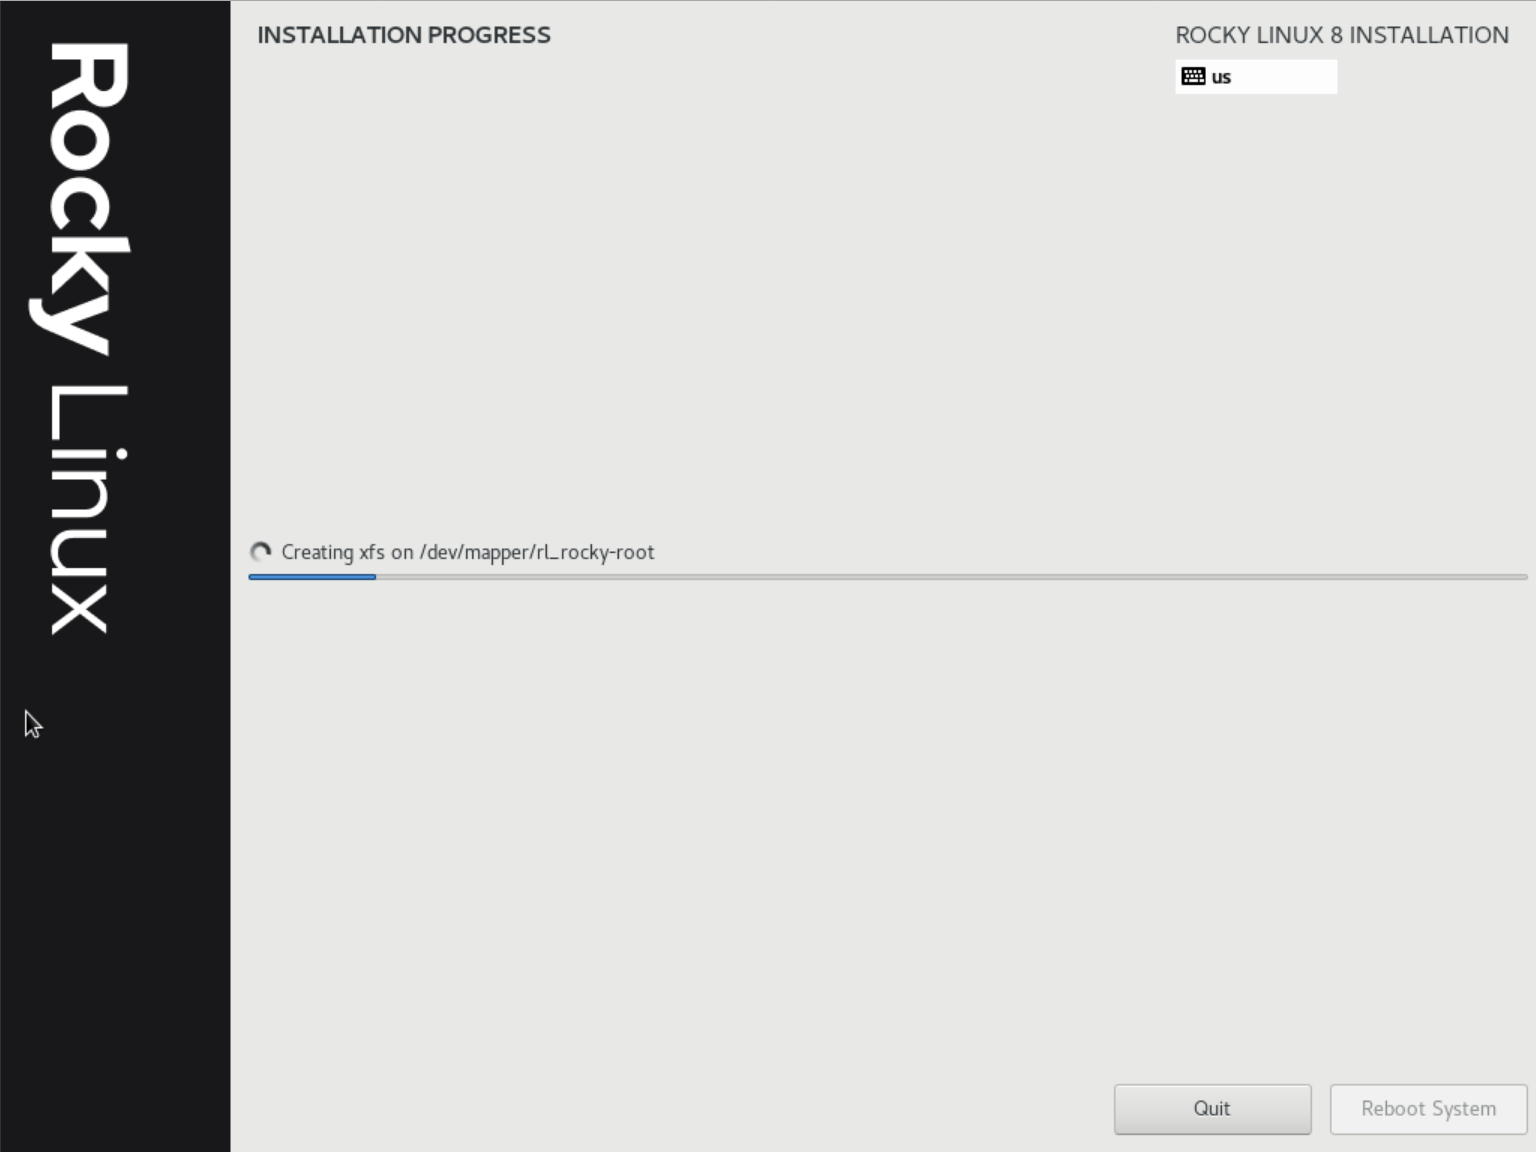
Click 'Begin Installation' at the bottom right of the 'Installation Summary' screen. It is not necessary to configure a security policy unless your organization requires this. This has no negative impact on the security of your VPS.
The installation will start and take a couple of minutes.
Step 9
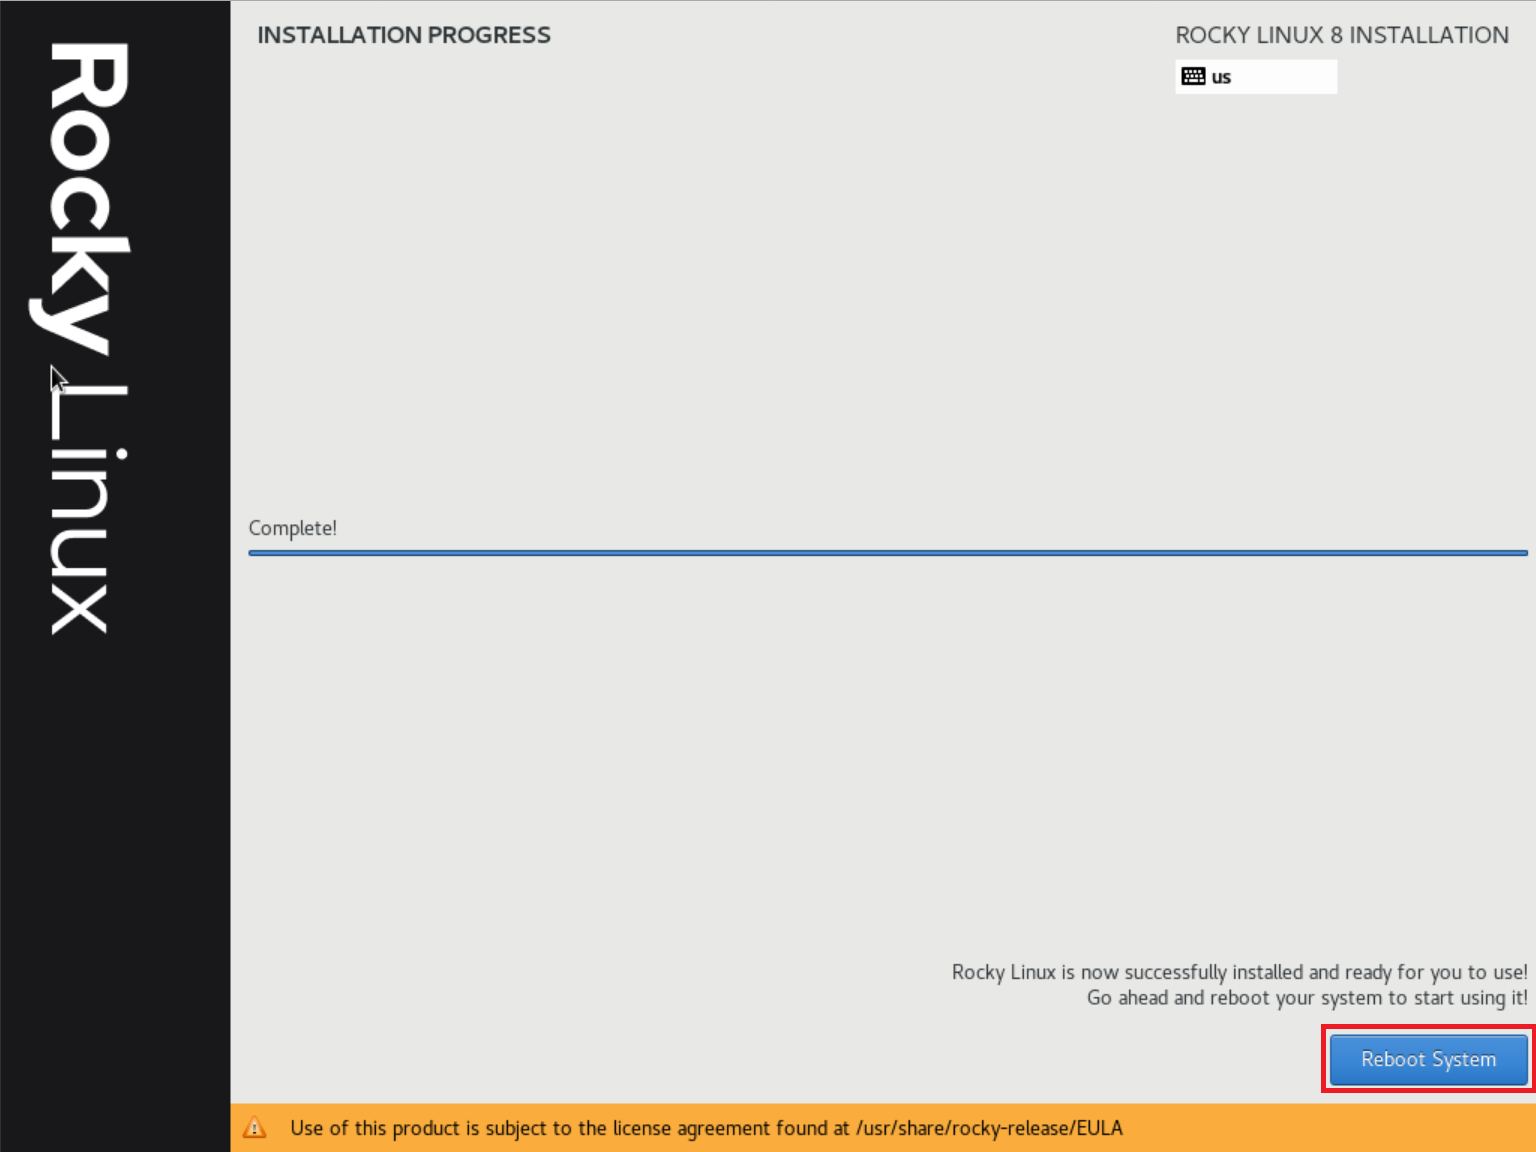
After the installation is completed, reboot your server.
After installing the updates, your VPS is ready to install. You will now see the login screen of your VPS and can immediately start with the further configuration!
Rocky Linux 8
Kernel 4.18.0.348.20.1.e18_5.x86-64 on an x86_64

rocky login:


