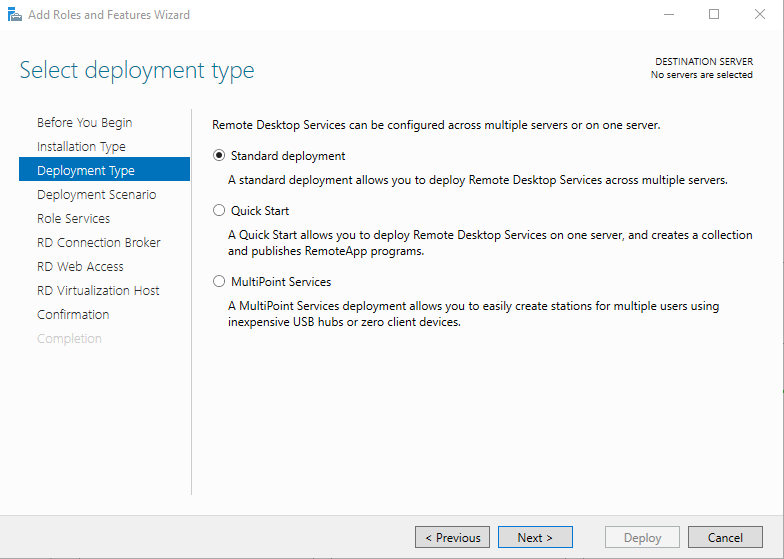
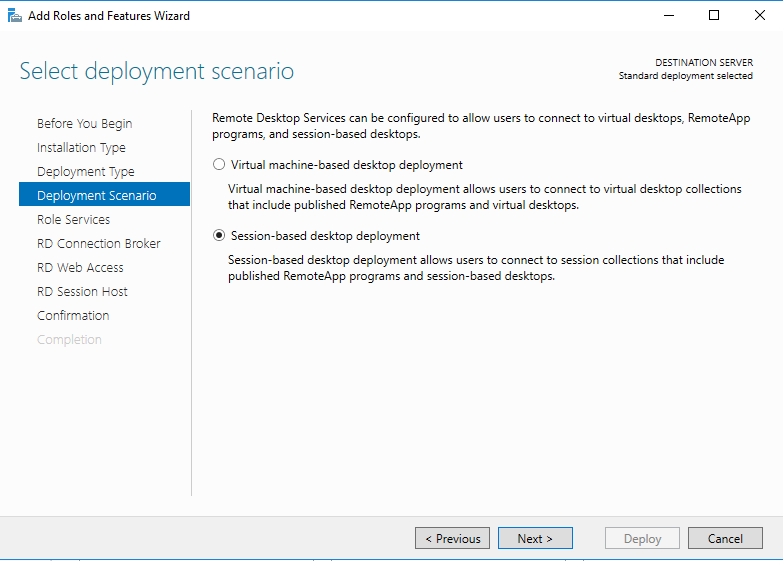
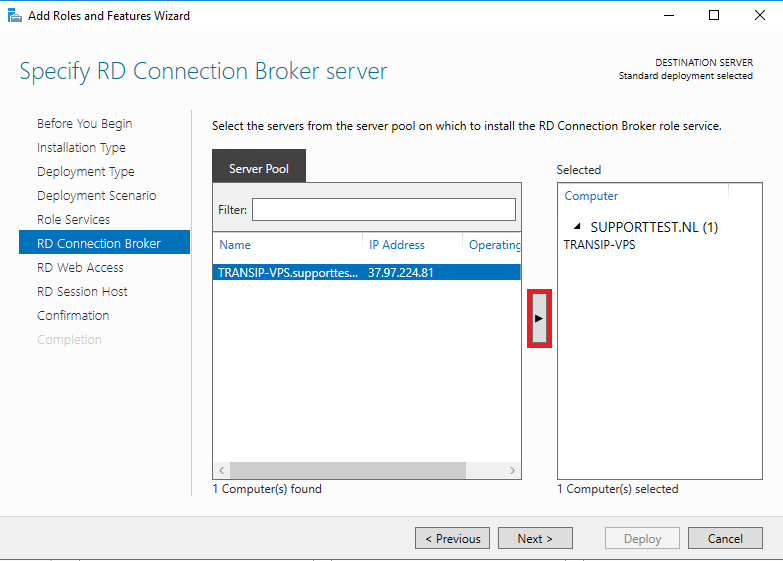
By default your Windows Server comes allows you to use two Remote Desktop sessions (also known as RDS or RDP). If you'd like to use more than two Remote Desktop sessions on your VPS with Windows Server you can manually add a license to be able to do so. You can order an RDS license from this page or from your control panel.
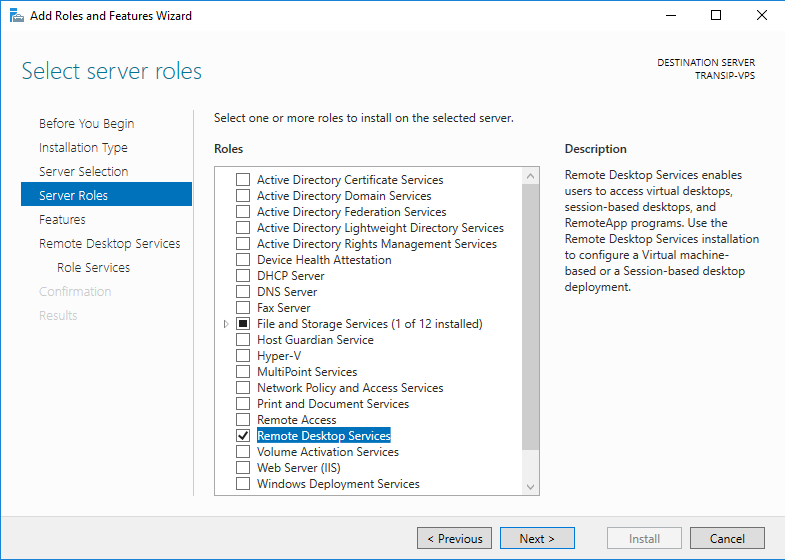
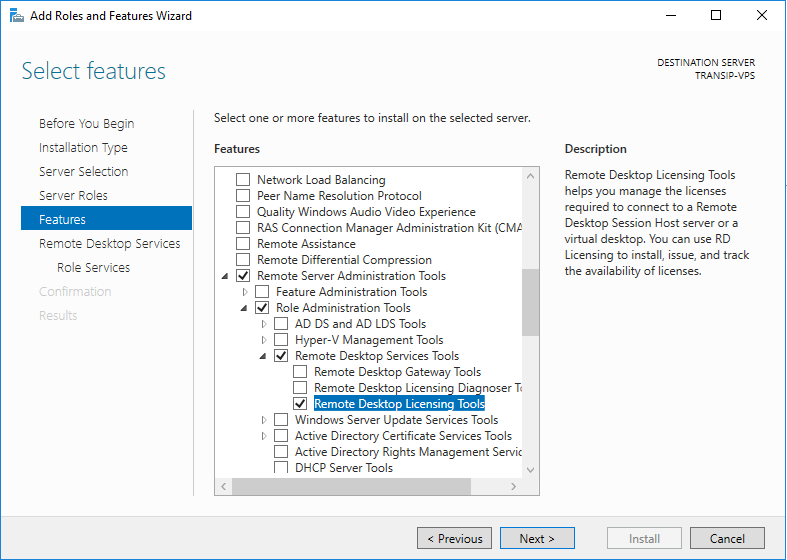
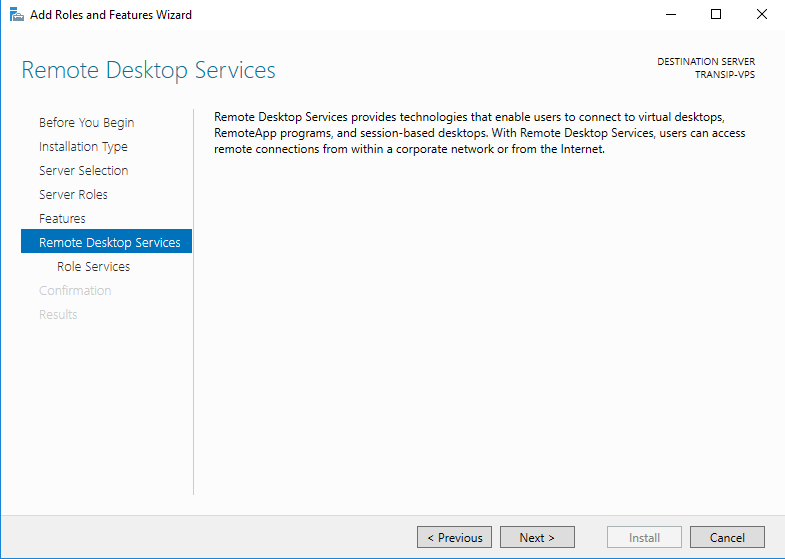
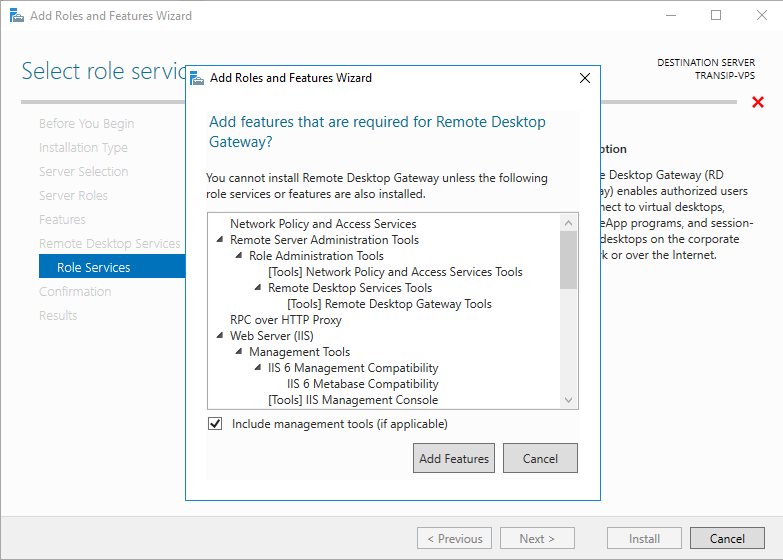
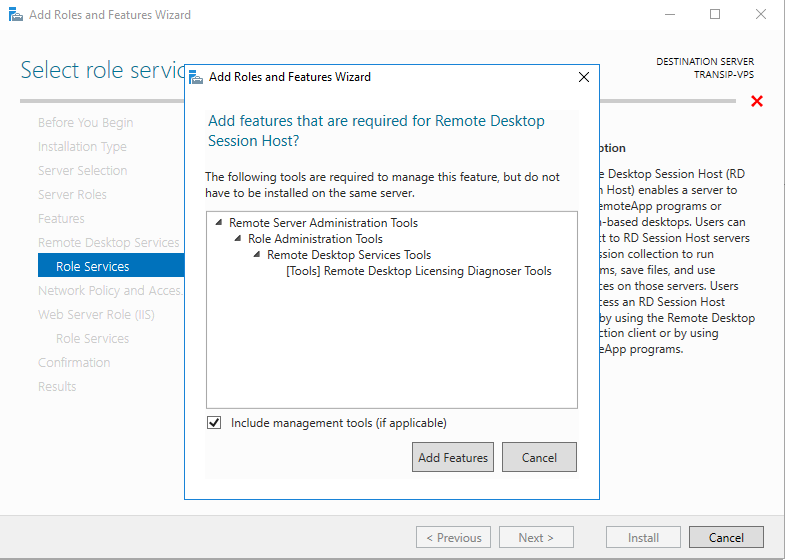
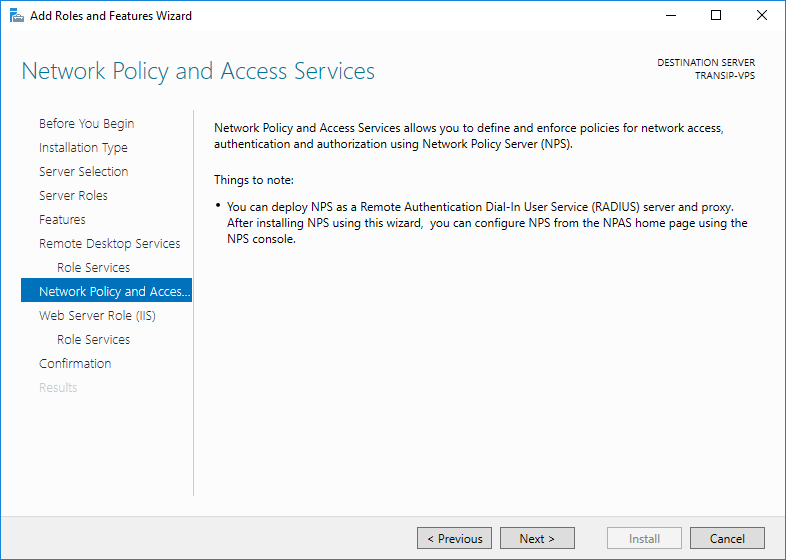
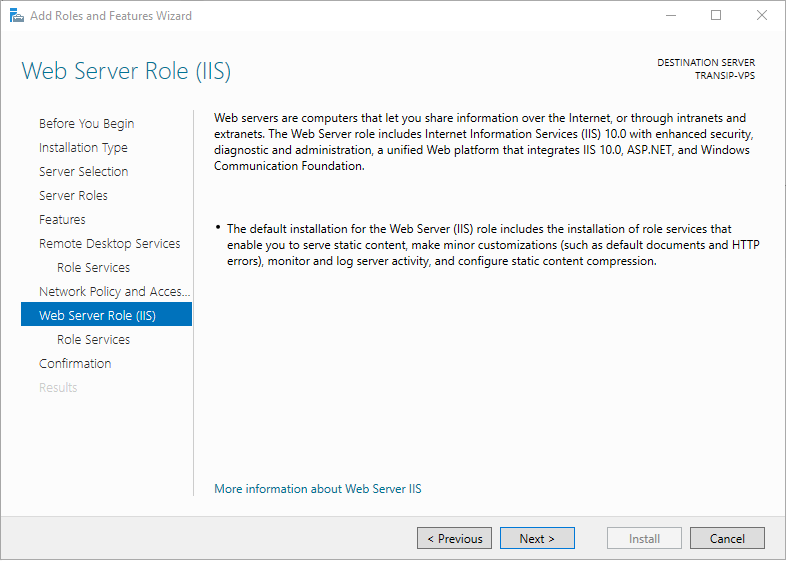
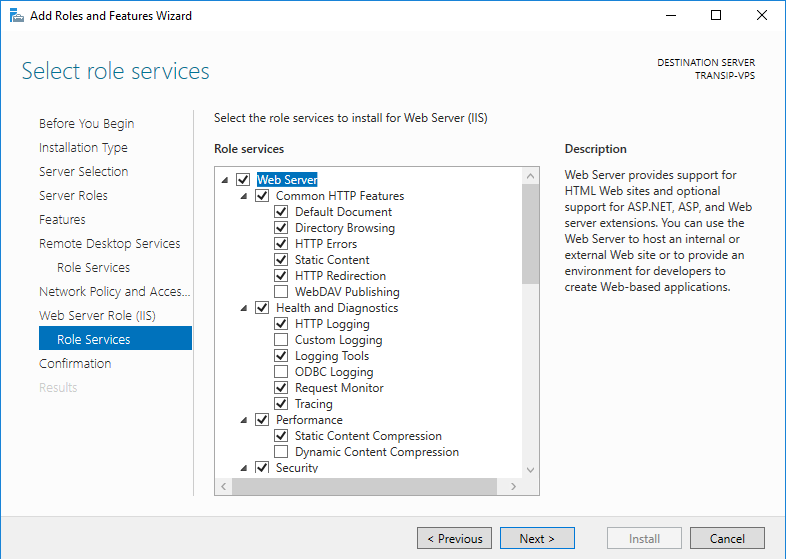
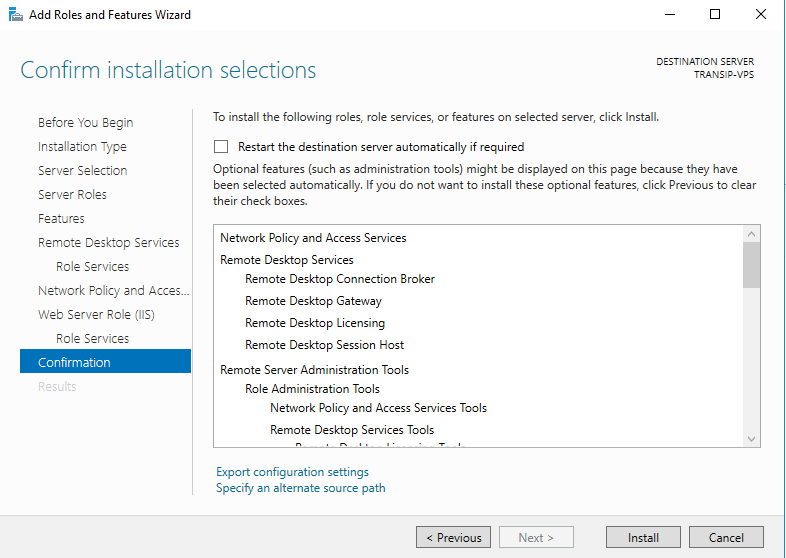
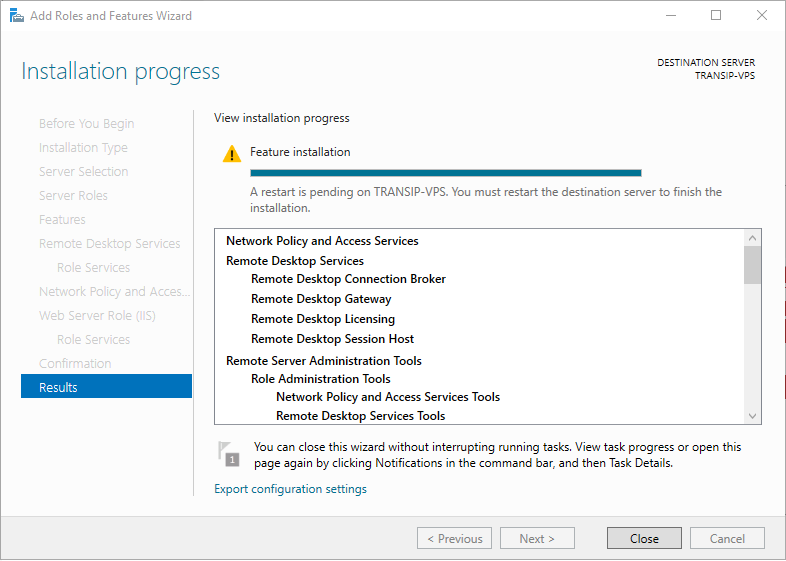
In order to add an RDS license to your VPS, Remote Desktop Services and Remote Desktop Licensing must be installed on your VPS. In this guide we'll show you how to install both on a VPS. Visit this guide to see how to add a license when these prerequisites have already been installed.
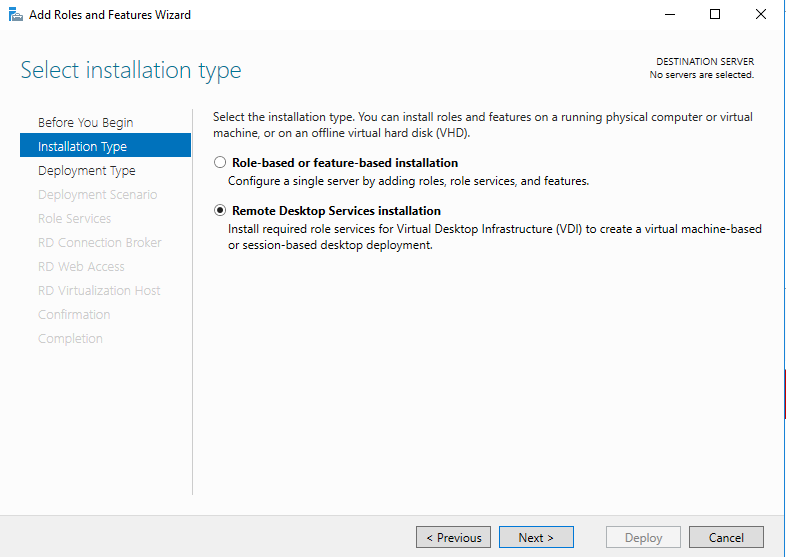
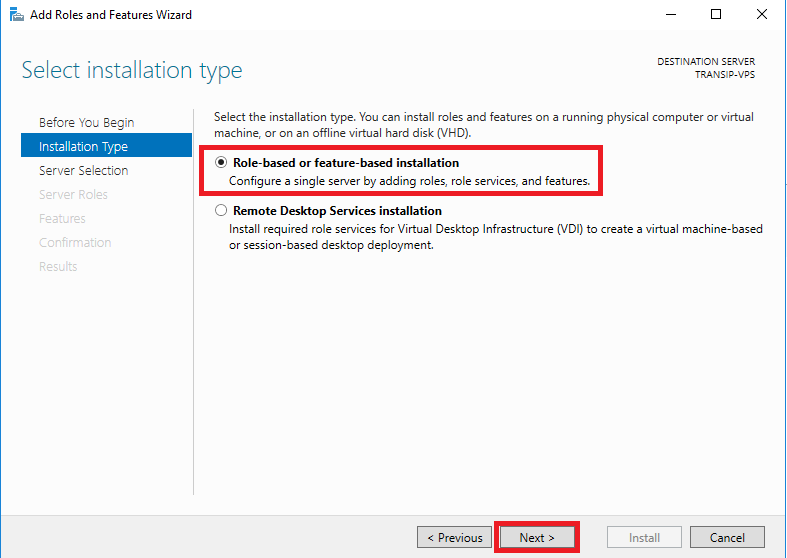
Role-based or feature-based vs Remote Desktop Services installation:
You can choose one of two methods for installing Remote Desktop Services: 'Role-based or feature-based installation' or 'Remote Desktop Services installation'. Use the option 'Remote Desktop Services Installation' if you're setting up Remote Desktop Services in an Active Directory environment. Other than that, there are some differences between both installation methods:
-
Role-based or feature-based installation: This is an advanced option for installing RDS which allows you to manually select roles and feature. If you'd like to add a single service such as 'Remote Desktop Session Host' this is the way to go.
-
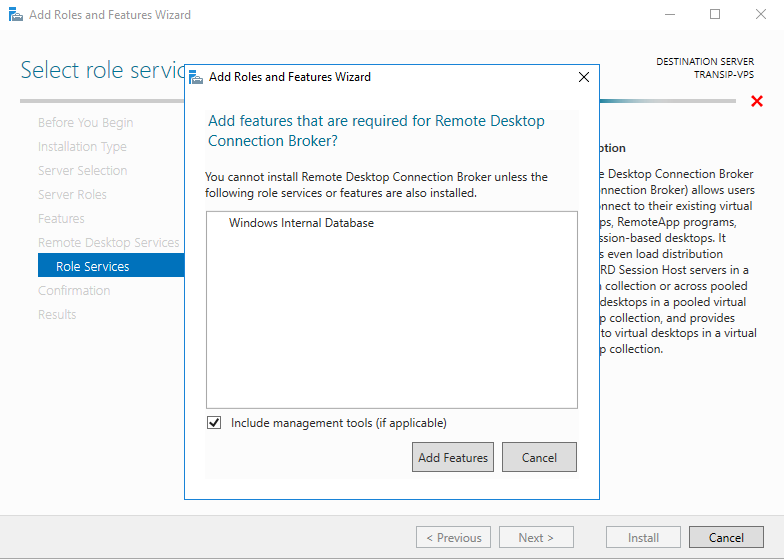
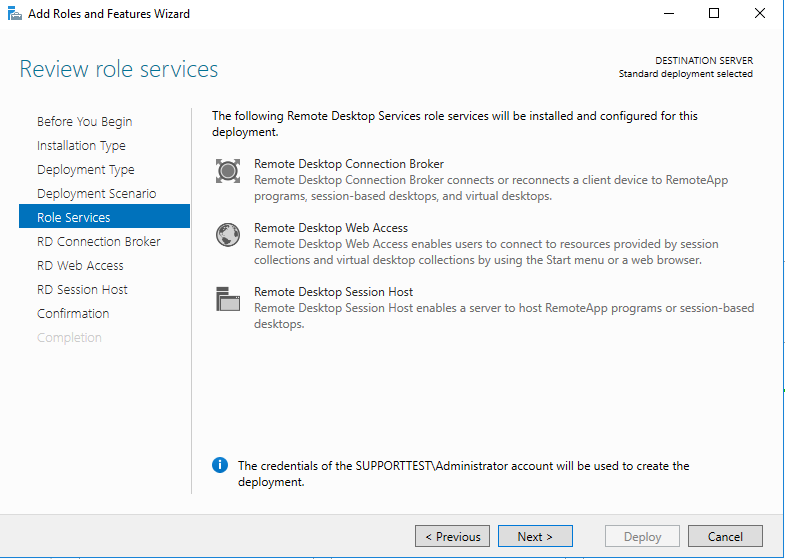
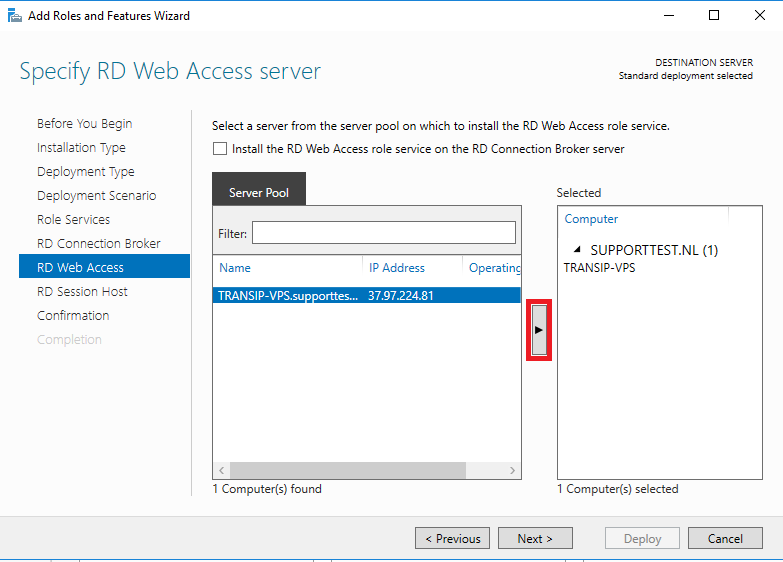
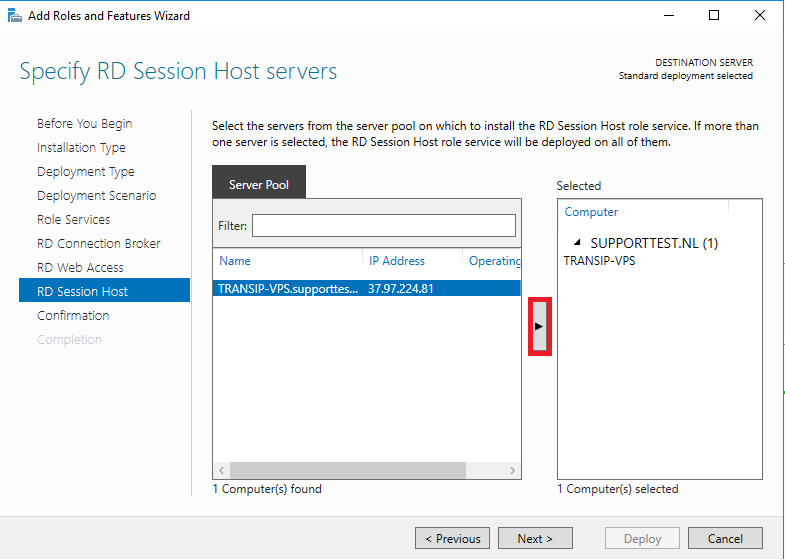
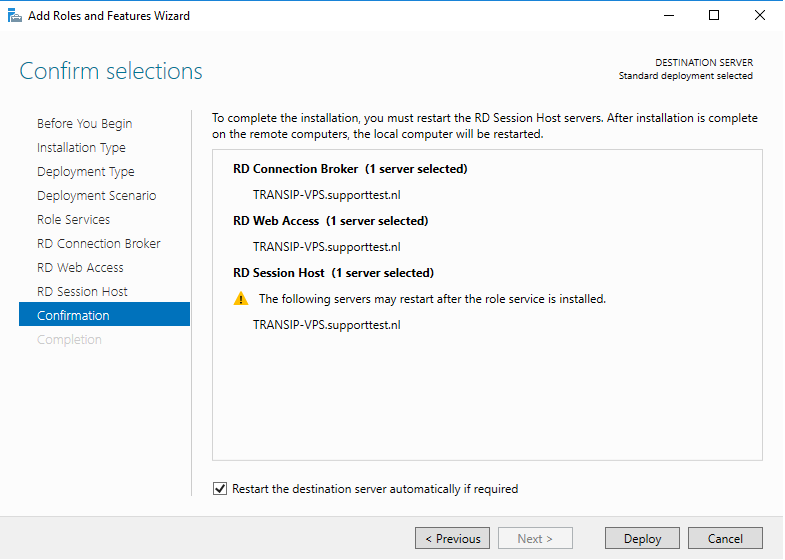
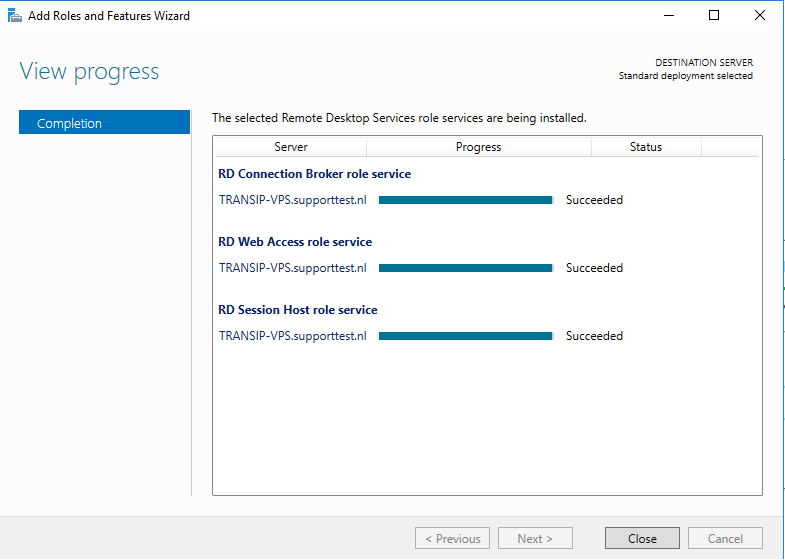
Remote Desktop Services installation: This option is comparible to an 'express installation'. Remote Desktop licensing is not automatically installed using this option. By default this option installs three basis roles:
- RD Connection Broker
- RD Web Access and
- RD Session Host.
Both methods allow you to add an RDS License to your VPS, which will be explained further down this article.
Consult this article if you'd like additional information on where you can review your license in your control panel.
Before you begin:
- If you're working in an Active Directory environment, make sure you're connected as a domain administrator when you follow the steps described in this tutorial.
- If you've never connected through Remote Desktop before you should use this manual to enable it.
Should you have any questions left regarding this article, do not hesitate to contact our support department. You can reach us via the ‘Contact Us’ button at the bottom of this page.


