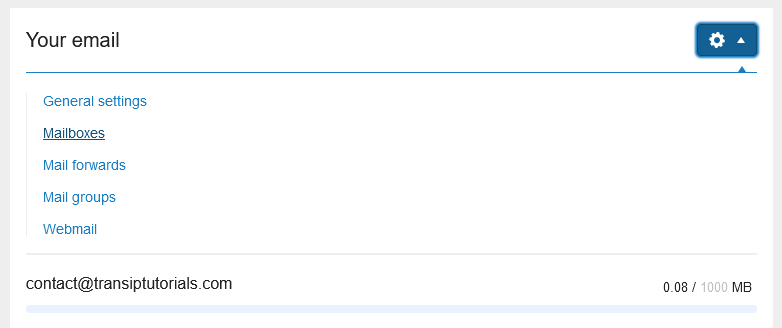
If you're running out of mailbox space, you'll risk not receiving emails once the mailbox is full. You can solve this by removing emails from your mailbox or by increasing the size of your mailbox via your control panel.
In this article we explain how to manage your mailbox when using our web hosting packages for email.
Removing emails from your mailbox
You can remove emails by logging in to the webmail at transip.email, using your email address and the corresponding password.
On the right side of the Inbox page you can sort your emails by size. This way you can quickly review which messages you can remove to free up the most storage space. Keep in mind that all folders count towards the limit, including the 'Deleted items' folder.
Increase the size of your mailbox
Select the situation that applies to you below:
I have an older package (before 18-11-2024)
You can choose to increase the size of your mailbox by logging in to your control panel. From here, go to 'Domain' and select your domain name on the left hand side (don't check the box).
Scroll down to 'Manage your email' and click on 'Mailboxes'.

Now click on the email address that you want to increase the size of. Change the size of the mailbox next to 'Assigned size'. You can see how much storage space is left on your web hosting package just below of the field.

In this manner you don't have to remove any emails and can immediately receive new emails. If you don't have any more storage space, be sure to check if you can reduce the size of a different emailbox.
If you don't have enough space and don't want to delete emails, you can upgrade your hosting package to have access to more storage space.
I have a new package (from 18-11-2024 or later)
If you don’t want to delete emails, you can also expand your mailbox. This way, you’ll have more space right away, and when your mailbox is full, you’ll be able to receive emails again immediately. You can do this by ordering a "Storage add-on" for the mailbox you want to increase in size.
Step 1
Visit the control panel and click 'Email Hosting' in the menu on the left. Next, select your domain name below 'Products'.
Step 2
In the overview, next to your full mailbox(es), you will see an option to add extra space, labeled as ‘+ Add.’ You can also do this by clicking on the three dots on the right side and then selecting ‘Increase storage’.

Step 3
You can now select the amount of storage space you would like to add to the mailbox.
After completing the order, the extra space will be added to the mailbox within a few minutes.
This way, you don't have to remove any emails and can immediately receive new emails.
In this article we explained how to increase the size of your mailbox.


