


DirectAdmin allows you to migrate all data from one DirectAdmin server to another DirectAdmin server using the available backup tools. The process consists of four general steps:
- Create a full backup
- Transfer the backup to a new DirectAdmin server using rsync
- Restore the backup
- Update the DNS records of your domains
In this guide, we will show you how to perform this migration.
- The steps in this guide require two VPSs with DirectAdmin. For optimal compatibility, ensure that both the current and new DirectAdmin servers are fully up-to-date.
- These steps also work between different operating systems, for example, to migrate a DirectAdmin installation from CentOS to Ubuntu.
- It is not possible to transfer the IP addresses of the old server to the new one.
Create a full backup
Step 1
Using the Admin Backup/Transfer tool, you can create a backup of the data of one or more users. In this case, we will perform a full migration of your server.
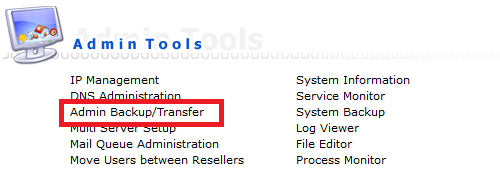
In DirectAdmin, go to 'Admin Level' and click on 'Admin Backup/Transfer' under 'Admin Tools'.
Step 2
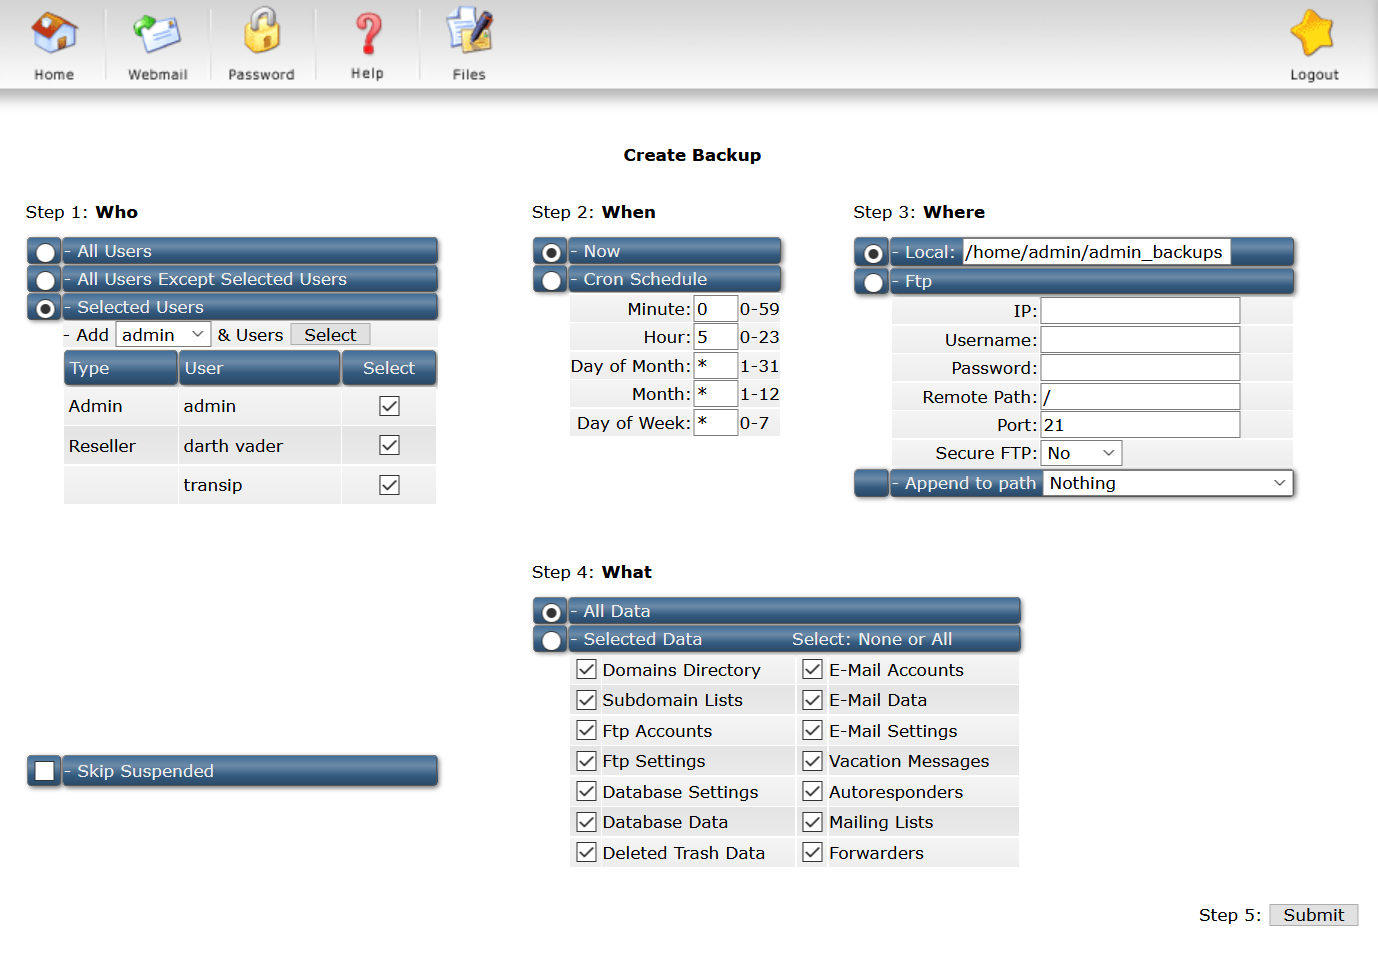
You will see the screen below with the following steps:
- Step 1: Select the users you want to back up. Click 'Select' to select all accounts.
- Step 2: Choose whether you want to create the backup now, or use a Cron Schedule: this repeats the backup process at selected times, for example, every day at 5:00 if you use the default value (see screenshot). If you want to set Day of Week to Sunday, you would use 0 or 7 (1 to 6 for Monday to Saturday).
- Step 3: The directory where your backups will be stored, in this example, it is /home/admin/admin_backups. Note the directory where you are creating the backup. You will need it in the next section.
- Step 4: Select what you want to back up. The default option is to back up all files.
- Step 5: Click 'Submit' to create the backup. The time it takes depends on the amount of data being backed up. You can continue working on your VPS while this process runs.
Transfer the backup using rsync
After creating a backup, transfer it to your new server. You can use an rsync command that uses SSH to move files from one server to another:
rsync -auv -e "ssh -p 2233" /home/admin/admin_backups admin@192.168.1.1:/home/admin/admin_backups/ --no-perms --no-owner --no-group --no-times- -auv: a stands for archive and you can find more information about it here. u stands for update and ensures that only newer files are synchronized and v adds verbosity.
- -e: this flag allows adding extra options to ssh (the default connection method of Rsync).
- ssh -p 2233: ssh specifies that you are using the ssh protocol, with -p XX you specify the port number. We recommend changing your ssh port number on your VPS for security reasons.
- /home/admin/admin_backups: the directory where your backups are located on the original server.
- admin@123.123.123.123:/home/admin/admin_backups: respectively, these are the username on the new server, the IP address of the new server (123.123.123.123), and the directory where the content from the original server is copied to (/home/admin/admin_backups).
- --no-perms --no-owner --no-group --no-times: these file attributes (permissions, owner, group, dates) are not modified by the rsync command.
Restore backups
Restoring the backup works largely the same as creating a backup: go back to 'Admin Backup/Transfer' and then select:
- Step 1: Indicate whether you want to restore the backup via FTP or on your VPS. If you follow the steps above, do not change anything and use the default selected 'Local' option. By default, it will be in /home/admin/admin_backups.
- We recommend using the IP address of the new server under 'Select IP'.
- Select the name of all users to restore the full backup and then click 'Submit'. The file name indicates the role and name of the respective account (e.g., admin - reseller, or reseller - user).

To be sure, we recommend checking that you do not have any references to the IP address of the old DirectAdmin server on your new server. A particularly useful command to search files recursively is the 'grep' command. Use the following syntax:
grep -Ril "123.123.123.123" /home/admin/
Replace 123.123.123.123 with the IP address of your old DirectAdmin server. Some useful directories to check are:
- /home/admin/
- /usr/local/knowledgebase/
- /var/www/
Update DNS records
Finally, update the DNS records of the domains you host on your DirectAdmin server. Suppose your old server respectively had the IPv4 and IPv6 addresses 123.123.123.123 and 2a01:7ca:aaab:123::1, and the new one has 185.10.50.51 and 2a01:7c8:aaaf:333::1, then after the adjustment the DNS records of a domain would look like this:

Server is added here because the domain is also used as a hostname. This will not apply to every domain on your VPS.
For more detailed information on setting up DNS records, see our article on setting up DNS records.
You are now free to cancel the old server.
This concludes our guide on migrating DirectAdmin servers.
If you have any questions based on this article, please do not hesitate to contact our support department. You can reach them via the 'Contact us' button at the bottom of this page.