


In 2020 Red Hat announced that CentOS 8 will no longer be supported after the end of 2021 and will be succeeded by CentOS Stream, see also our article 'What is CentOS Stream'. CentOS 7 will be supported longer until June 30, 2024.
Do you want to upgrade your CentOS 7 installation to a newer operating system, but is a reinstallation of your VPS not a desirable option? In this guide, we show how to upgrade your VPS from CentOS 7 to AlmaLinux 8, Rocky Linux 8, CentOS Stream 8, EuroLinux 8, or Oracle Linux 8. From there, you can in turn upgrade the respective operating system to version 9, so for example from AlmaLinux 8 to AlmaLinux 9.
For upgrading, we use the tool 'Elevate' developed by AlmaLinux. With it, you can upgrade CentOS 7 to various RHEL-based distributions, see also this overview. Elevate has already been successfully used by many companies around the world to upgrade countless production servers from CentOS 7 to a newer operating system without any issues.
- The steps in this guide have been successfully tested on up-to-date installations of CentOS 7 and DirectAdmin with CentOS 7.
- This guide also works for Plesk installations. Optionally, for Plesk installations, you can also use this tool.
- cPanel has its own derivative (fork) of Elevate. Instructions for its use can be found on the cPanel website.
- The steps in this guide can be used to upgrade CentOS 7 to EuroLinux and Oracle Linux. Note that we do not yet offer these operating systems ourselves and therefore do not provide support for them.
- Make a snapshot before starting the upgrade process so you can revert to it if you experience problems after upgrading to AlmaLinux.
- Perform the steps in this article with sudo, or as a user with root rights.
Step 1
Connect to your VPS via the VPS console in your control panel or via SSH.
Step 2 - optional for private networks
If your VPS is part of a private network, a network adapter is set up for it. The associated configuration file prevents you from performing the upgrade to AlmaLinux.
First, check the name of your private network adapter:
ls /etc/sysconfig/network-scripts/ifcfg
The private network adapter has a name like ifcfg-eth0:1 or ifcfg-eth1. Rename the corresponding network adapter (adjust the file name of the private network adapter if necessary):
mv /etc/sysconfig/network-scripts/ifcfg-eth0:1 /etc/sysconfig/backup
Step 3
It is important to make sure all your software is up to date and to restart your VPS to apply any configuration changes. Update and then restart your VPS first.
yum -y update
reboot
Step 4
Then install the elevate-release- and leapp-packages and the required migration data. Depending on your choice of operating system, replace leapp-data-almalinux with one of the following options:
- leapp-data-almalinux
- leapp-data-centos
- leapp-data-eurolinux
- leapp-data-oraclelinux
- leapp-data-rocky
yum -y install http://repo.almalinux.org/elevate/elevate-release-latest-el7.noarch.rpm
yum -y install leapp-upgrade leapp-data-almalinux
Step 5
Now perform the preupgrade check.
leapp preupgrade
The first time you do this, you will always get a message at the end that the upgrade cannot be performed because some 'inhibitors' were found. You recognize this from the message:
=====================================================
               UPGRADE INHIBITED
=====================================================
Finding 'inhibitors' at this point is normal and necessary to, for example, generate an answer file (see the next step) and gain insight into any kernel mods that need to be removed.
Step 6
There are some 'inhibitors' due to which the upgrade process cannot yet be performed. The first is the pam_pkcs11 module that is not available in RHEL-8. For this issue, an answer file has been generated (/var/log/leapp/answerfile) asking if pam_pkcs11 can be removed.
Authorize the removal of pam_pcks11 by modifying the answer file, or via the following command:
leapp answer --section remove_pam_pkcs11_module_check.confirm=True
Step 7
As part of the upgrade process, SSH root access is needed. Not necessarily because logging in via SSH as root is going to happen, but because otherwise, the upgrade process adjusts the SSH configuration to some standard values with which logging in via SSH with a password is no longer possible.
Authorize SSH root access via the following command:
sed -i -e "s/^PermitRootLogin no/PermitRootLogin yes/" /etc/ssh/sshd_config
Step 8
In a number of test installations, we encountered as the last 'inhibitor' some unsupported kernel modules. These are the modules floppy and pata_acpi. If you also see a message about this, remove both with the commands:
modprobe -r floppy
modprobe -r pata_acpi
Step 9
Check to make sure no other inhibitors are visible in the file /var/log/leapp/leapp-report.txt.
nano /var/log/leapp/leapp-report.txt
Issues in /var/log/leapp/leapp-report.txt that are displayed as high without the addition (inhibitor) can be ignored. If you still see inhibitors, follow the instructions in /var/log/leapp/answerfile.
Step 10
Perform the leapp preupgrade command again:
leapp preupgrade
The preupgrade will now find no inhibitors. At the end of the preupgrade check, you recognize that the process was successful when you see the following output among others:
============================================================
                                           REPORT
============================================================
A report has been generated at /var/log/leapp/leapp-report.json
A report has been generated at /var/log/leapp/leapp-report.txt
============================================================
                                           END OF REPORT
============================================================
EPEL-packages such as openssl can cause the upgrade process to hang, even though Leapp indicates they are okay. Therefore, check beforehand which EPEL packages you have installed and consider removing them before the upgrade and reinstalling them after the upgrade. You check which EPEL packages you are using with the command:
yum list installed | grep epel
You can remove packages with the command:
yum erase packagename
Step 11
Now actually perform the upgrade with the command:
leapp upgrade
Step 12
After completion, restart your VPS. The 'elevate-upgrade' process is now carried out to upgrade CentOS 7 to AlmaLinux 8. This will take some time (30-60 mins). If you have been using SSH until now, it's handy to have the console in the TransIP control panel handy for this step to monitor progress.
reboot
Step 13
When the process is complete, you recognize it from a message that looks like this:
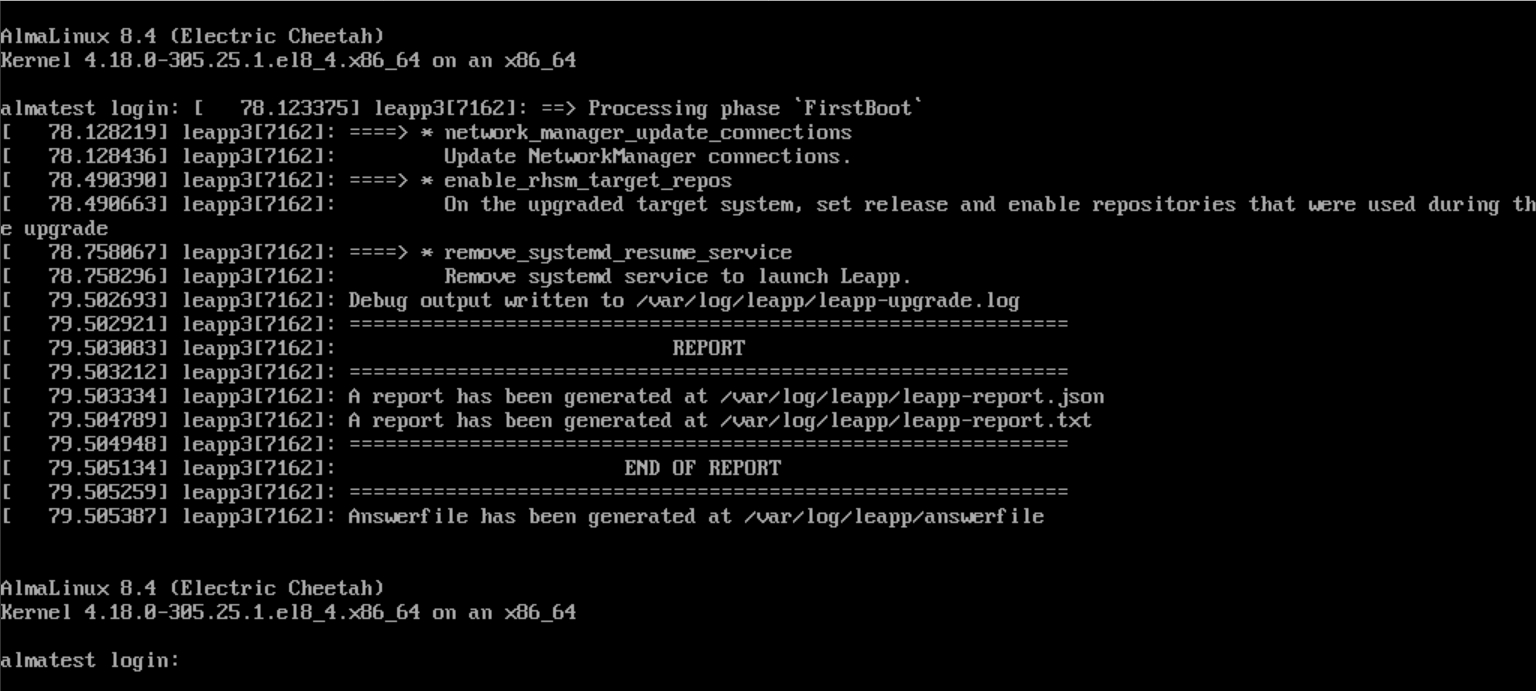
Your login screen is not visible. Press 'Enter' to bring it forward. You will then see a login prompt back as in the screenshot above. Log in as the root user.
Step 14
Disable the permission to log in as root user via SSH again and restart your SSH server:
sed -i -e "s/^PermitRootLogin yes/PermitRootLogin no/" /etc/ssh/sshd_config
systemctl restart sshd
Step 15 - optional for private networks
If you use a private network, rename the network configuration file now and restart your interface:
mv /etc/sysconfig/backup /etc/sysconfig/network-scripts/ifcfg-eth0:1
ifdown eth0 && ifup eth0
Step 16
Congratulations! Your CentOS 7 installation has now been fully converted to a newer operating system. Check that the upgrade was performed correctly with the following command:
cat /etc/os-release
Step 17 - DirectAdmin
Were you using DirectAdmin in combination with CentOS 7? Then rebuild the software managed by CustomBuild again, otherwise, it is possible that some software does not work. You do this easily with two commands:
cd /usr/local/directadmin/custombuild
./build all d
With that, we have come to the end of this guide for upgrading from CentOS 7 to AlmaLinux 8.
If you have any questions based on this article, do not hesitate to contact our support department. You can reach them via the 'Contact us' button at the bottom of this page.