


Nginx is a web server and a reverse proxy server focused on low memory usage and high performance. If you are hosting a dynamic website on your VPS (e.g., WordPress), you will also need MariaDB (or a similar alternative like MySQL).
In this article, we cover the installation and configuration of Nginx in the following sections:
- Installing Nginx
- Opening the HTTP and HTTPS ports in your firewall
- Setting up an Nginx server block
- PHP installation and configuration
The Nginx installation
Step 1
Before installing Nginx, update your VPS:
dnf -y update
Step 2
Next, install Nginx with the command:
dnf -y install nginx
Step 3
After installation, start Nginx with the command:
systemctl start nginx
systemctl enable nginx
Opening the HTTP and HTTPS ports in your firewall
If you are using a firewall like Firewalld, the HTTP and HTTPS ports of your firewall are closed by default. In this section, you will open the HTTP and HTTPS ports.
Step 1
Open the HTTP and HTTPS ports:
firewall-cmd --permanent --add-service=http
firewall-cmd --permanent --add-service=https
To apply the changes, reload the firewall:
firewall-cmd --reload
Step 2
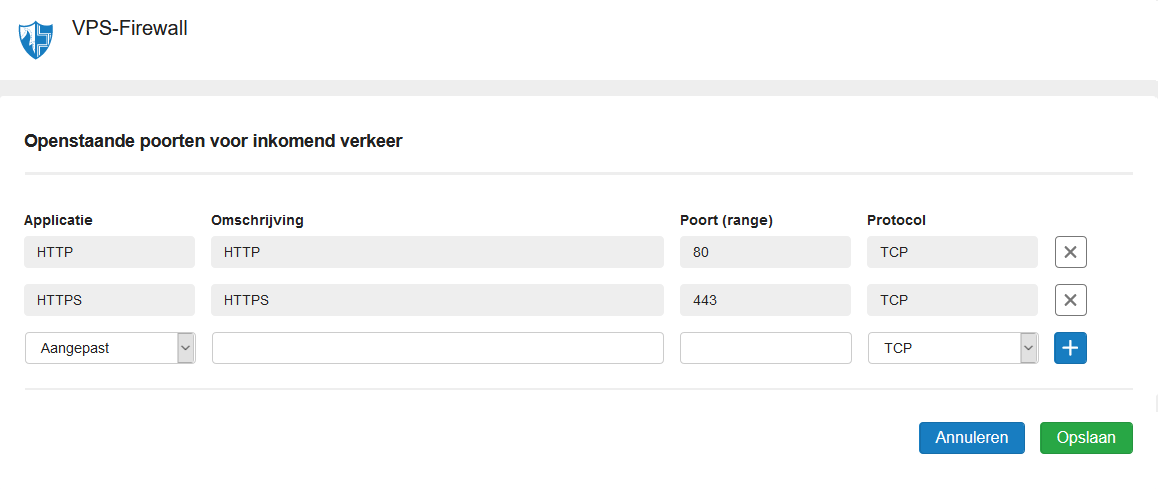
If you are using the VPS Firewall in the control panel, also open the HTTP and HTTPS ports in your control panel:
Setting up an Nginx server block
Nginx uses server blocks. These are similar to Apache's virtual hosts and allow you to host more than one website at the same time.
Step 1
First, create a directory for your domain (with the -p option from 'parent', you automatically create missing underlying directories).
mkdir -p /var/www/example.com/html
Step 2
Are you following these steps as the root user? Then first switch back to your own user with the command exit and use 'sudo' when executing the commands in this article, or switch back to the root user after this step.
The root user has automatically become the owner of this directory by using sudo. Change the owner of the html folder to yourself with the command:
chown $USER:$USER /var/www/example.com/html
Step 3
Adjust the permissions for the directory (and underlying directories via the recursive option -R) so that the owner has full access and the group and other users can read and execute files in the directory.
chmod -R 755 /var/www/example.com
Step 4
Create a test file in the html directory to test your Nginx server.
nano /var/www/nginx.example.com/html/index.html
If you don't have Nano installed on your VPS yet, use the command below or the text editor Vi:
dnf -y install nanoGive the file the following content, or use your own HTML code:
<!DOCTYPE html>
<html>
<head>
<title>Example</title>
</head>
<body>
<p>Hello world! </p>
</body>
</html>
Save the changes and close nano (ctrl + x > y > enter).
Step 5
To display the content of the index.html file, create a server block for Nginx. Here you specify which ports and directory you use, your server name, and which files should be used as the index:
nano /etc/nginx/conf.d/example.com.conf
Step 6
Paste the following configuration into the opened file:
server {
listen 80;
listen [::]:80;

root /var/www/example.com/html;
index index.php index.html index.htm index.nginx-debian.html;

server_name example.com www.example.com;

}
Save the changes and close nano (ctrl + x > y > enter).
Step 7
You can now directly test your web server by going to http://example.com in a browser, replacing example.com with your hostname (check with the command 'hostname'), or the IP address of your VPS. You will then see the default test page.
If you experience issues, this is likely due to Selinux. We recommend setting Selinux to permissive mode in that case, or allowing Nginx in Selinux. For more information on Selinux, see this guide.
PHP installation and configuration
Nginx does not come with PHP by default. To use PHP, you need to install it separately. Below we show how to install and configure PHP and then adjust the Nginx configuration to use PHP.
Step 1
Install the EPEL and REMI repository, the latest PHP version is included:
CentOS Stream 8 / AlmaLinux 8 / Rocky Linux 8:
dnf -y install https://dl.fedoraproject.org/pub/epel/epel-release-latest-8.noarch.rpm
dnf -y install https://rpms.remirepo.net/enterprise/remi-release-8.rpm
CentOS Stream 9 / AlmaLinux 9 / Rocky Linux 9:
dnf -y install https://dl.fedoraproject.org/pub/epel/epel-release-latest-9.noarch.rpm
dnf -y install https://rpms.remirepo.net/enterprise/remi-release-9.2.rpm
Activate the PHP module:
dnf module reset php
dnf module install php:remi-8.3
Step 2
Install PHP with the command:
dnf -y updatednf -y install php
Step 3
Open the PHP.ini file (this file is responsible for the settings of your PHP server):
nano /etc/php.ini
Search in the file for 'cgi.fix_pathinfo=1' and change it to 'cgi.fix_pathinfo=0' to turn it off (if it is not already the case by default). This option is insecure and can make your PHP server vulnerable to attacks. Tip: Use ctrl + w to quickly search the file.
Save the changes and close nano (ctrl + x > y > enter).
Step 4
Open the PHP-fpm configuration file:
nano /etc/php-fpm.d/www.conf
Change the following values:
user = nginx
group = nginx
listen = /run/php-fpm/www.sock
Save the changes and close nano (ctrl + x > y > enter).
Step 5
Enable PHP-fpm so that PHP automatically starts after a reboot of your VPS:
systemctl enable php-fpm
Step 6
Check if the PHP installation was successful by creating an info.php file. This file shows your server's current PHP configuration.
Create the info.php file:
nano /var/www/nginx.example.com/html/info.php
Place the following code in the file:
<?php
phpinfo();
?>
Save the file and close it (ctrl + x > y > enter).
Step 7
To display the content of the info.php file, adjust the server block of your domain.
Open the server block:
nano /etc/nginx/conf.d/example.com.conf
Adjust the file to the example:
server {
listen 80;
listen [::]:80;

root /var/www/example.com/html;
index index.php index.html index.htm index.nginx-debian.html;
server_name example.com www.example.com;

location ~ \.php$ {
try_files $uri =404;
fastcgi_split_path_info ^(.+\.php)(/.+)$;
fastcgi_pass unix:/run/php-fpm/www.sock;
fastcgi_index index.php;
fastcgi_param SCRIPT_FILENAME $document_root$fastcgi_script_name;
include fastcgi_params;
}
}
Save the file and close it (ctrl + x > y > enter).
Step 8
Then restart Nginx:
systemctl restart nginxStep 9
Open a web browser and go to your PHP test page:
http://example.com/info.php
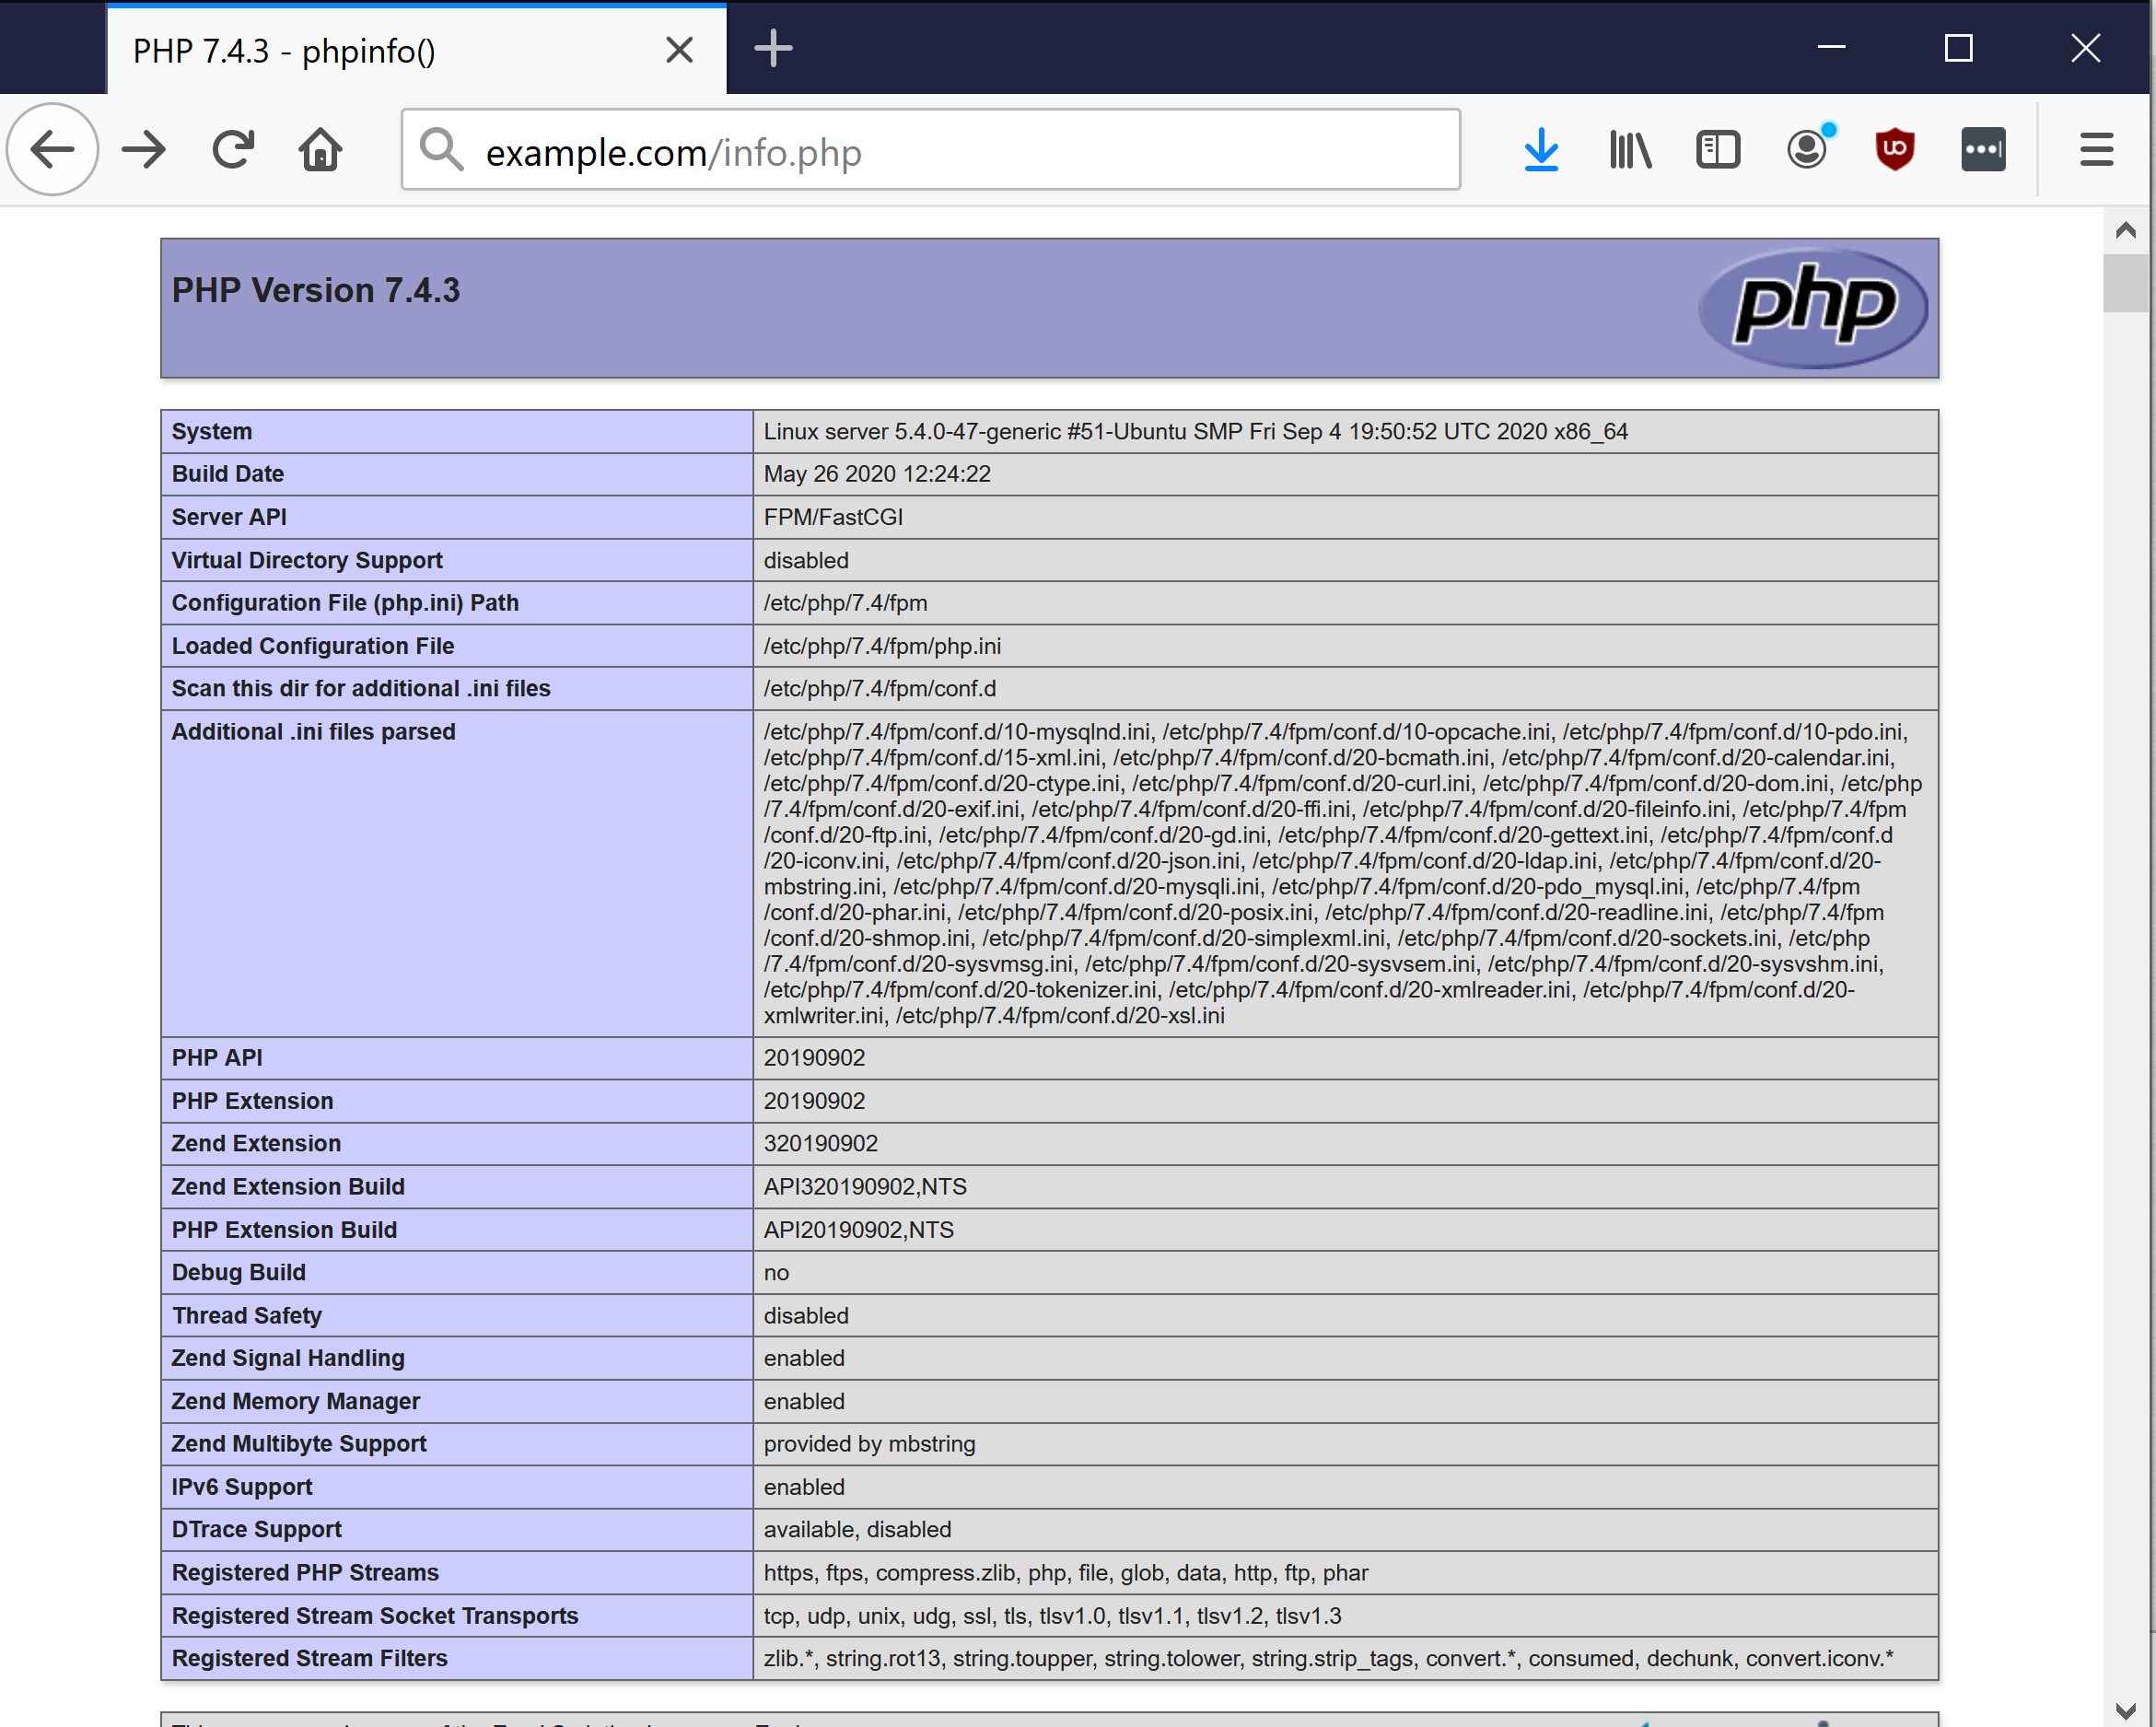
If you have followed all the steps correctly, you will see a PHP information page like the one below:
This concludes our guide for installing Nginx on Centos Stream, AlmaLinux, or Rocky Linux. You can now use PHP, HTML, and CSS on your website.
If you have any questions based on this article, please do not hesitate to contact our support department. You can reach them via the 'Contact us' button at the bottom of this page.