


A 'Remote Desktop Session Collection' is a collection of apps and desktops (i.e., RDP servers) which you make available for users to use in Remote Desktop Sessions. This is especially a handy feature when you work with multiple Remote Desktop servers.
Before creating a collection and to gain a better understanding of Remote Desktop Session Collections, it is important to consider what collections you can create. You are free to choose, and it depends on your target group:
-
Pooled desktop sessions: Multiple users share the same Remote Desktop server(s). This is a convenient way to save costs as multiple users share one server. Users have limited options to customize their desktop environment.
- Personal desktop sessions: Every user has his own Remote Desktop server at his disposal. This experience aims to provide as faithful a desktop experience as possible and is more expensive than pooled desktop sessions because you need more servers for the same number of users.
The steps in this tutorial require the following items:
- An Active Directory (tip: create a group called 'RDS Users' in advance.
- A server on which the Remote Desktop Services role and Licensing Services are installed.
Step 1
Connect via Remote Desktop or the VPS console as domain administrator to the VPS on which you completed the Remote Desktop Services installation.
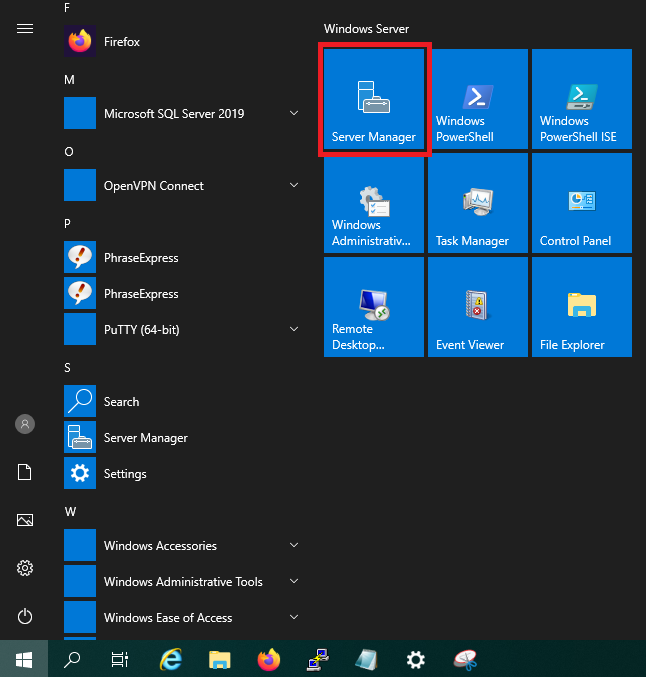
Step 2
Click the Windows Start button and then click 'Server Manager'.
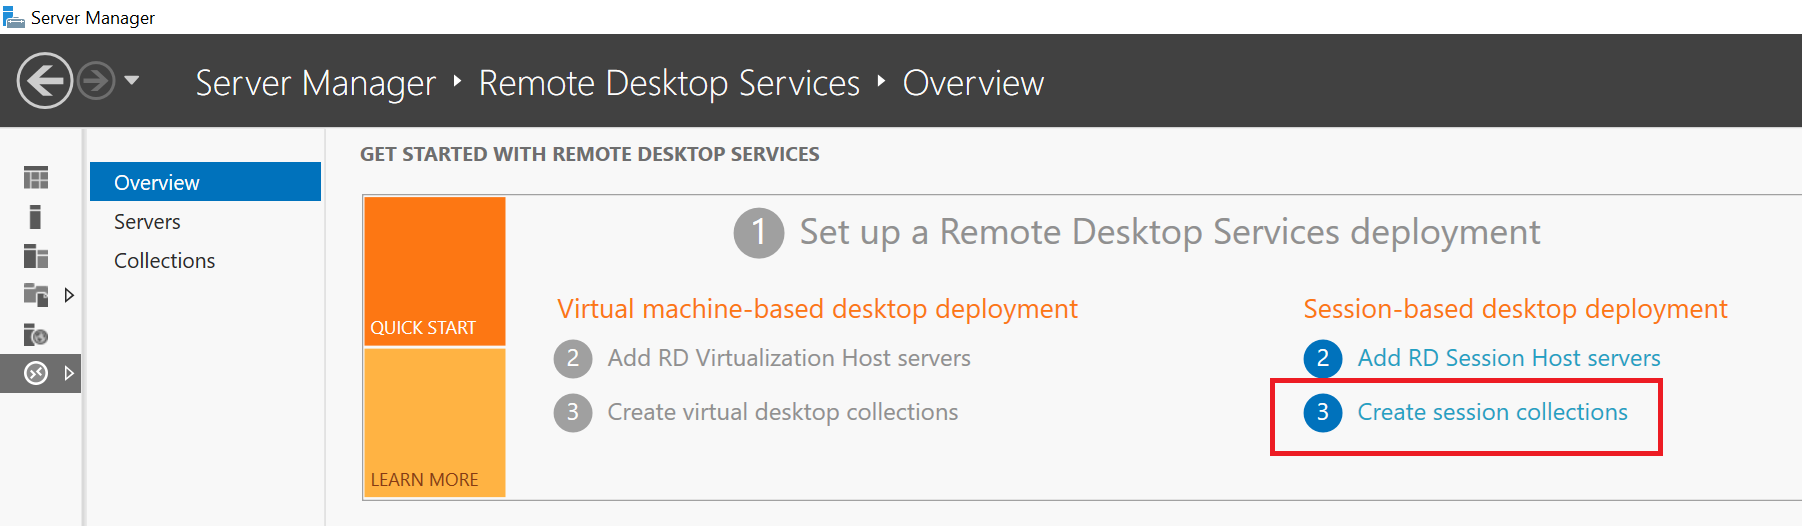
Step 3
Click 'Remote Desktop Services' > 'Overview' > 'Create Session Collection' consecutively.
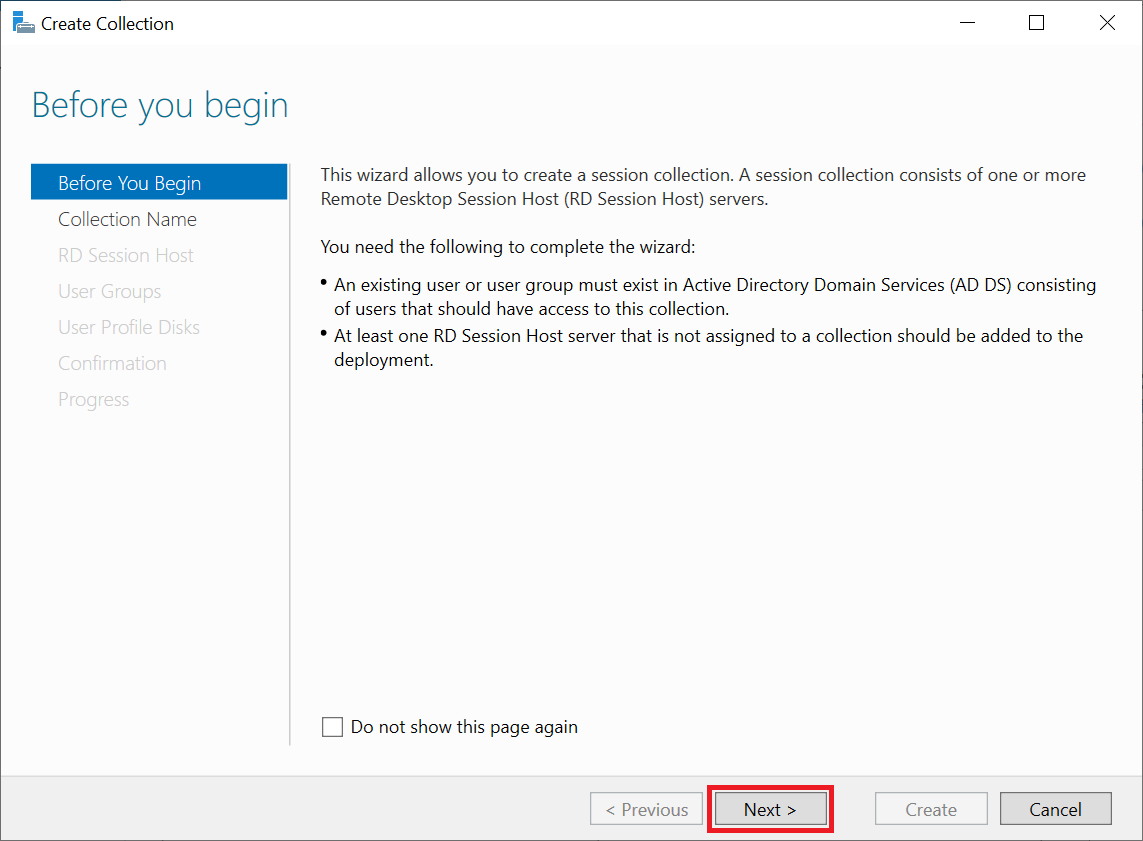
Step 4
The Session Collection Wizard will now start. Click 'Next' to get started.
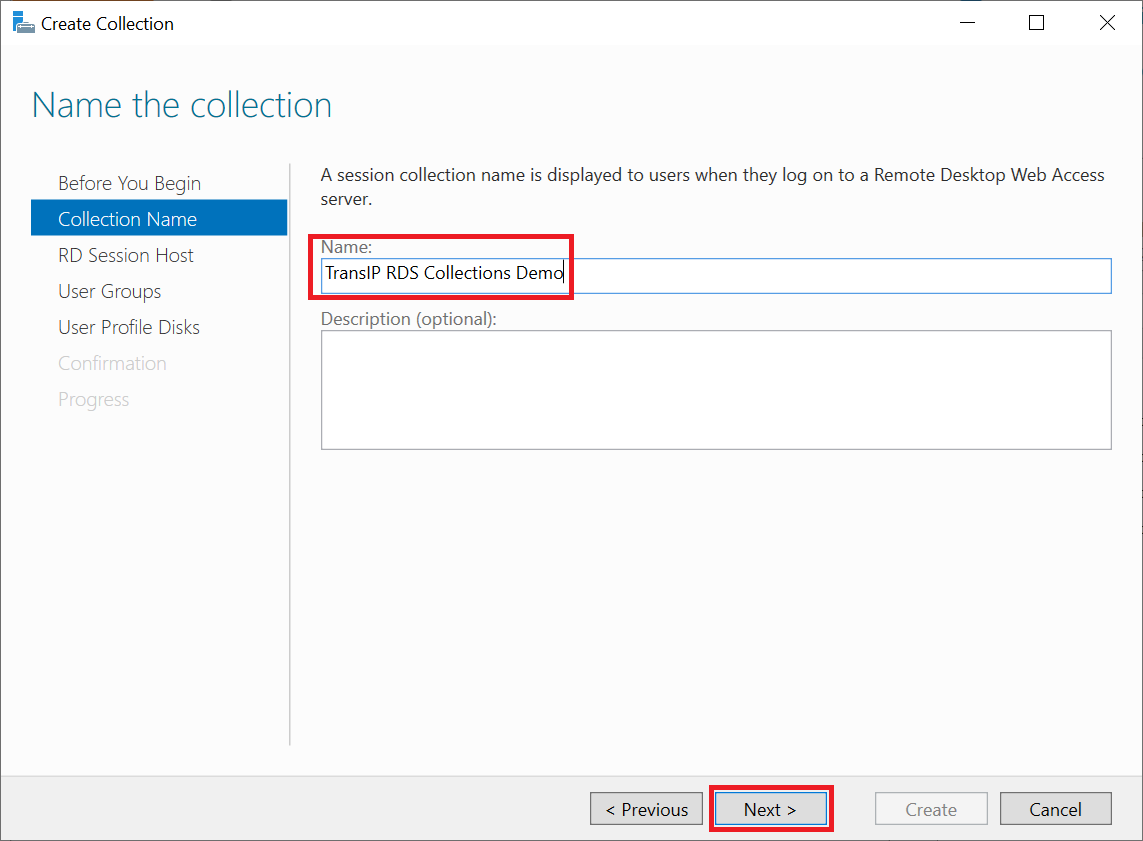
Step 5
Give the collection a name, optionally a description, and click 'Next'.
Step 6
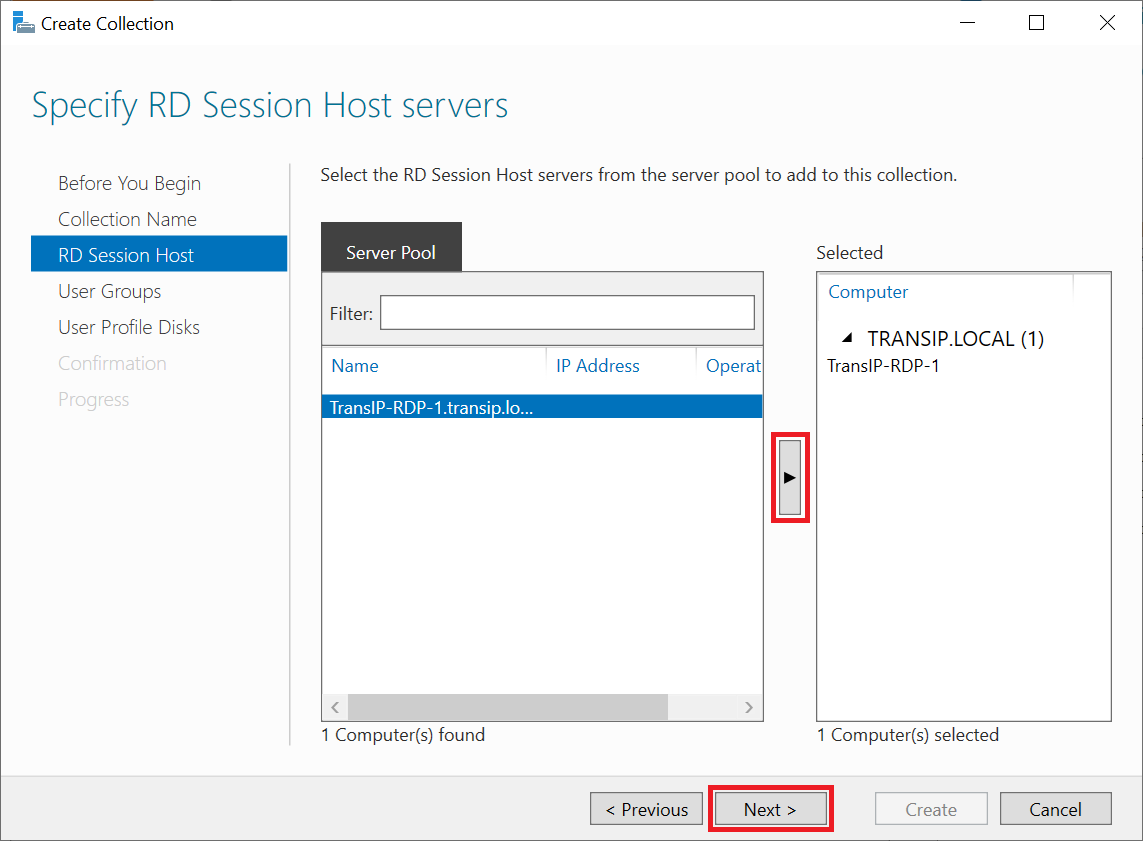
Select all servers you want to add to the collection and click 'Next'. In this example, only one server is visible. When using a sever pool, there will be several listed.
Step 7
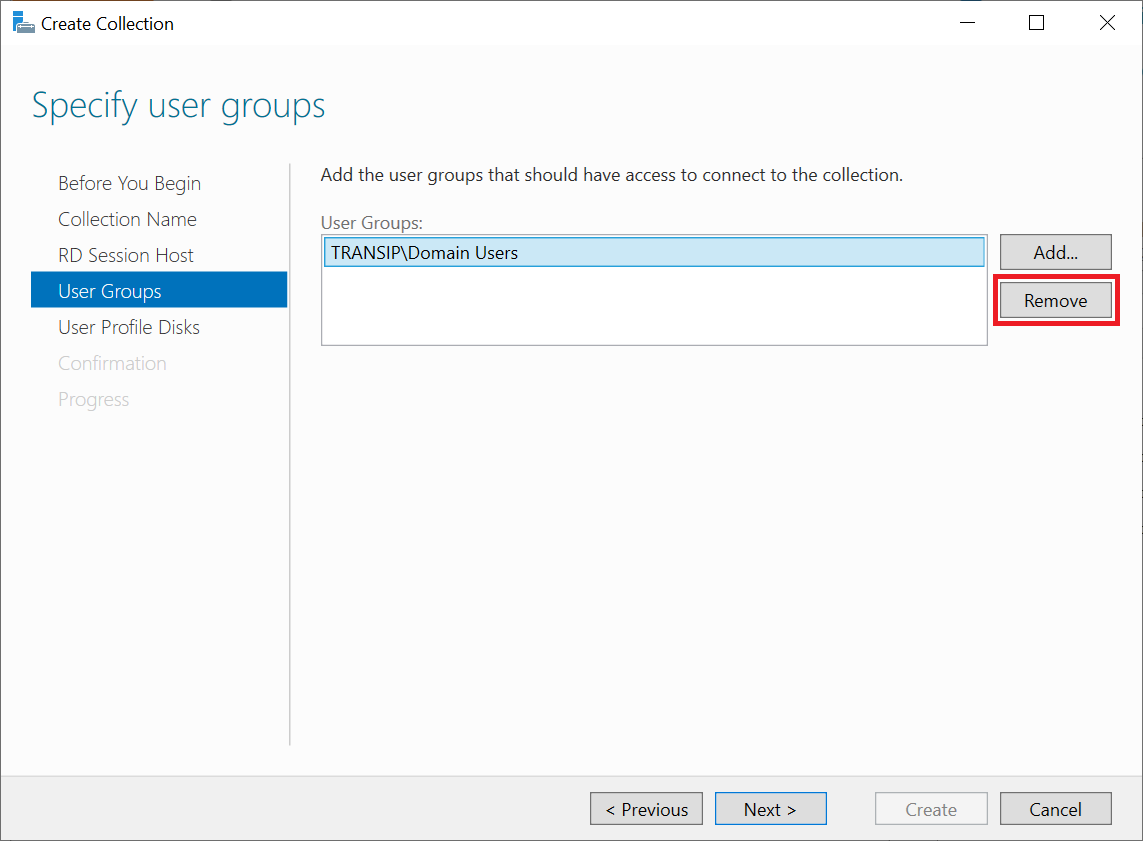
On the 'User Groups' page you indicate which Domain Groups have access to the collection. Users who are not members of the group specified here cannot connect to the servers in the collection via remote desktop.
By default, all domain users are given access to the collection, i.e., permission to connect to the servers in the collection via remote desktop. This is not safe, so first click 'Remove'.
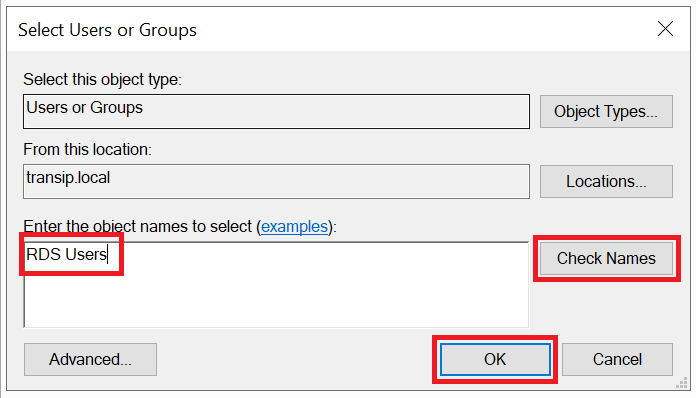
Now click 'Add' to add a new group. To do this, in the 'Select Users or Groups' screen, search for the group name 'RDS Users' and click 'OK'. Create the RDS Users group if you haven't done so before and add users to it who should access the remote desktop servers in this collection.
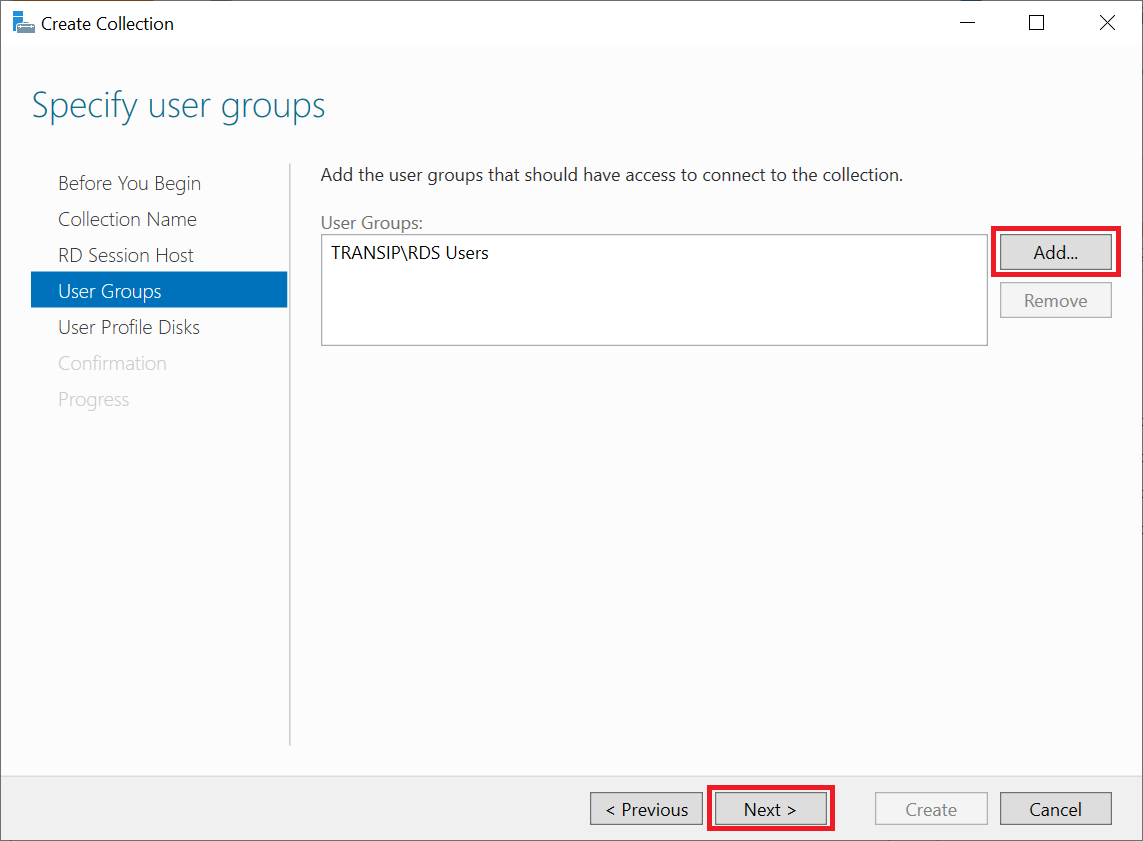
Finally, click 'Next' to continue.
An overview of more options to restrict access to Remote Desktop servers can be found here.
Step 8
(Optionally) specify a network location where User Profile disks will be stored, for example a (Big Storage) share used on a File Server. Adjust the 'maximum size' for the user profiles as desired and then click 'Next'.
- It is important that the Remote Desktop Session Hosts have full access to the profile folder (the Profiles folder in \\TransIP-RDP-1\smb\Users\ in the example below). This access is automatically given to your RD Session Hosts through these steps. You can check this on your SMB server by looking at the relevant folder under Properties > Security.
- A user sees C:\users\<username> as his profile location. However, data is written to the specified network location in real time.
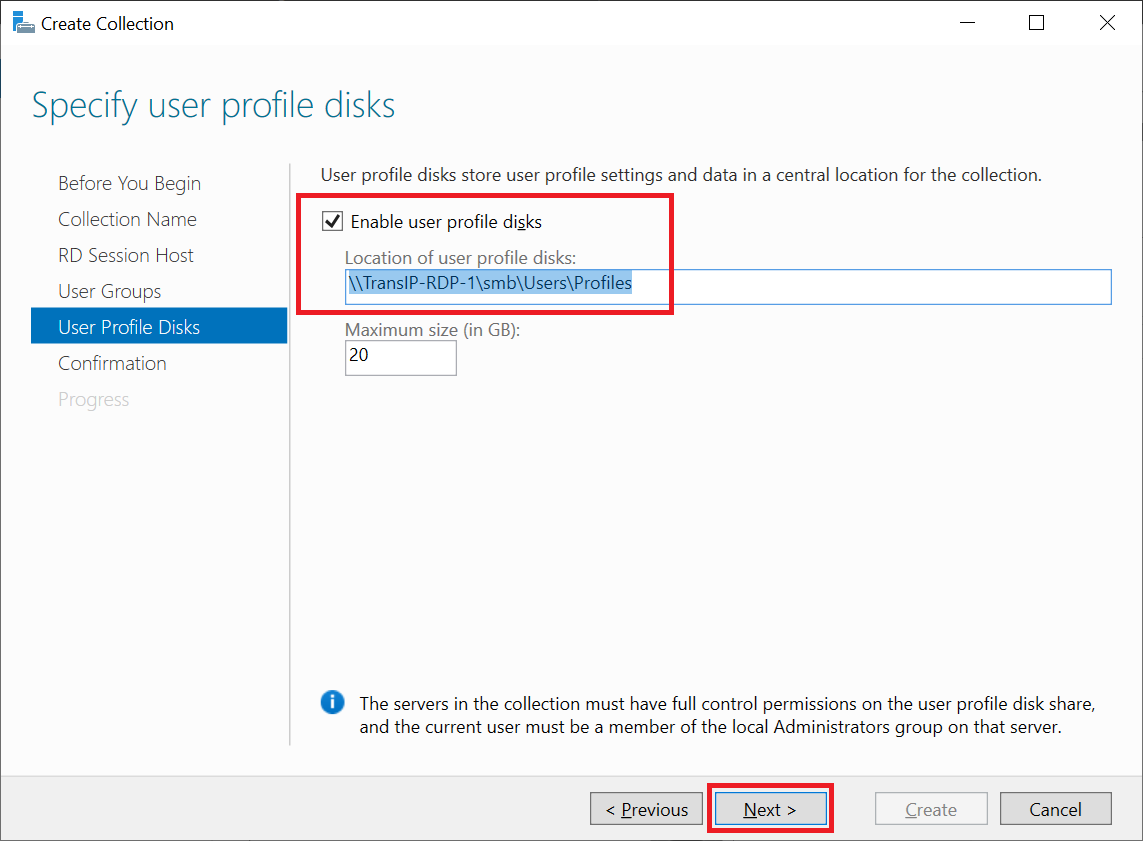
- Note that if you have set a file quota on the directory where you store the user profile, that file quota must be equal to or greater than the maximum size set here. Otherwise, users will not be able to use their user profile and will get an error when connecting via remote desktop.
- A User Profile disk stores user and application data (and settings) in a virtual disk. During a remote desktop session, this disk is automatically attached to the server that the user connects to and disconnected again after the termination of a remote desktop session.
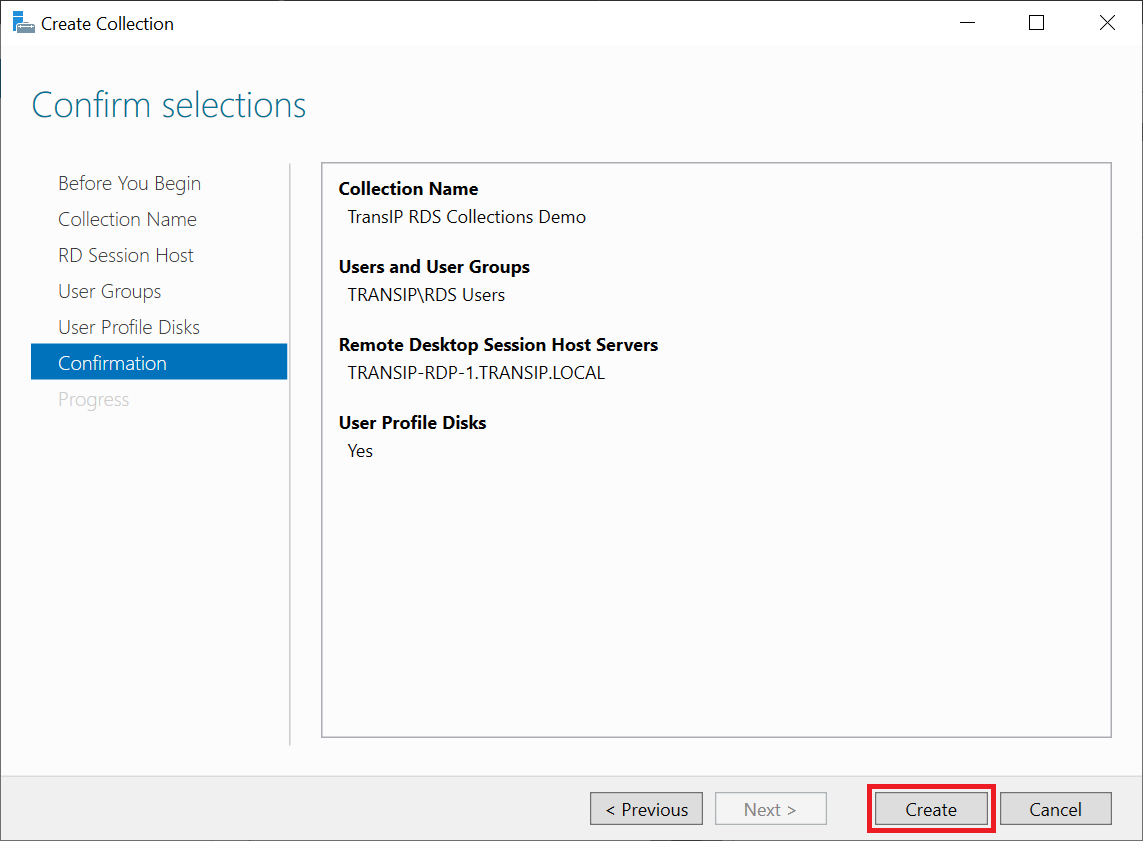
Step 9
You will see an overview of the chosen settings. Click 'Create' to create the collection.
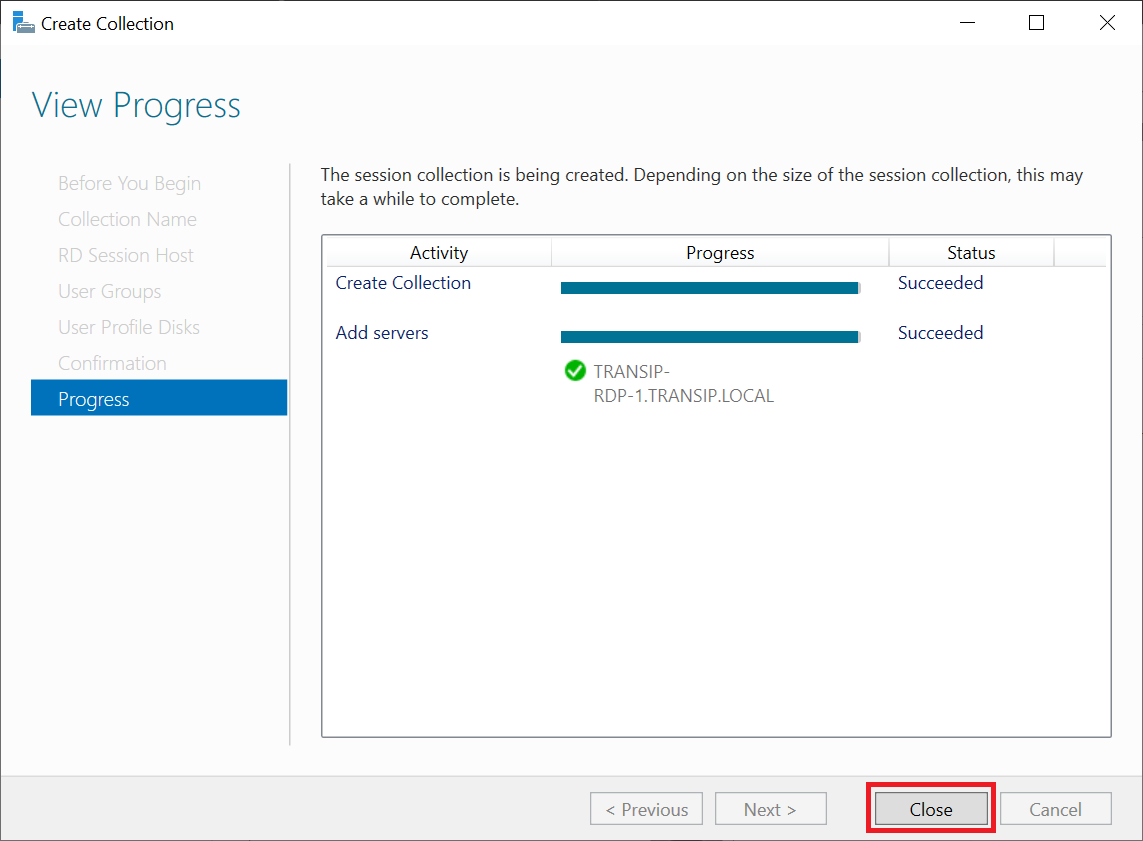
Step 10
Depending on the number of servers, creating the collection will not take more than a minute or two. Click 'Close' to close the wizard when the collection has been created.
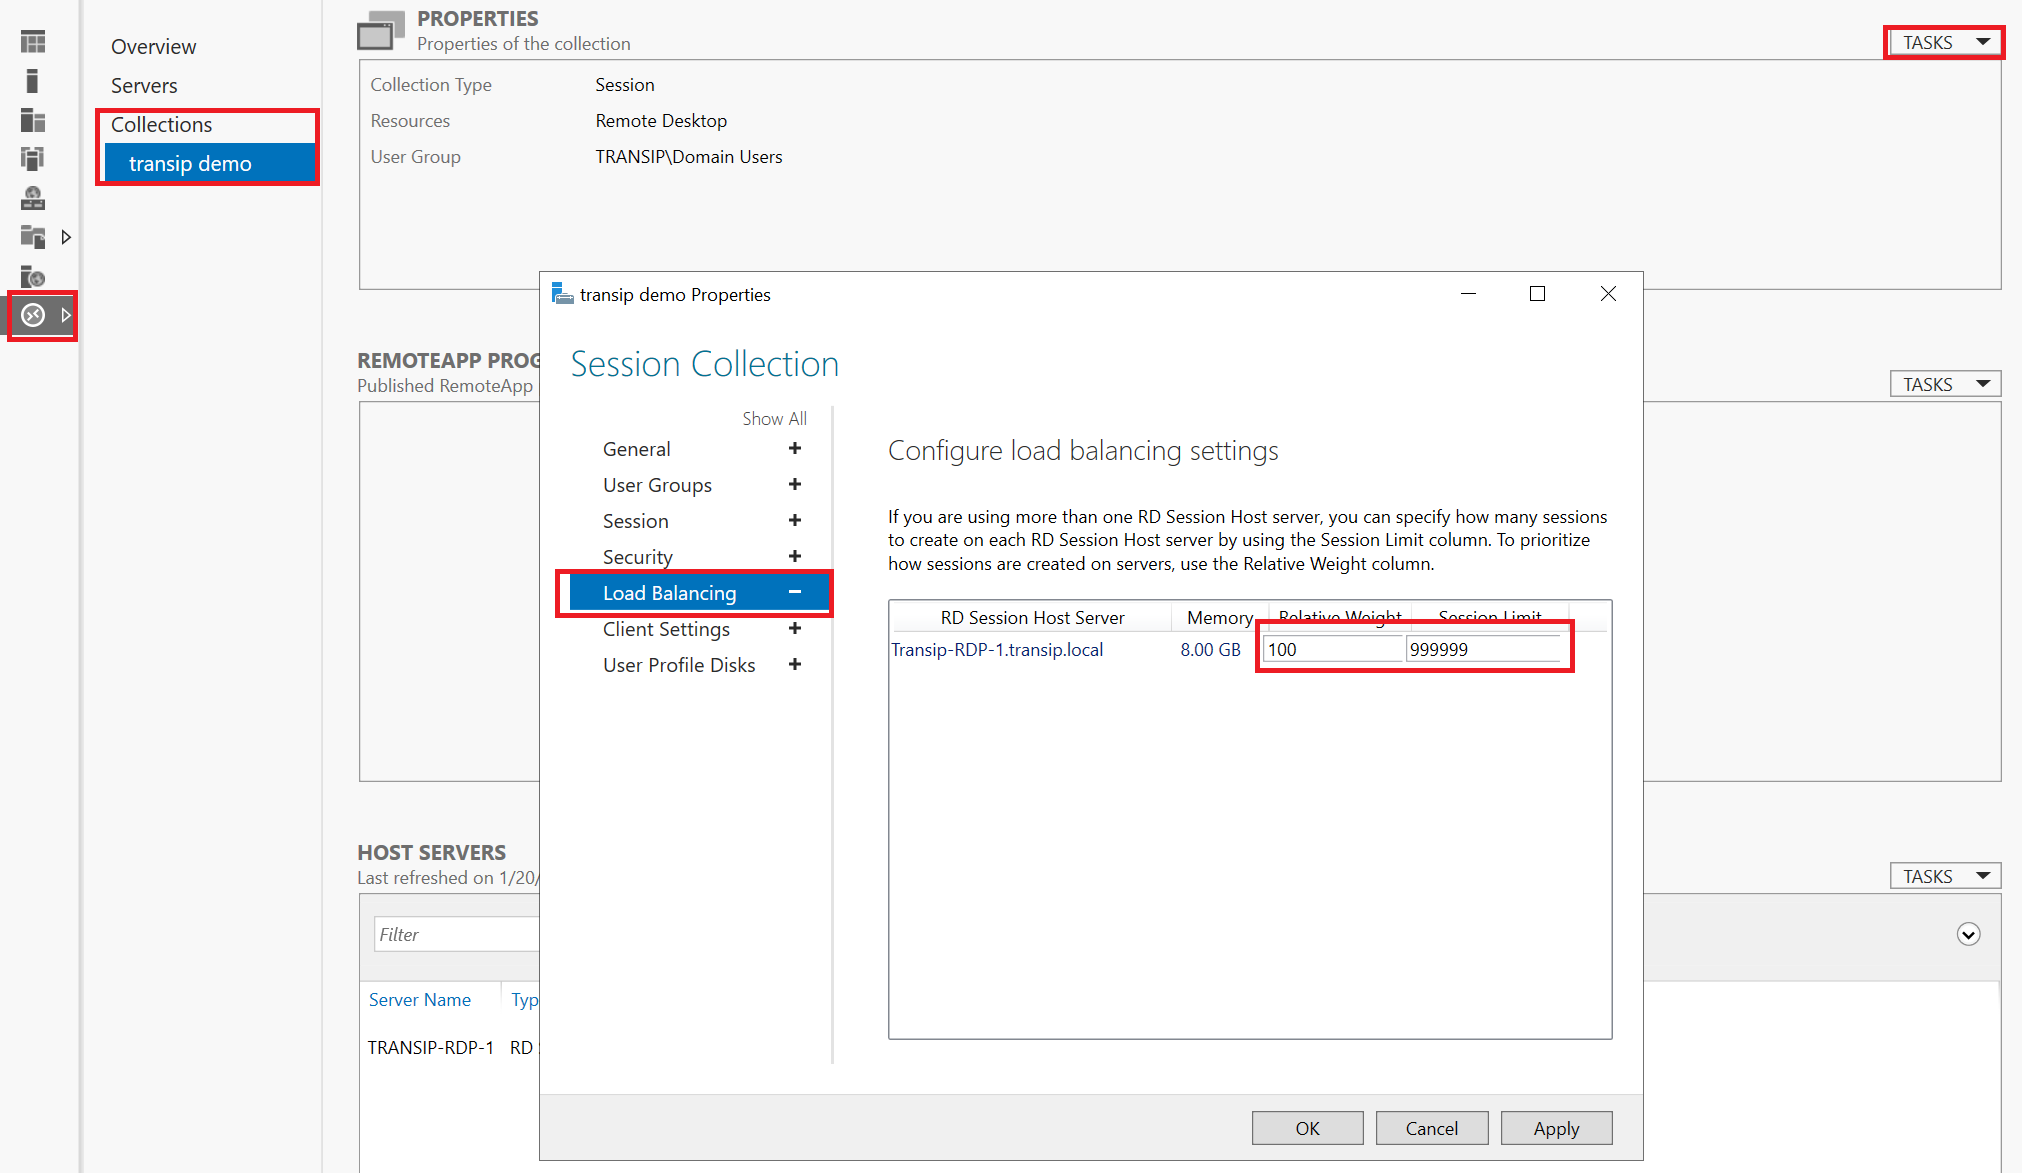
Now when a user connects to one of the Remote Desktop Session Hosts in the collection, one of the available servers is automatically used. Through the Windows Server Manager > Remote Desktop Services > Collections > <collection name> > Properties > Tasks > Edit Properties you have some control over the load balancing and the number of concurrent sessions per Remote Desktop Session Host.
This brings us to the end of this tutorial on creating remote desktop collections.