With an SMB file server, you can share folders and files within an Active Directory (AD) environment. A handy addition to this is the 'File Server Resource Manager' with which you can, for example, set quotas on SMB shares.
In this tutorial, we will show you how to use Quota Management and File Screening Management in the File Server Resource Manager. This allows you to respectively set a limit on the amount of disk space available for a (network) folder and which file types a user can place and use in a folder.
The steps in this guide require a Windows Server with the File Server and File Server Resource Manager role installed. In our File Server tutorial we explain this installation process.
Quota Management - Create Quota Templates
By setting up a 'Quota Template' you have precise control over how much disk space can be used by users, but also over log files and the notifications that are sent when disk space is low. To use a Quota Template, you assign it to a (network) folder. You create a Quota Template as follows:
Step 1
Connect to your File Server via Remote Desktop or the VPS console.
Step 2
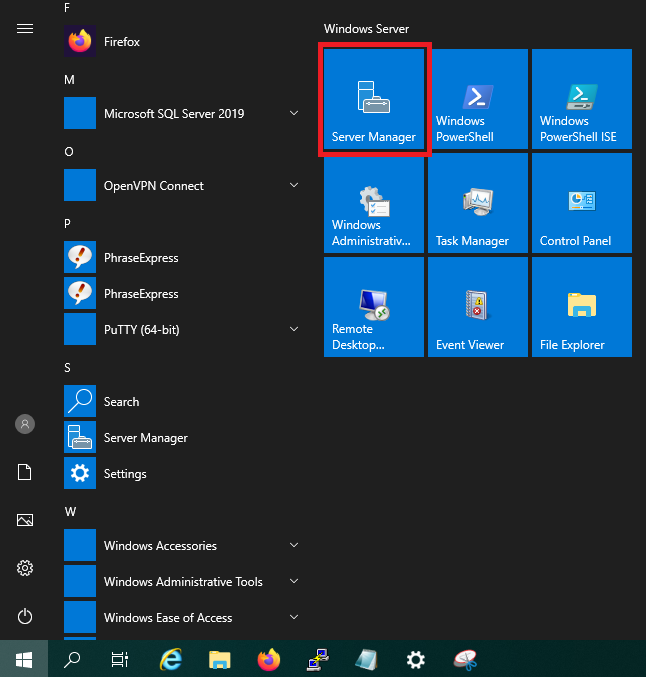
Click the Windows Start button and then click 'Server Manager'.
Step 3
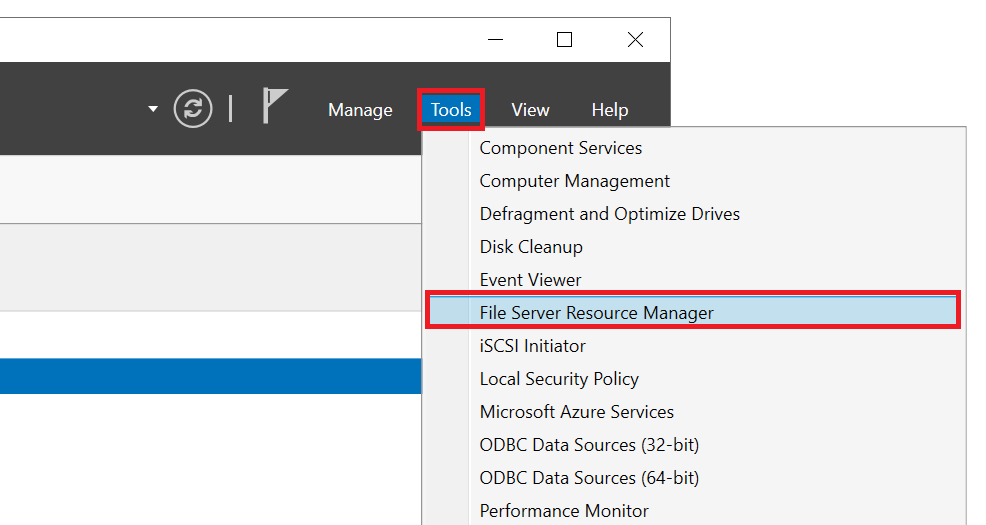
At the top right, click 'Tools' > 'File Server Resource Manager'.
Step 4
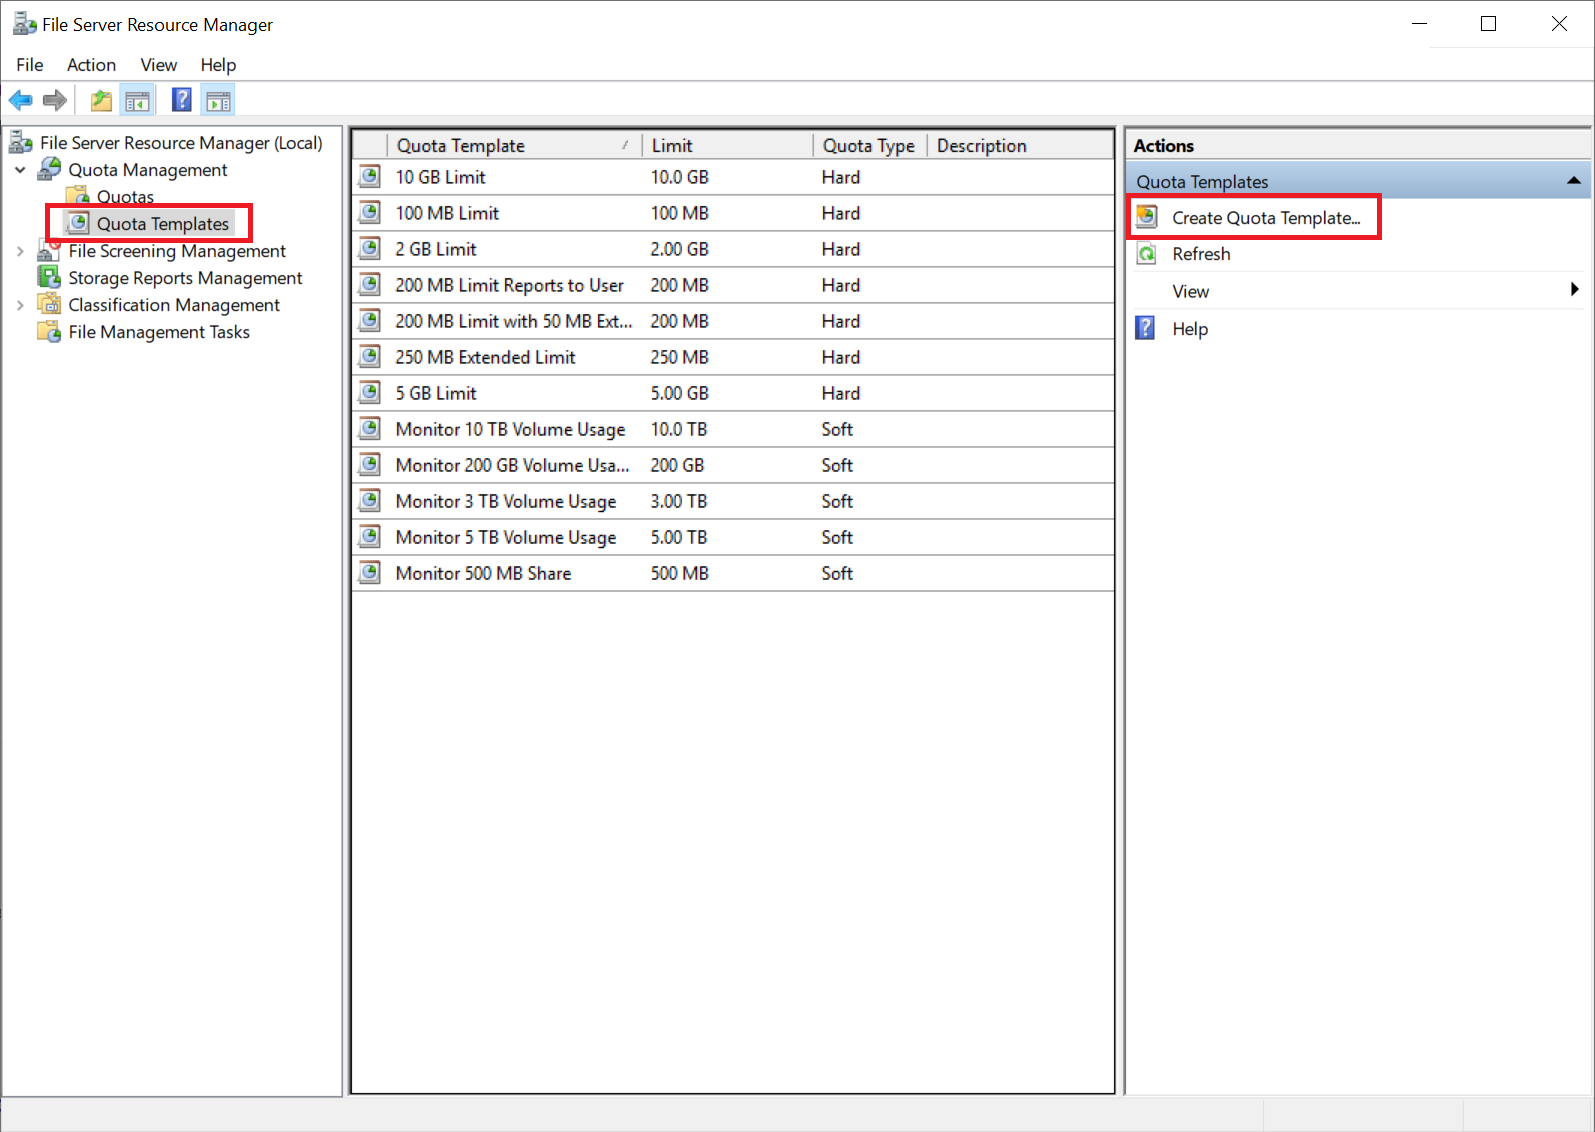
Expand 'Quota Management' in the left menu and select 'Quotas Templates'. There are already several handy templates available, but for this part we will show you how to create a new quota yourself. Right click 'Create Quota Template...'.
Step 5
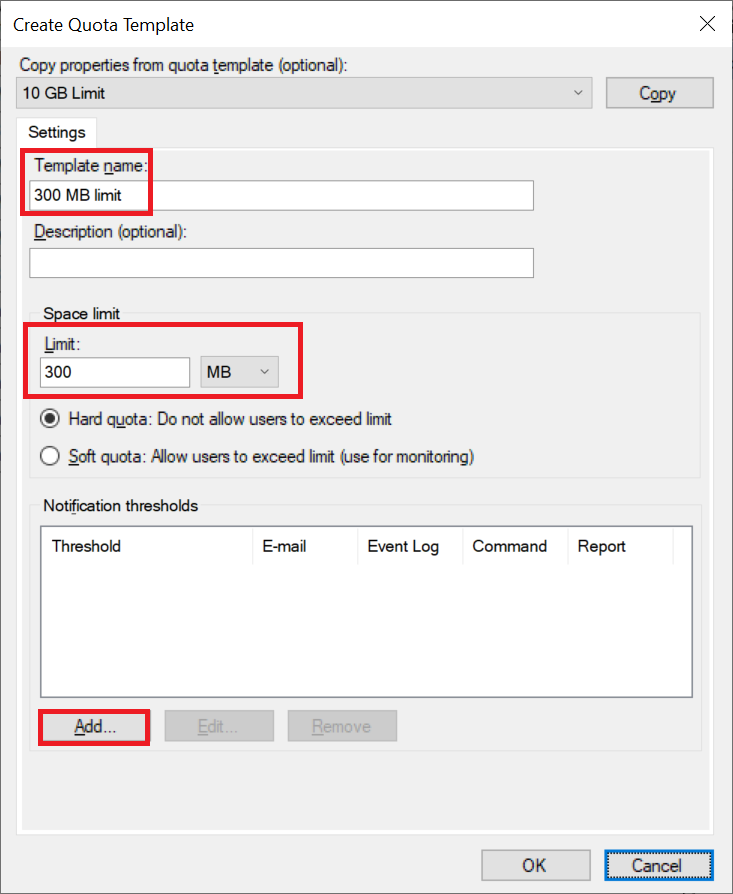
Name the quota and set a limit. Optionally, you can have reports in various ways when a certain amount of available disk space is sent. Click 'Add’ for this or skip this and click 'OK' to add the Quota Template.
Step 6 – Optional
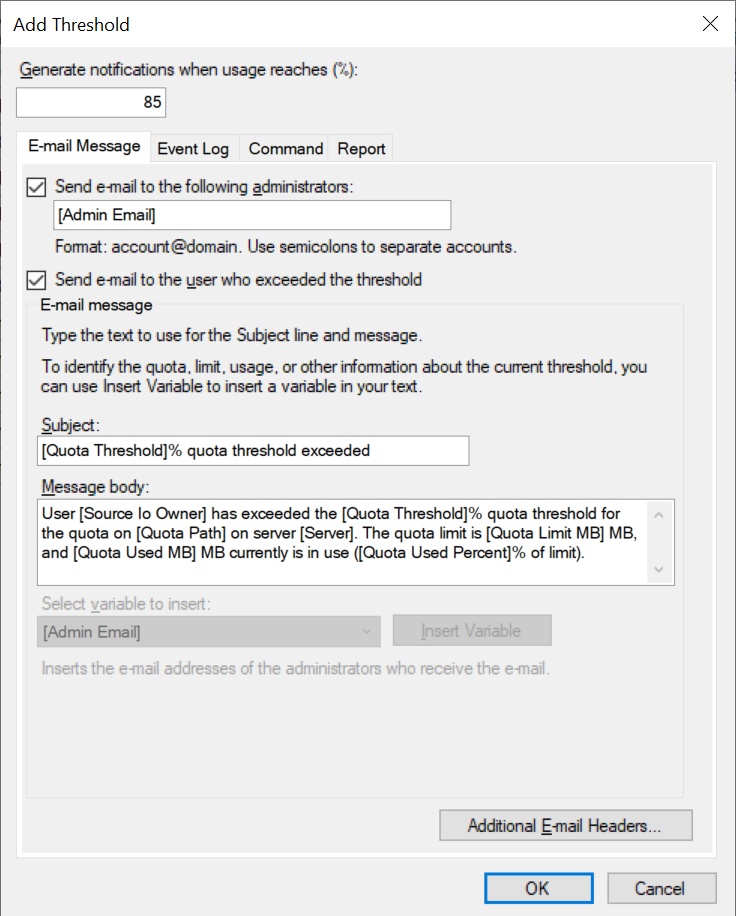
The 'Add threshold' page opens in the 'E-mail Message' tab. At the top, you determine under 'Generate notifications when usage reaches (%):' at what percentage of the set quota messages are sent or logged. Immediately below that, there are four tabs available, of which 'Email Message' is open by default:
In the 'E-mail Message'-tab you can set whether an email is sent to the administrators and/or the user. Here you are free to choose which options you want to use, but to use this function an SMTP server (an outgoing mail server such as Exchange) has to be be available.
Step 7 – Optional
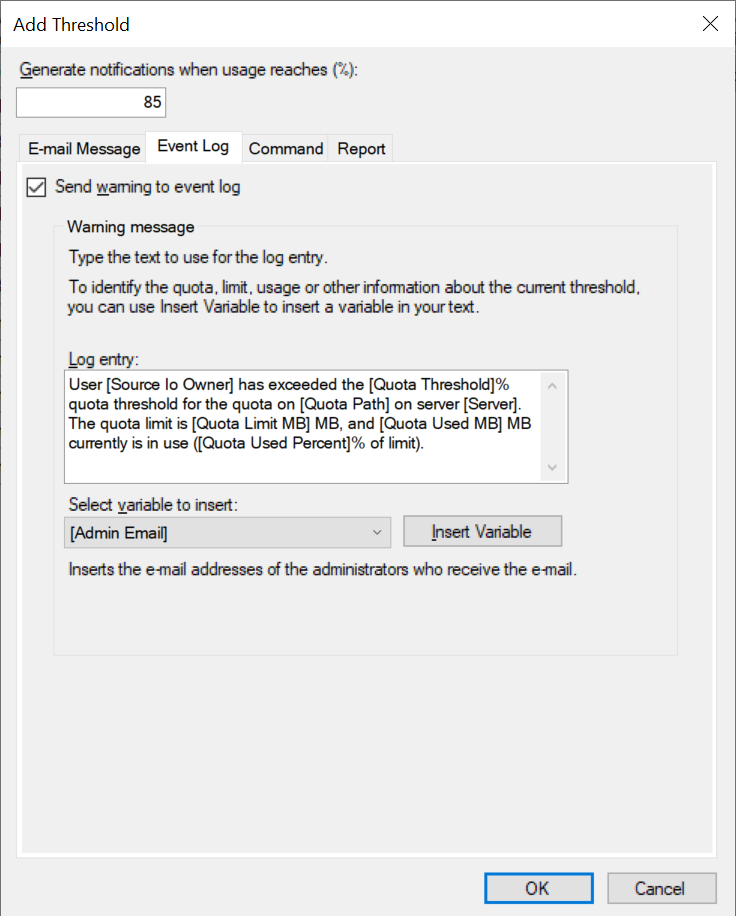
Optionally, you can also have a message logged in the Windows Event Logs. You are completely free to do this, and this is probably a bit superfluous if you already have an email sent to your administrators and the user.
Go to the 'Event Log' tab and check the 'Send warning to Event Log' option.
Step 8 – Optional
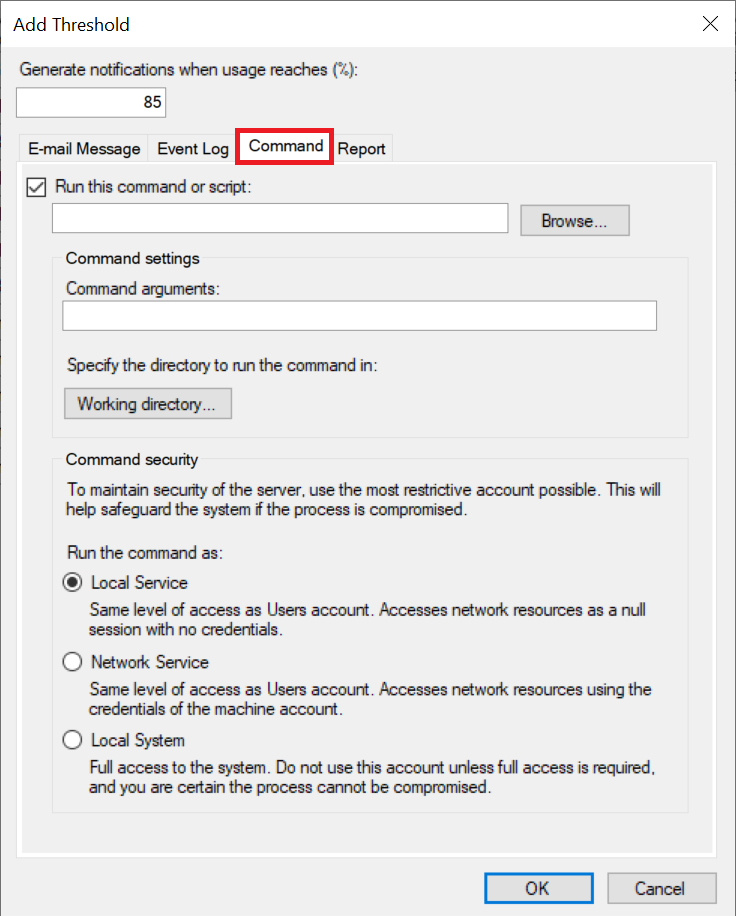
Just as optional as the previous two tabs is the 'Command' tab. Here you can run commands when a certain amount of disk space is reached. For example, you can automatically use a command to move old files to another directory to free up space.
Step 9 – Optional
The final option in the list of optional tabs is 'Reports'. This allows you to save a report on the used disk space on the local server/computer, with, for example, an overview of identical files.

When you're done, click 'OK' to add the threshold.
Repeat steps 6 to 9 if necessary to set more thresholds, for example when reaching 100%, and click 'OK' when you're done.
Your quota template is now ready. In the next section, we'll show you how to use it.
Setting a Quota
To be able to set a quota on disk space for a specific folder, you use quota templates. A number of templates are already available by default, but you can also create new ones yourself, following the steps from the previous paragraph. You can easily set a quota in a few steps as follows:
Step 1
Connect to your File Server via Remote Desktop or the VPS console.
Step 2
Click the Windows Start button and then click 'Server Manager'.
Step 3
At the top right, select 'Tools' > 'File Server Resource Manager'.
Step 4
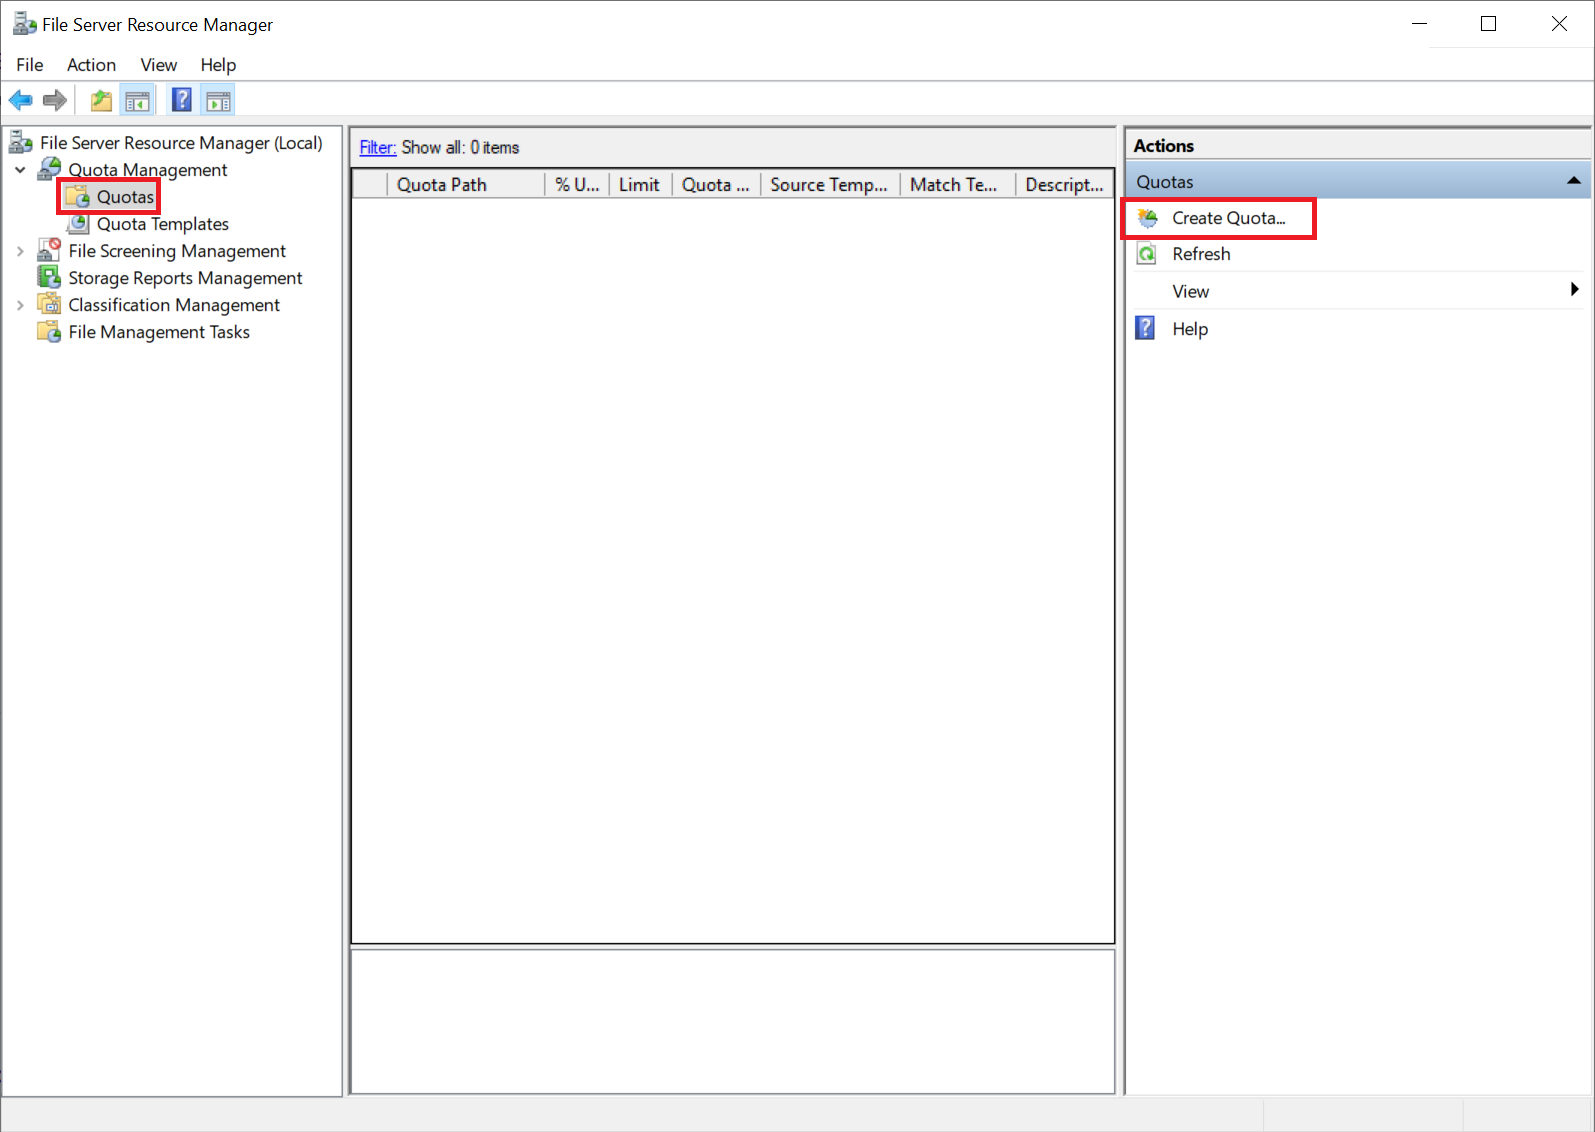
In the left menu, expand the options 'Quota Management' and select 'Quotas'. Then right click 'Create Quota...'.
Step 5
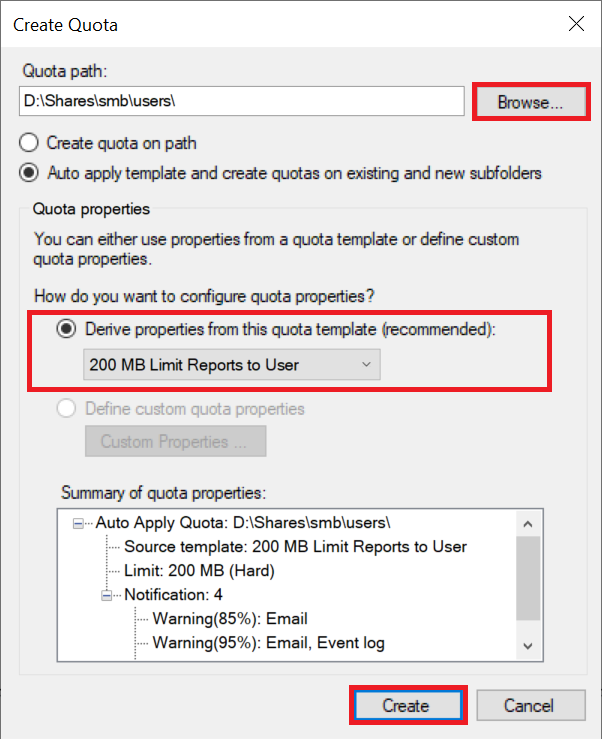
Click 'Browse' to select the folder to which you want to apply the quota. For example, if this is a network folder in which AD user profiles are stored, it is useful to also select the option 'Auto apply template and create quotas on existing and new subfolders'.
Select a Quota Template under the option 'Derive properties from this quota template' and click 'Create' to create and apply the quota.
Creating a File Screen Template
With a 'File Screen Template' you determine which type of files may be stored in a (network) folder. For example, you prevent .mp3 or .exe files from being saved. You can create a file screen template in a few steps:
Step 1
Connect to your File Server via Remote Desktop or the VPS console.
Step 2
Click the Windows Start button and then click 'Server Manager'.
Step 3
At the top right, select 'Tools' > 'File Server Resource Manager'.
Step 4
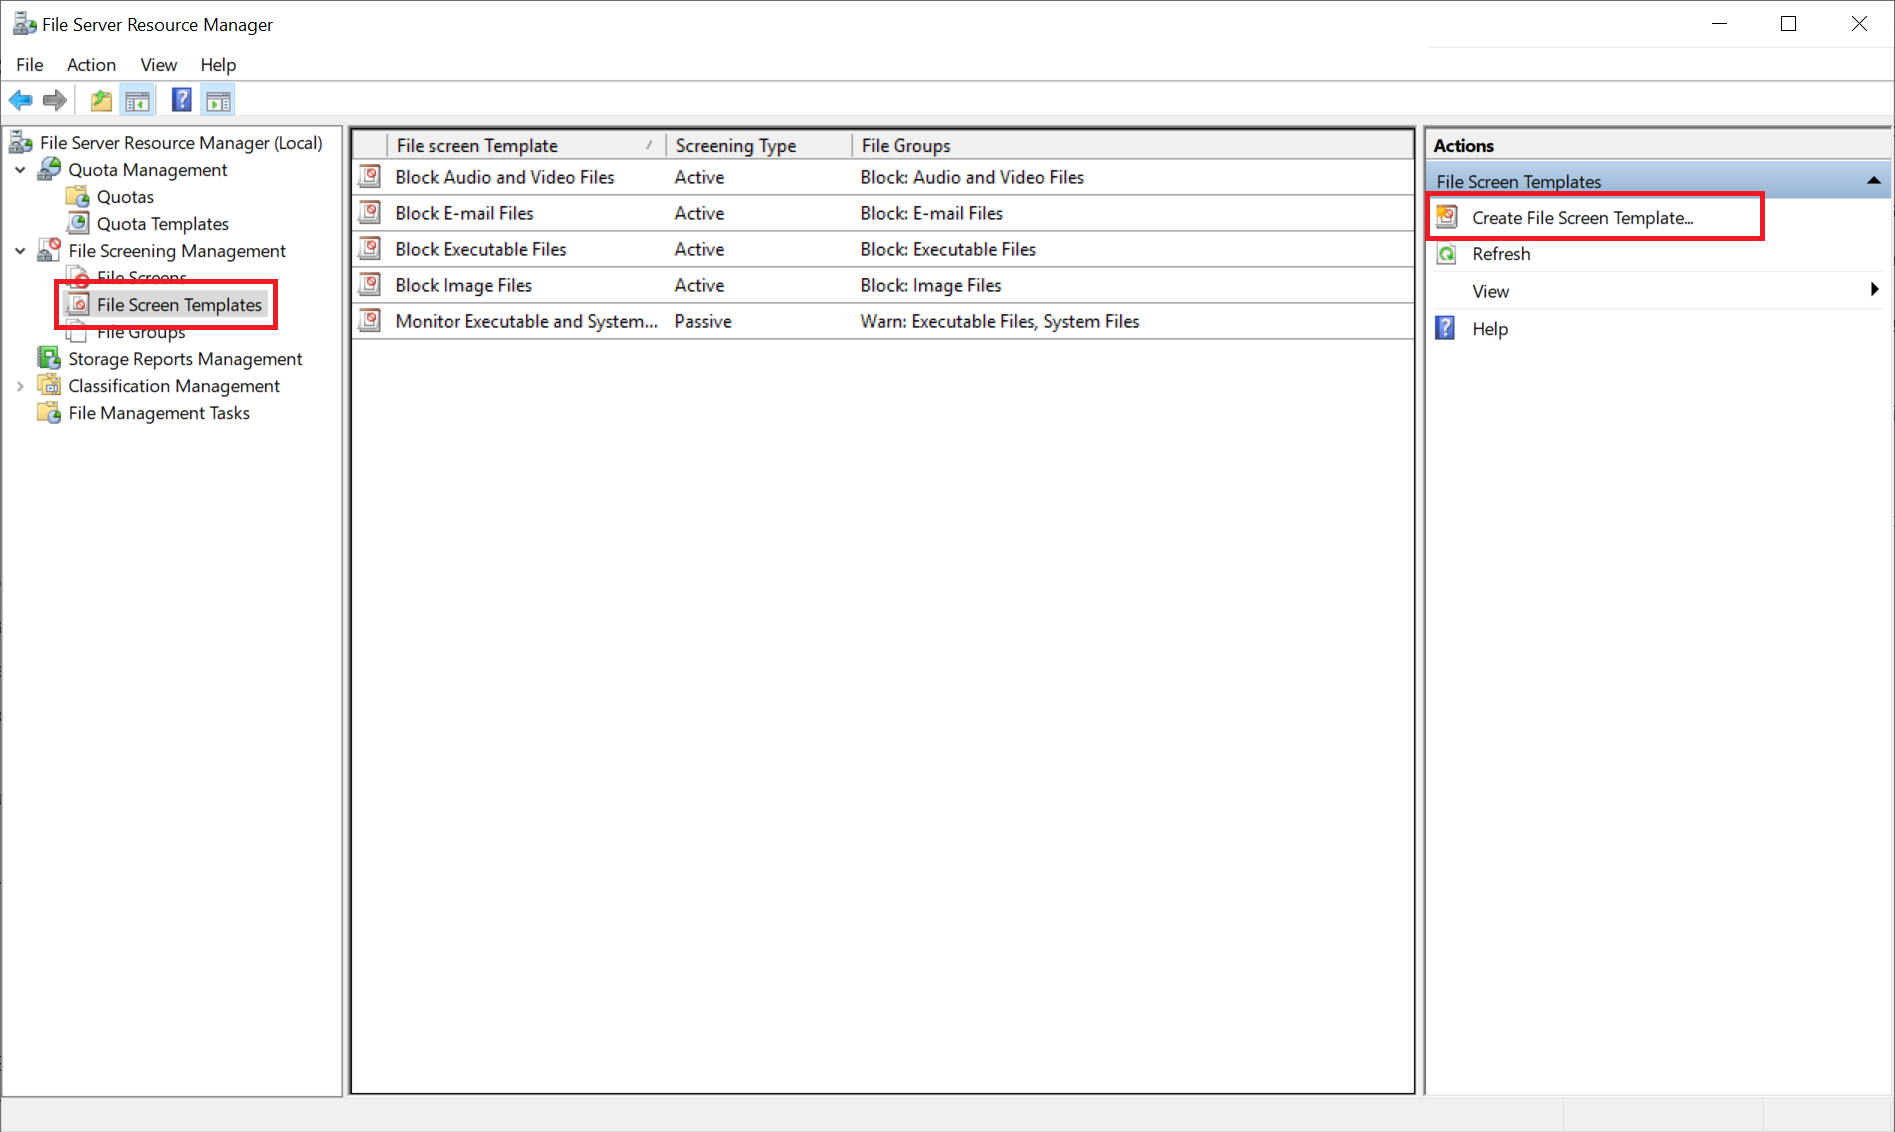
Expand 'File Screening Management' in the left menu and select 'File Screen Template'. Then right click 'File Screen Templates'.
Step 5
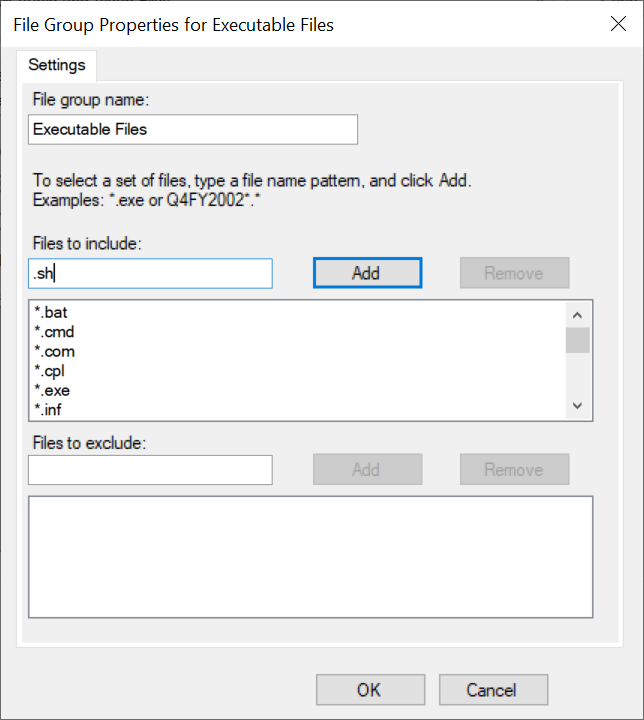
Give the template a name, adjust the screening type if necessary and check the file groups to which you want the template to apply.
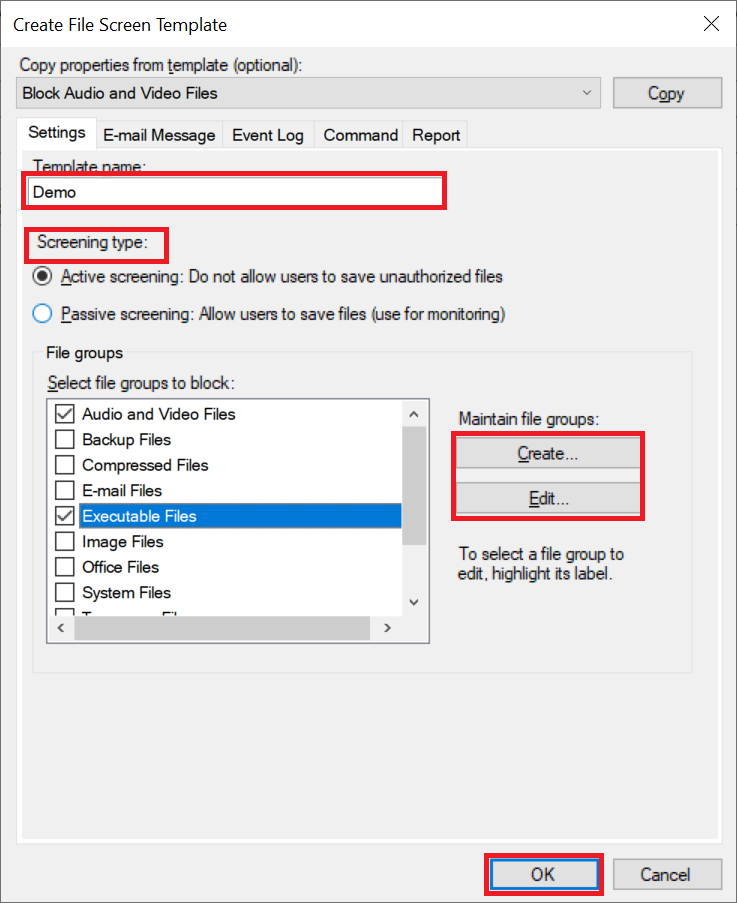
When you check a file group it is useful to click 'Edit'. You will then see an overview of the file extensions to which the file group applies, and you can add new extensions or make exceptions.
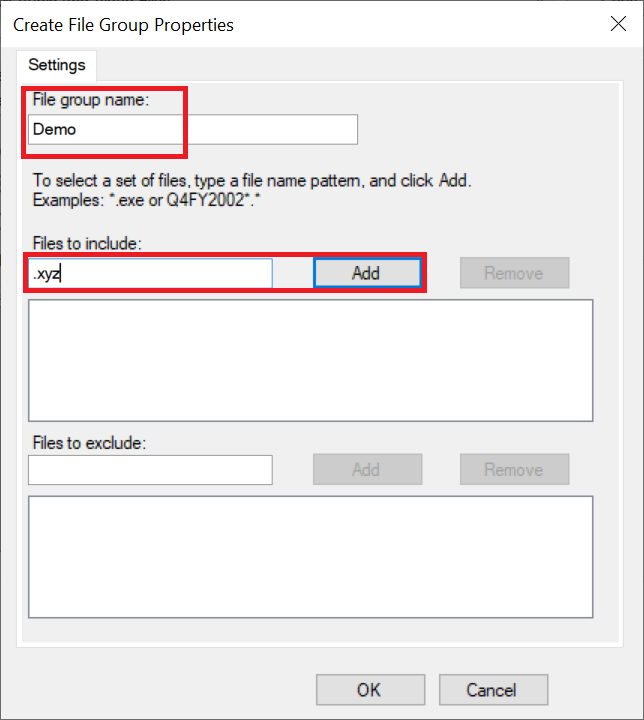
You can also create your own file group via the 'Create' button. Give your own group a name here as well and add the desired extensions.
Finally, just like when using quota templates, you can have a message sent or logged, in this case that happens when a user tries to save a file type that is prohibited. This is optional and we will go through it in the next steps. Don't want to use these options? Then click 'OK' to finish creating a file screen template
Step 6 – Optional
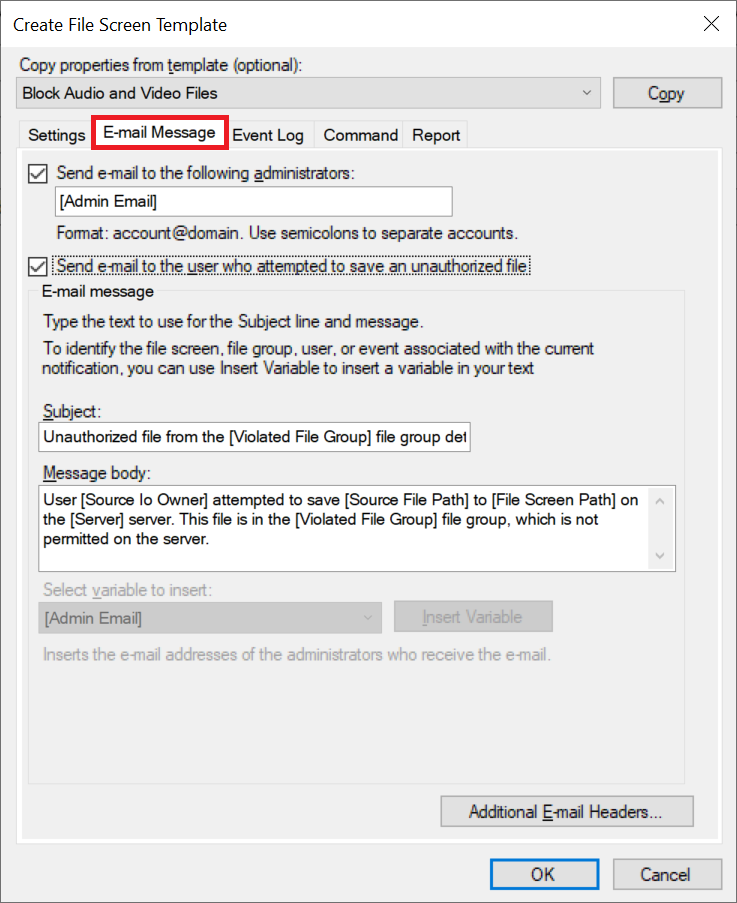
Click the 'Email Messages' tab and check 'Send e-mail to the following administrators' and/or 'Send e-mail to the user who attempted to save an unauthorized file' to have an email message send when a user tries to save a file that is prohibited. You are free to change the title and content of the message as you wish.
Step 7 – Optional
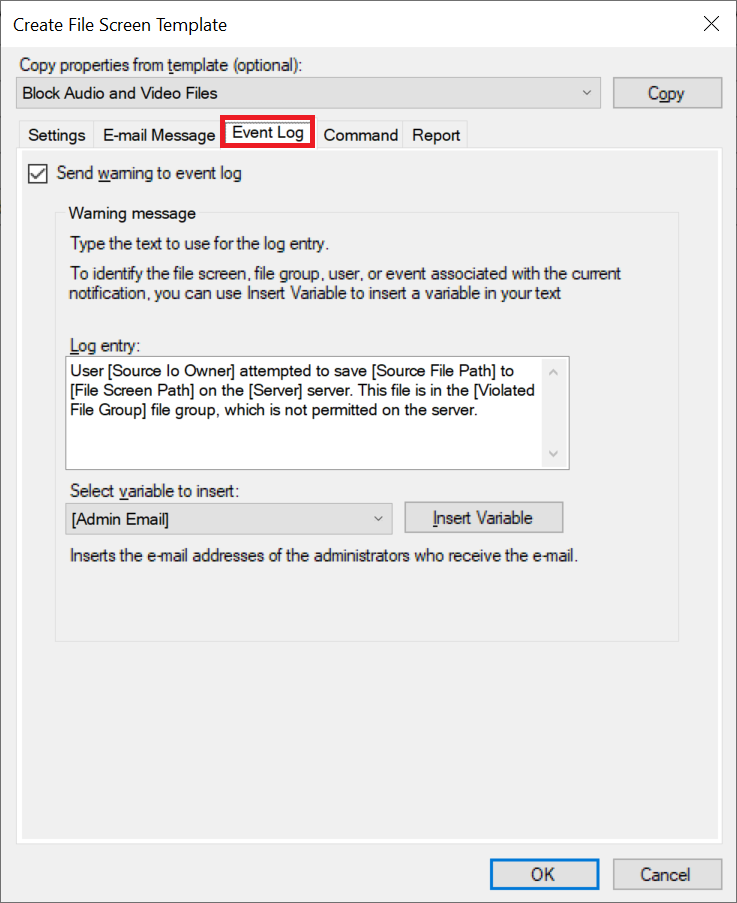
Go to the 'Event Log' tab and check the 'Send warning to Event Log' option to optionally also record a message in the Windows Event Logs stating that an attempt was made to save a prohibited file type.
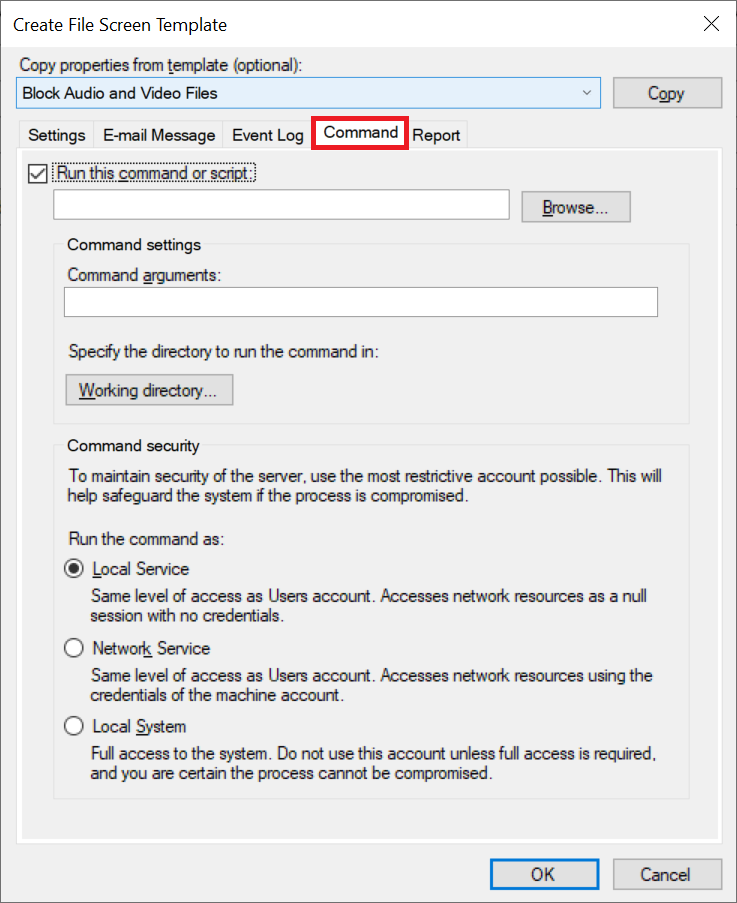
Step 8 – Optional
In the 'Command' tab you can run commands when an attempt is made to save a prohibited file type.
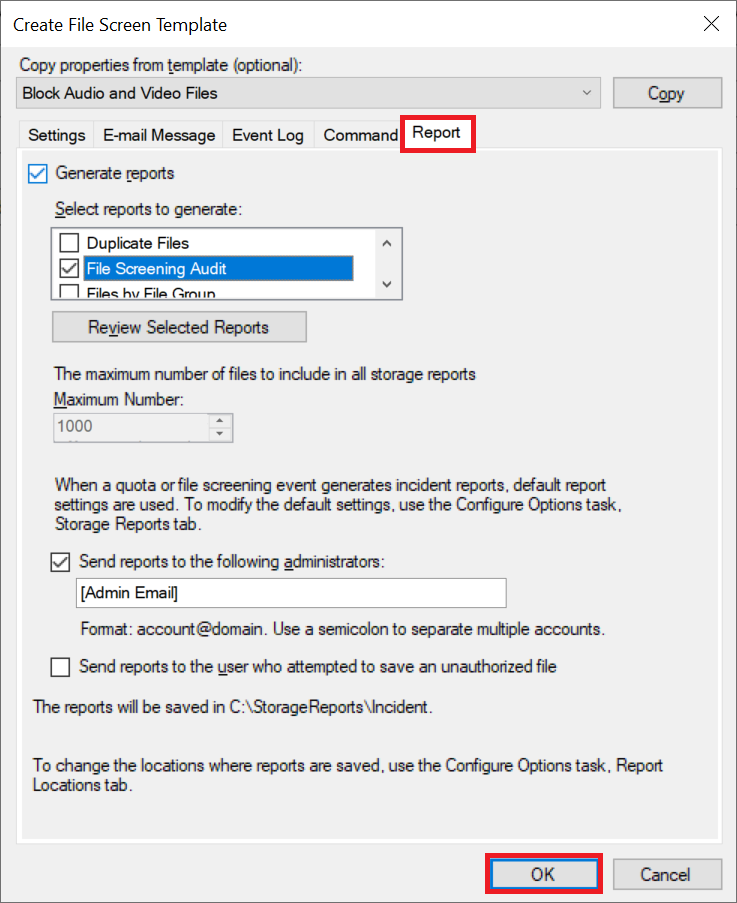
Step 9 – Optional
The final option in the list of optional tabs is 'Reports'. This allows you to save a file screening report on the local server/computer and email it to administrators, for example.
Finally, click 'Ok' to create the file screen template.
Setting up a File Screen
By setting up a 'File Screen' using a 'File Screen Template', see the previous section, you can prevent a user from storing specific file types in a folder (and subfolders), such as music files or executable programs.
Step 1
Connect to your File Server via Remote Desktop or the VPS console.
Step 2
Click the Windows Start button and then click 'Server Manager'.
Step 3
At the top right, select 'Tools' > 'File Server Resource Manager'.
Step 4
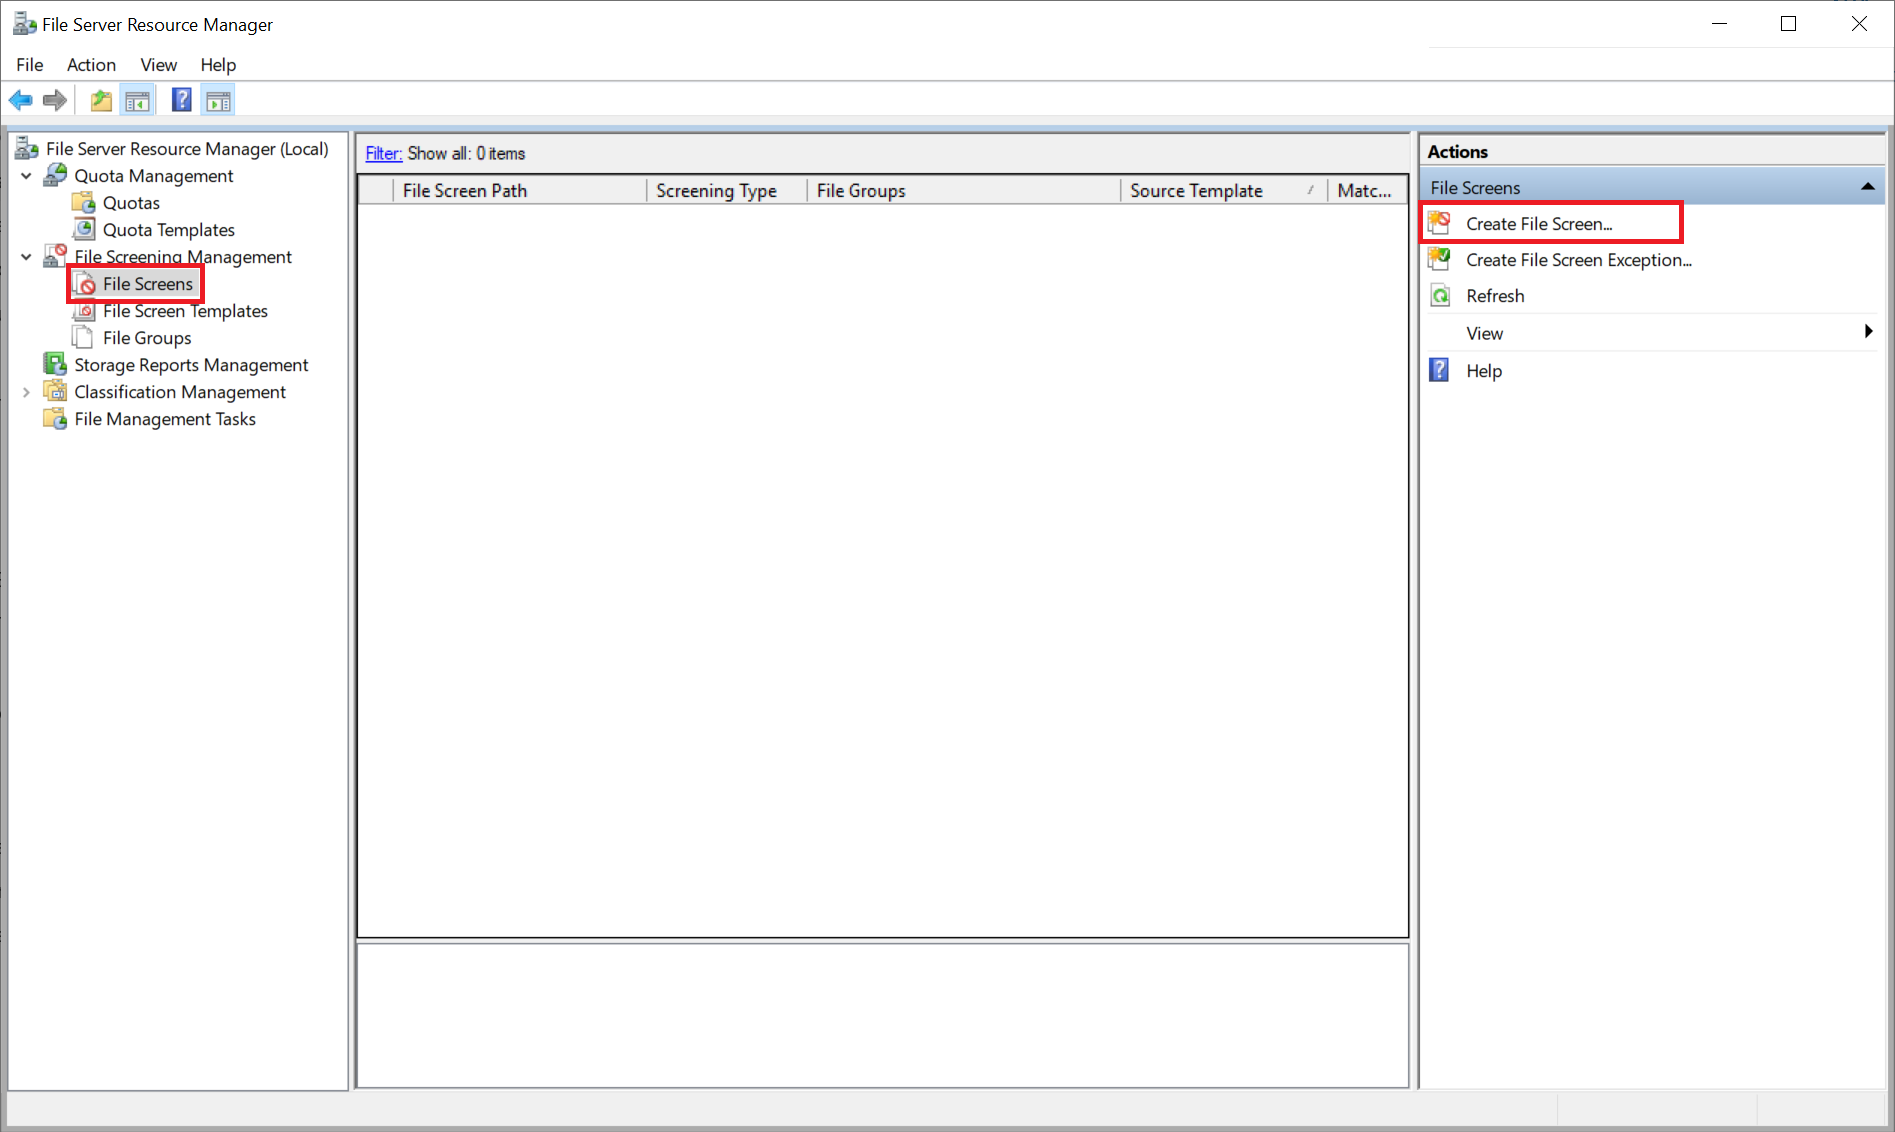
Expand 'File Screening Management' in the left menu and select 'File Screens'. Then right click 'Create File Screen'.
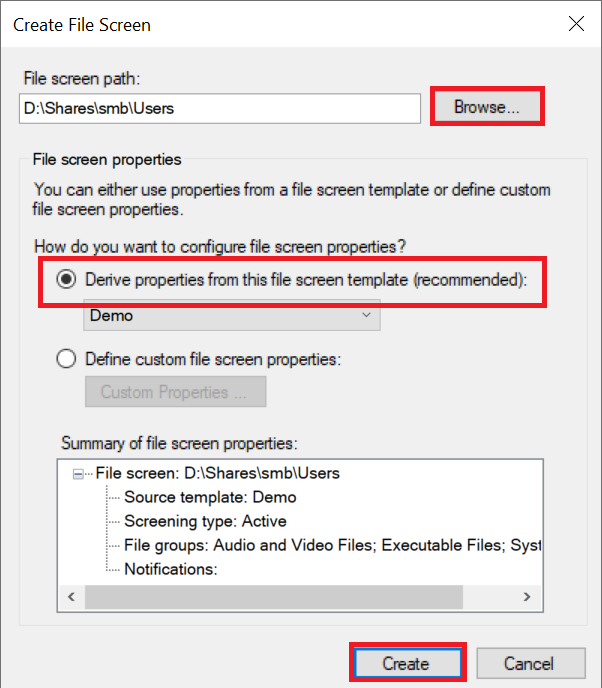
Step 5
Click 'Browse' to select a folder to which the file screen applies and select a file screen template under 'Derrive properties from this file screen template (recommended)'. Finally click 'Create' to create the file screen.