With Docker, you can easily create, run, manage, and share containers, both on your computer/laptop and in the cloud. There are two ways to work with Docker in Windows:
- Via the Docker Desktop application. This comes with a GUI and offers both free and paid licenses.
- Docker recommends using Docker Desktop.
- Via Docker Engine from the Windows Subsystem for Linux (WSL2). The installation of Docker Engine in Windows is considerably more complex than the installation of Docker Desktop.
In this tutorial, we'll show you how to install the Docker Desktop application on a Windows computer/laptop.
System Requirements
To use Docker Desktop for Windows, your computer/laptop must meet the following system requirements:
- Operating system: Windows 11 64-bit: Home, Pro, Enterprise, or Education version 21H2 or later. Windows 10 64-bit: Home or Pro 21H1 (build 19043) or later, or Enterprise or Education 20H2 (build 19042) or later.
- Windows Subsystem for Linux 2 (WSL2). TL;DR: wsl --install from Powershell as Administrator.
- CPU support for virtualization.
- 4 GB of RAM or more.
Docker Desktop can also be installed on a Hyper-V environment, see Docker's guide. The installation on a Hyper-V environment is outside the scope of this tutorial.
Installing Docker Desktop
If you meet the system requirements from the previous section, installing Docker Desktop is very easy:
Step 1
Download Docker Desktop via this link.
Step 2
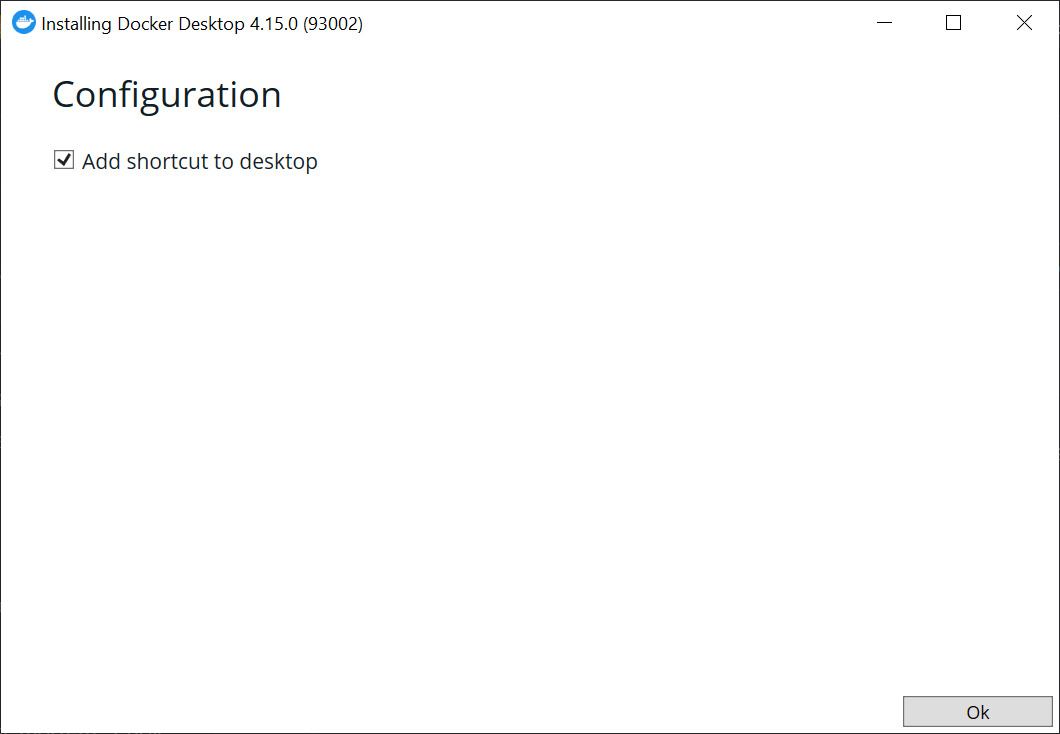
Start the installation and choose whether or not to create a desktop shortcut. The installation takes a few minutes.

Step 3
Restart Windows after the installation. You will see that a Windows update needs to be installed. This update contains the required components for Docker Desktop.
Once Windows has restarted, you will see the window below. Review the terms and click 'Accept' to accept them. The installation of Docker Desktop is now complete.


