In this article, we show you how to set up a Remote Desktop (RDP) connection from your Mac to your Windows Server VPS.
Before you can use this manual, it is necessary that you have enabled Remote Desktop on your Windows Server. In this article, you will find an overview of articles explaining how to activate Remote Desktop in different Windows Server versions.
Step 1
Download Microsoft's Remote Desktop client from the Mac App Store ("View in Mac Store"> "Get"> "Install App")
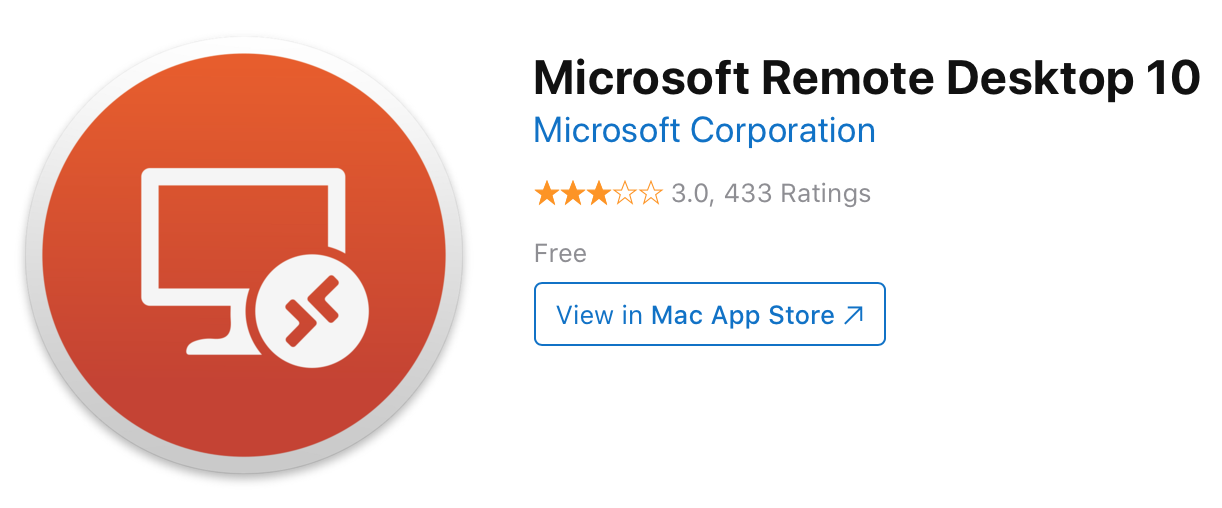
Advanced users can also use the latest beta version.
Step 2
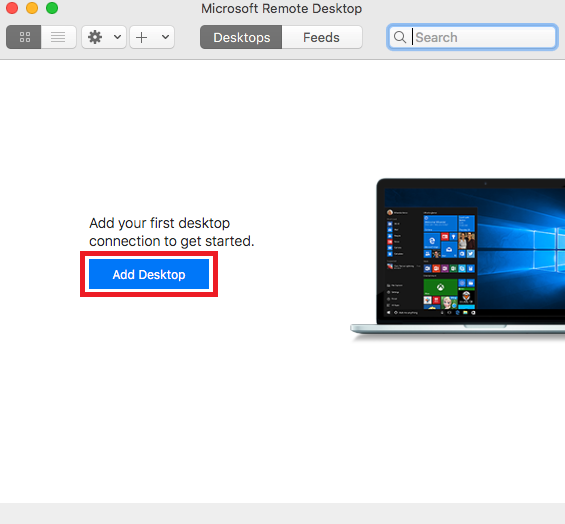
Start the newly installed Microsoft Remote Desktop app. The first time you start the program you will be asked if you want to participate in improving the app. You are free to participate or not.
A screen like the screenshot below will then appear. Click 'Add Desktop' in the middle.
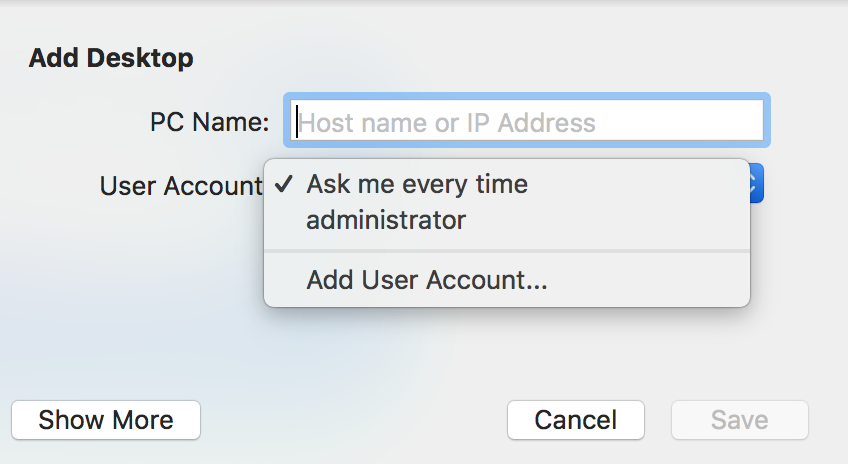
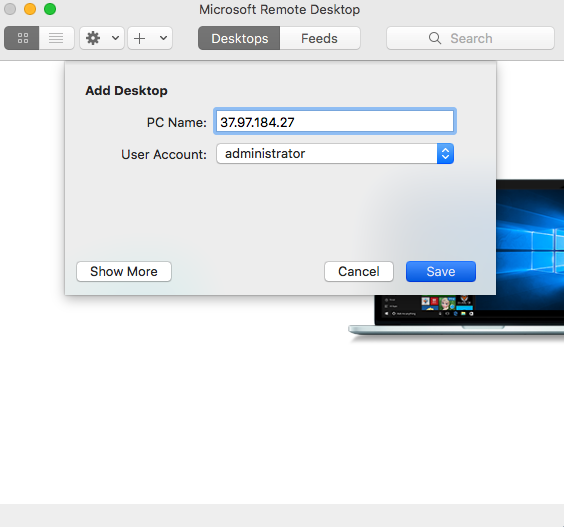
Enter the following details in the new window:
- PC Name: The IPv4 address of your Windows Server.
- User Account: By default, this option is set to 'Ask me every time'. Click it and then click 'Add User Account'.
Step 4
Enter the user name, password and a friendly name of the Windows Server user account with which you want to log in. Do not use the user account of your Mac.
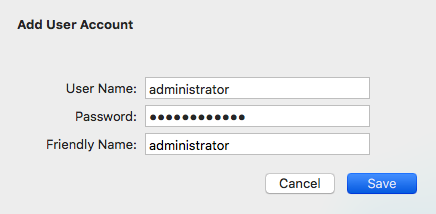
The friendly name is a name as a reminder to make it easier for you to recognize the account later. Suppose you use two windows VPSs with both the user ‘administrator’, for example, one friendly name could be VPS administrator and the other vps1-administrator.
When you are finished, click 'Save'. You then return to the screen from step 3. Click 'Save' here as well.
Step 5
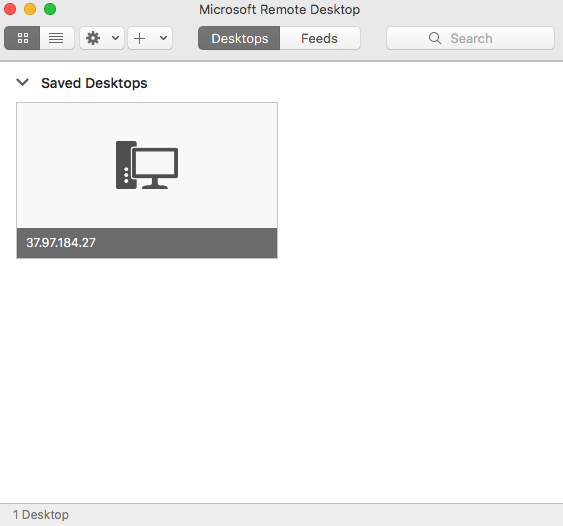
Your newly created Remote Desktop connection is now on the main screen of the app. Double-click the computer icon twice to set up the connection.
The first time you connect to a VPS you will see an SSL warning. This is because a self-signed certificate is used to secure the connection, but this is no problem at all. Click 'Continue' to continue.

You are now connected to your Windows Server! Should you have any questions left regarding this article, do not hesitate to contact our support department. You can reach them via the ‘Contact Us’ button at the bottom of this page.


