In our cPanel tutorial series, we explain how to upload a website to your VPS. Before going through the steps below, we assume that you have gone through the tutorial series or are familiar with the subject matter and have created a database.
In this article, we explain how to install Joomla on a cPanel VPS. Paid options such as Softaculous allow you to simplify and execute the installation from cPanel with one click.
We assume that you do not want to incur additional costs or install additional software, and only explain how to install Joomla in cPanel using the built-in options in cPanel itself.
Installing Joomla
Step 1
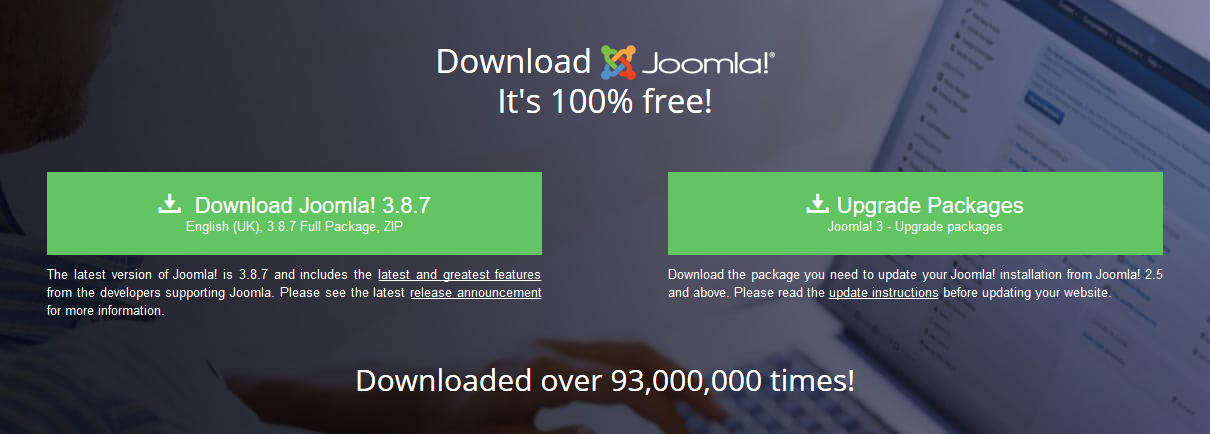
Download Joomla from the Joomla homepage and save the .zip file to your computer.
Step 2
Log in to cPanel as the user for which you want to install Joomla and click ‘File Manager'.

Step 3
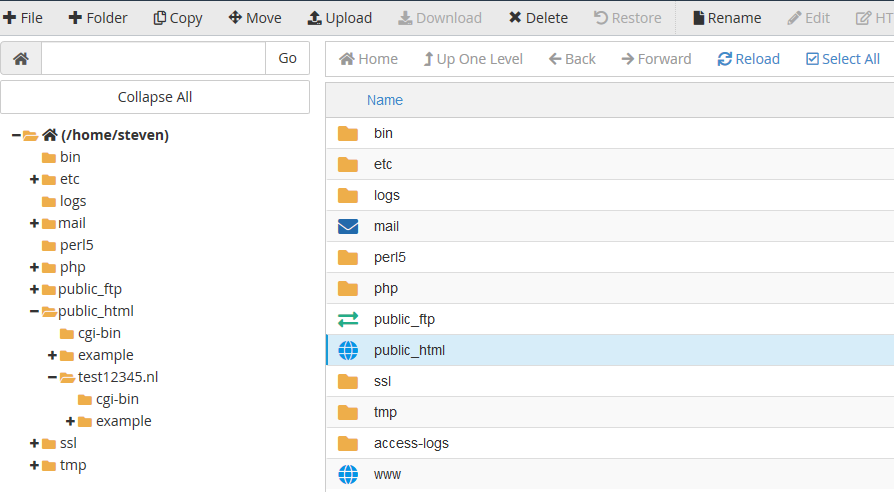
You now see an overview of the folders and files. Click 'public_html'. Install your Joomla on a subdomain or add-on domain, then navigate to the relevant folder.
Step 4
Click 'Upload' at the top of the page. You will see the overview below.

Step 5
Click 'Select File' and select the file you downloaded in Step 1. Then click 'Open' to upload the file.

Step 6
Click 'Go Back to ...' at the bottom of the confirmation that appears.
Step 7
You will now return to the public_html folder and see 'joomla-3.8.5.zip' (or just the version that is current at the time of reading). Select the file and click 'Extract' at the top right.

Step 8
You will see the screen below in which you can adjust the unpacking location. Click 'Extract File(s)' to start the unpacking process.
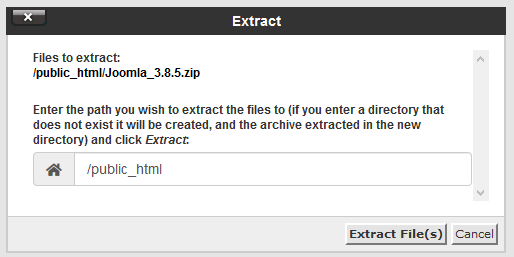
Customizing the directory is an alternative method to install Joomla on your subdomain or add-on domain compared to step 3. You do this by referring to the directory of your subdomain or add-on domain here.
Step 9
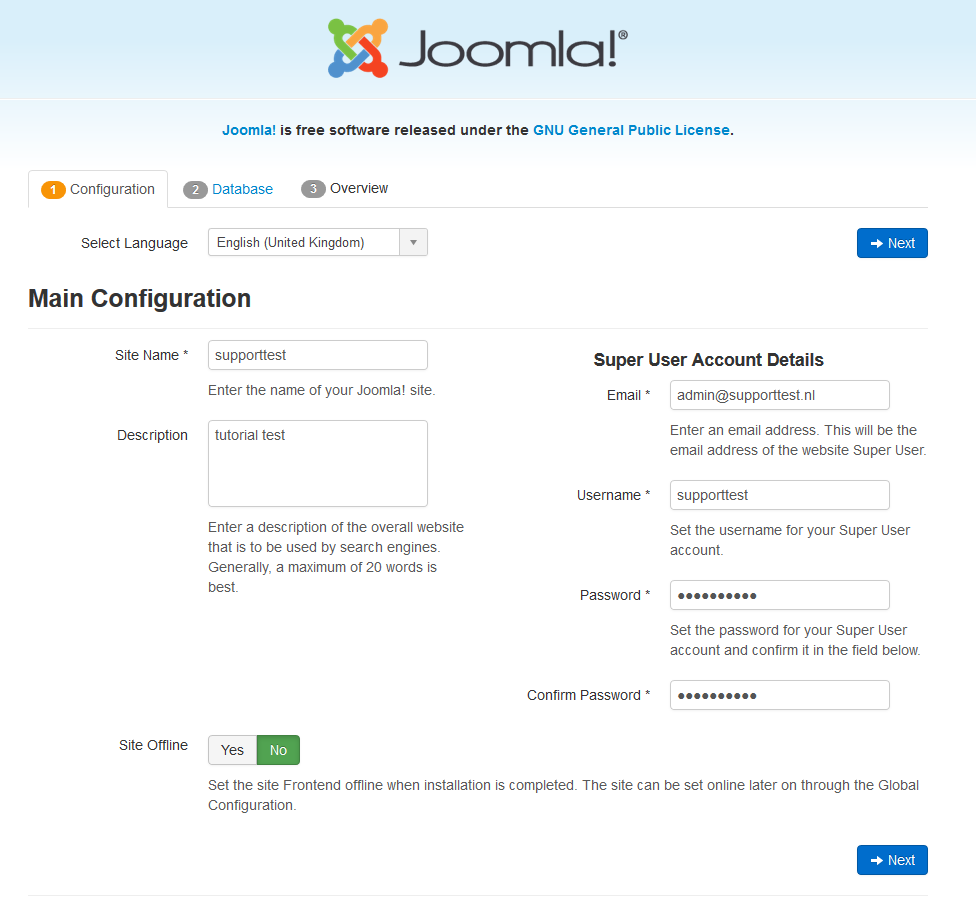
Joomla is now installed for your domain. Open yourdomain.com in a browser (replace yourdomain.com by your actual domain name). You will then see the Joomla setup menu, as shown in the screenshot below. Enter the requested data and click 'Next'.
Step 10
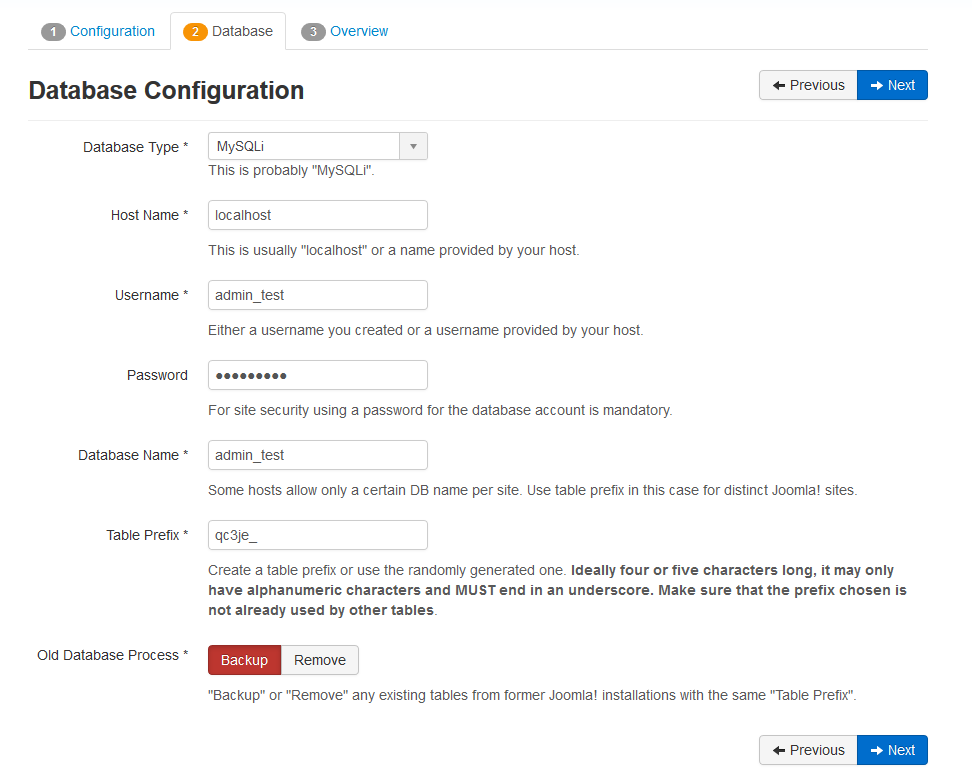
A database is required for this step. We explain how to create a database in our cPanel tutorial series.
Enter your database data as shown in the example below and click 'Next'.
Step 11
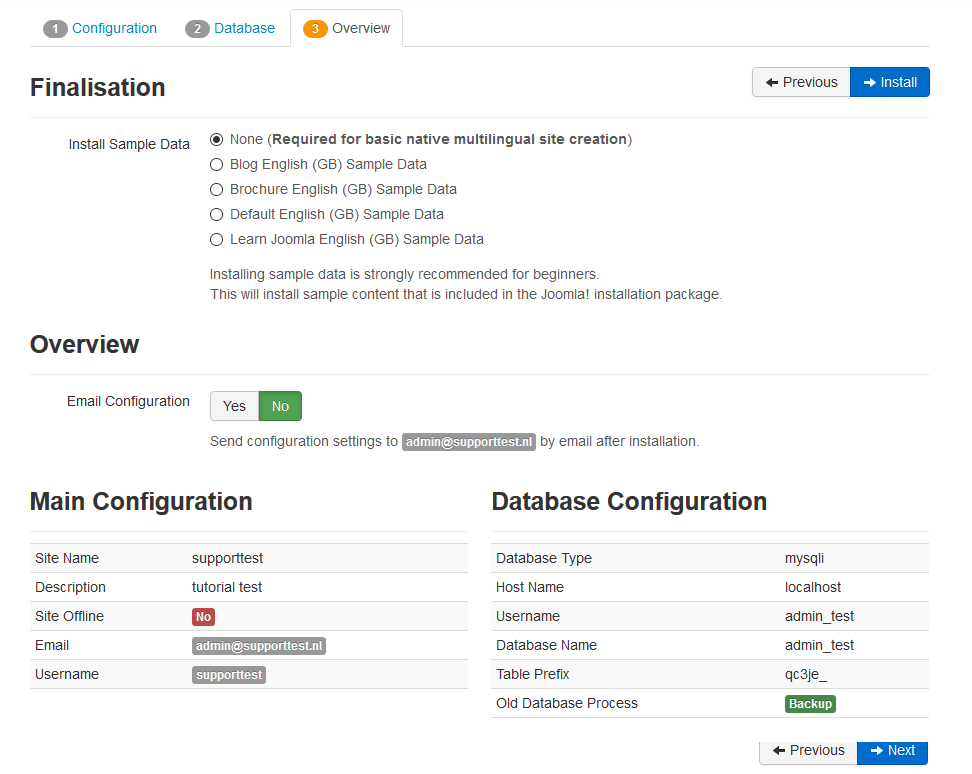
You will see the confirmation below. Verify that the settings are correct and have a confirmation email of the settings sent to yourself by setting 'E-mail settings' to 'Yes' under 'Summary'. Then click 'Installation'.
Step 12
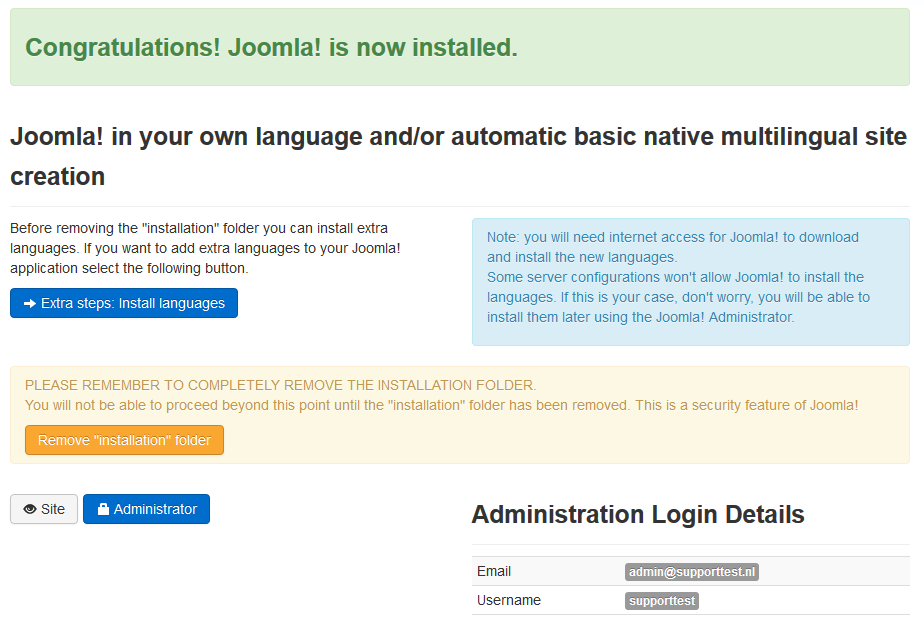
The installation of Joomla is complete! Joomla immediately offers to prepare your site for use in multiple languages. If you want to offer your site in multiple languages, we recommend this option wholeheartedly. After enabling additional languages, or if you have completed this step, click 'Delete the folder' to delete the installation folder and complete the installation.
We cannot offer support on the design and management of a Joomla website ourselves. You can contact Joomla support if necessary for example.
Should you have any questions left regarding this article, do not hesitate to contact our support department. You can reach them via the ‘Contact Us’ button at the bottom of this page.


