With two-factor authentication (2FA), you add extra security to your account. When you log in, you enter an additional code along with your password to log in. You can create this using an Authenticator app like Google Authenticator or Windows Authenticator.
In this tutorial, we show you how to enable and use 2FA for your OpenStack account at TransIP.
- A two-factor authentication app like Google Authenticator (Android & iOS) is required for the steps in this guide.
- 2FA is enabled for individual OpenStack users and not for the entire OpenStack project.
- When enabling 2FA, the user is logged out of the Horizon web interface. The user can now only log in by using 2FA.
Enabling two-factor authentication
Step 1
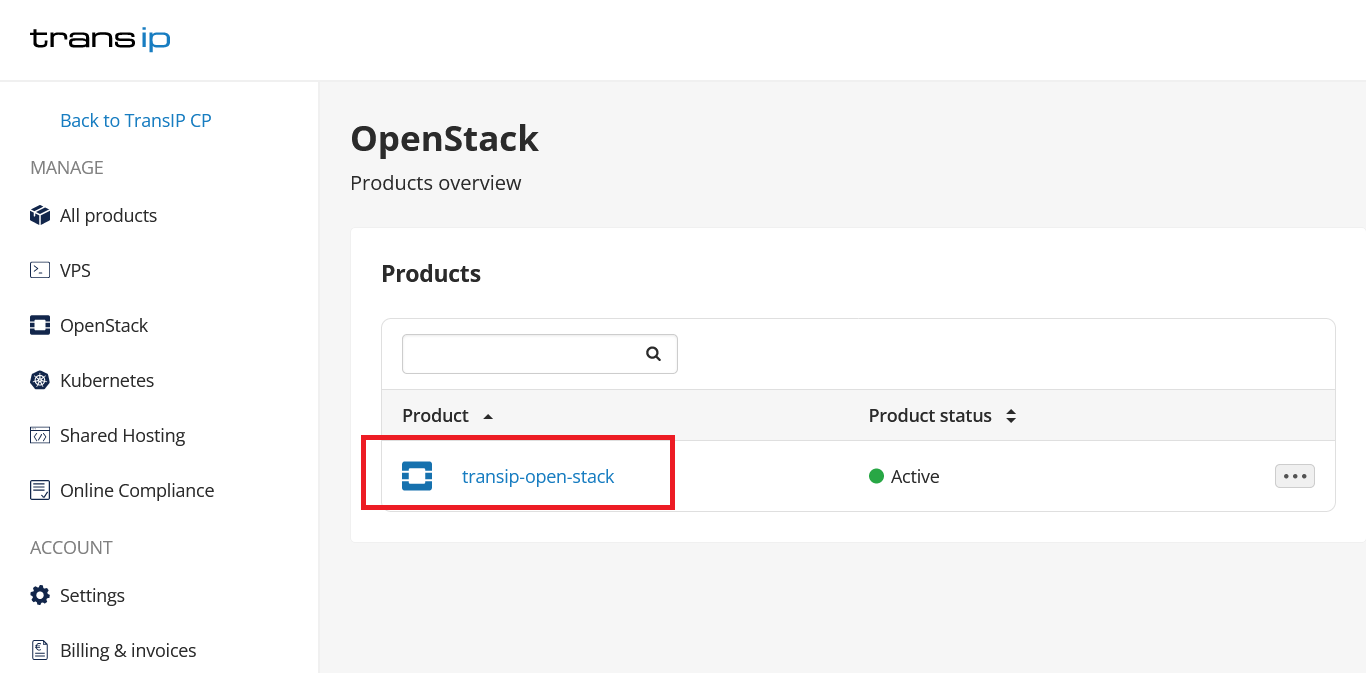
Log in to the TransIP control panel via this link and click on the name of your OpenStack project.

Step 2
Click on the 'Users' tab > '...' and select 'Enable 2FA'.
Step 3
A pop-up window now appears as in the screenshot below. Scan the QR code with your 2FA app and enter the code shown by your app under 'verification'. Finally, click on 'enable' to enable 2FA.
Using two-factor authentication
Two-factor authentication is now automatically used when you log in to the Horizon web interface. After entering your password, you will see the following screen:
Open your authenticator app and enter the code displayed for logging into your OpenStack project. The example below shows what this looks like in the Google Authenticator app.


