


By default your Windows Server allows you to set up two Remote Desktop sessions as administrators (also known as RDS or RDP). If you'd like to use more than two Remote Desktop sessions on your VPS with Windows Server you can manually add a license to be able to do so. You can order an RDS license from this page.
In order to add an RDS license to your VPS, Remote Desktop Services and Remote Desktop Licensing must be installed on your VPS. Click here for a guide on installing Remote Desktop Services and Remote Desktop Licensing on your VPS. In this guide we'll show you how to add a license when these prerequisites have already been installed.
- Our licenses can be used on any supported Windows Server version. Licenses can be used as RDS Per User CAL or RDS Per Device CAL.
- You can consult this article if you'd like information on where you can review your license in your control panel.
Installing Remote Desktop Services License
Step 1
Connect to your Windows Server via Remote Desktop or the VPS console and open your Server Manager (via Start > Server Manager).

Step 2
Click sequentially on 'Remote Desktop Services' > 'Overview' > 'RD Licensing'.
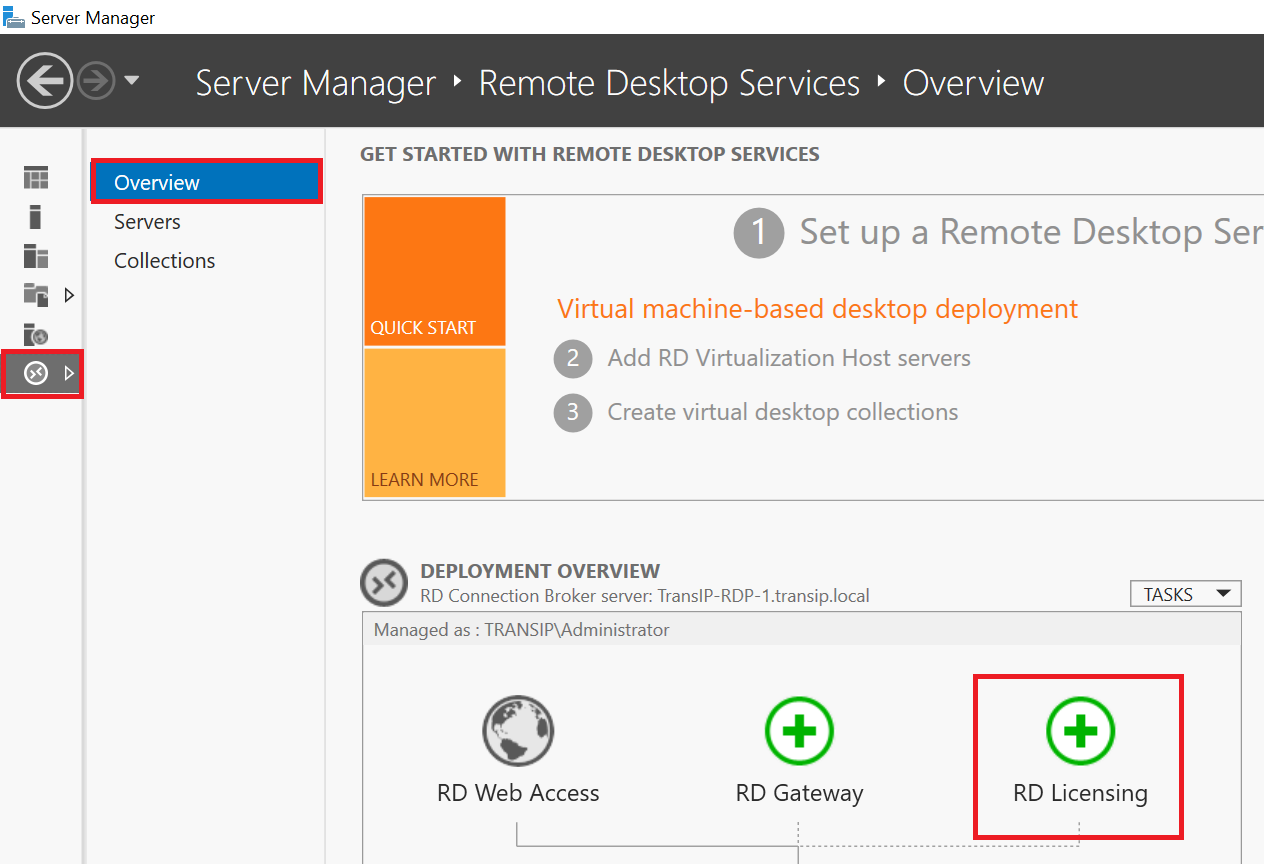
Step 3
Select a server on which the RD Licensing role service will be installed (used for license checks). By default, only the server on which you are following this guide will be visible here.
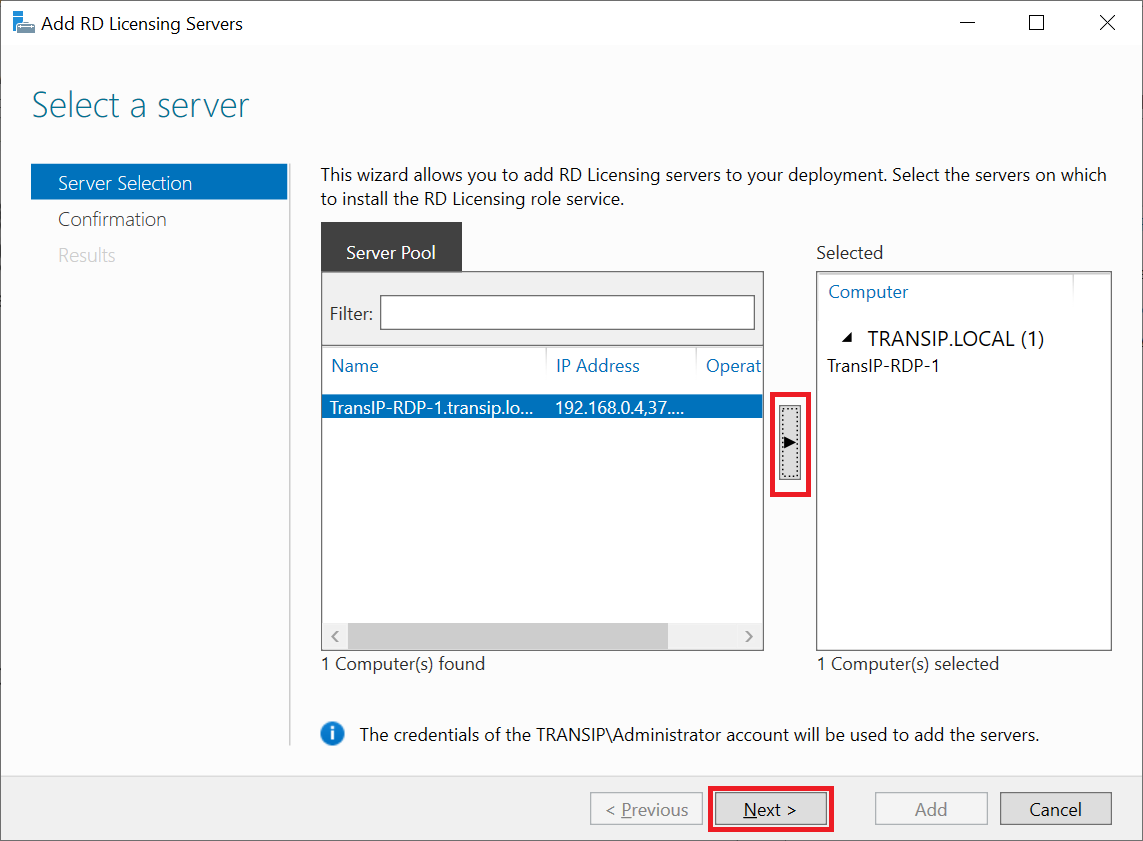
Step 4
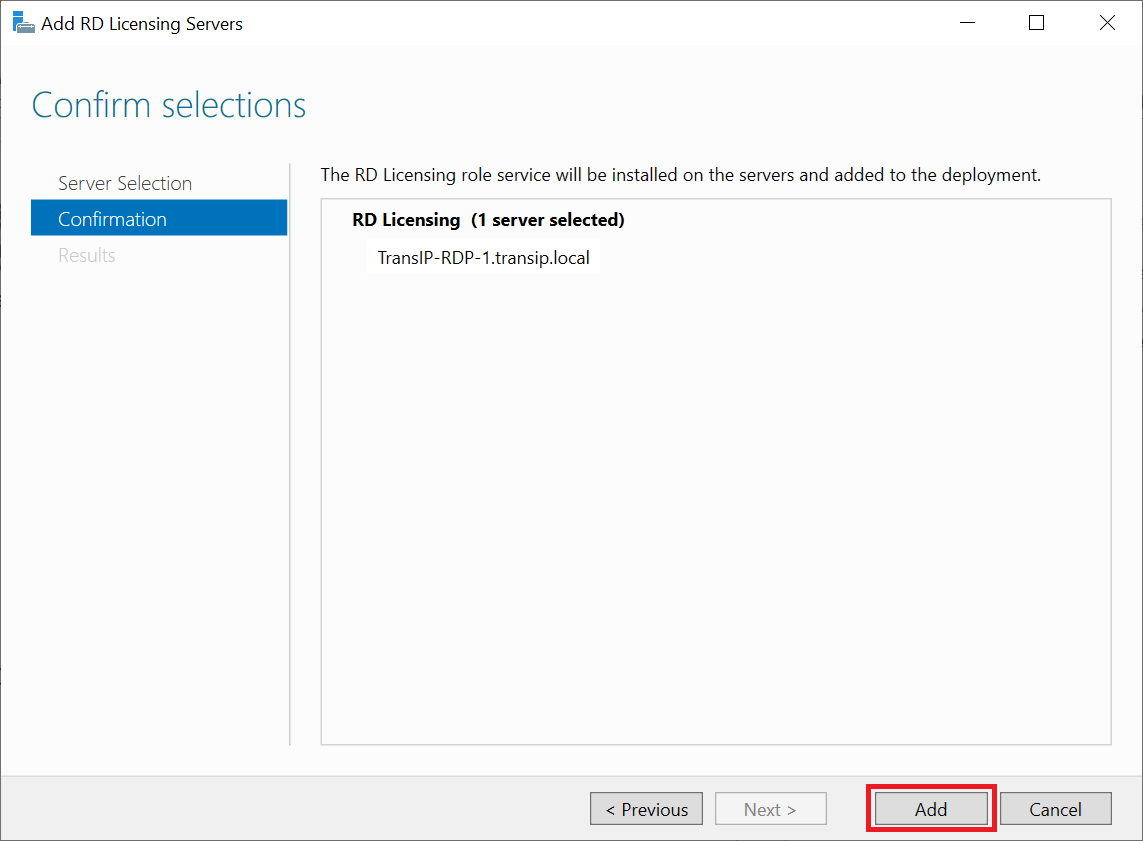
Click on 'Add' to confirm that the RD Licensing role service will be installed on the selected server.
Step 5
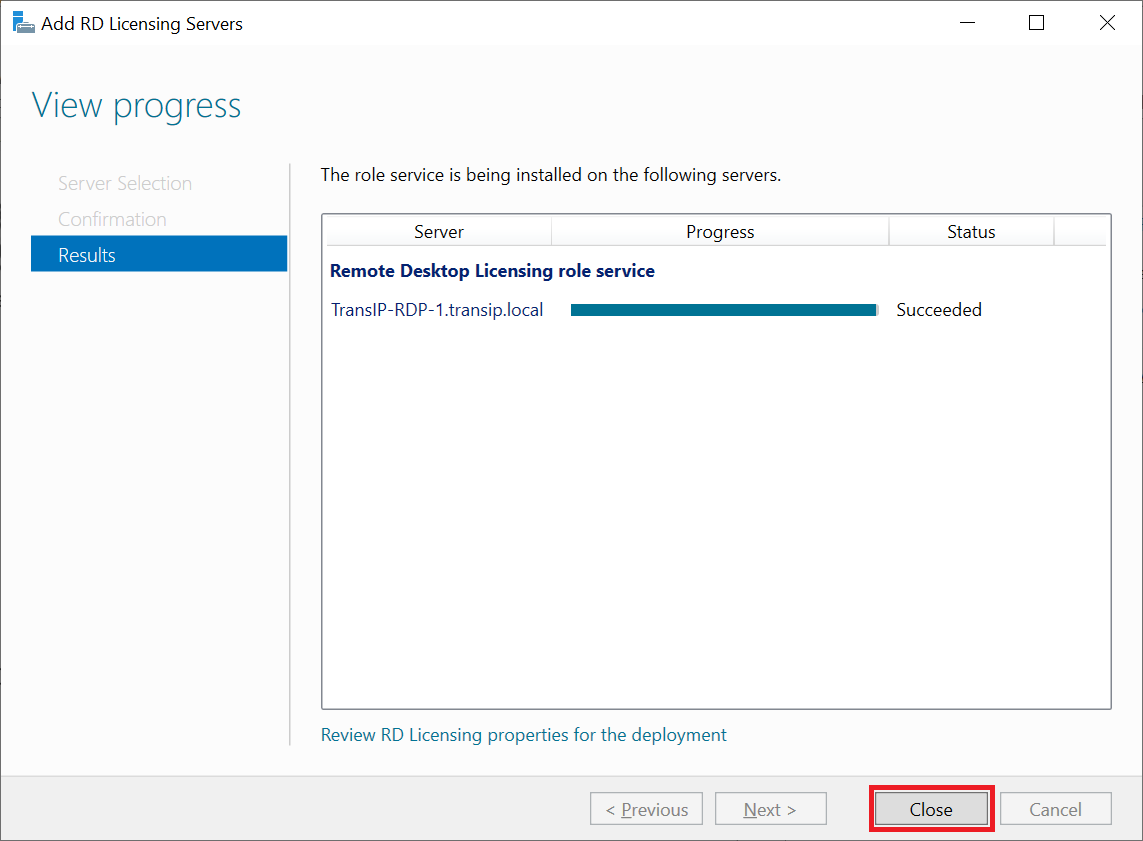
After the installation, close the wizard by clicking 'Close'.
Step 6
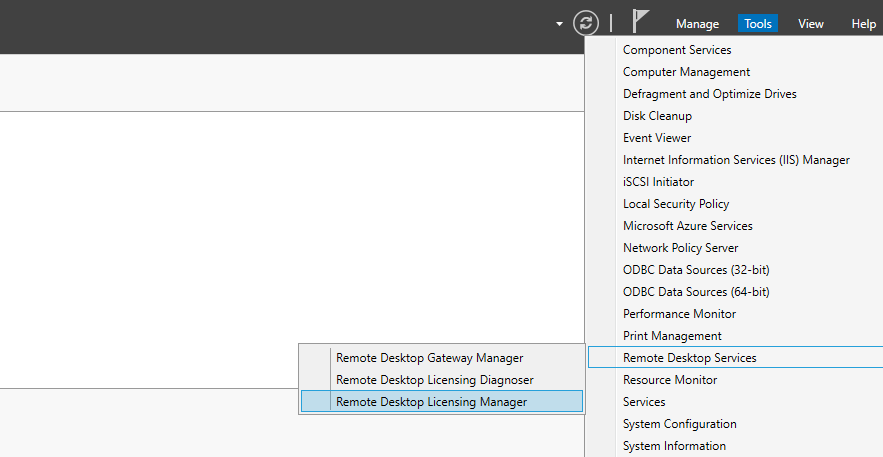
Click on 'Tools' > 'Remote Desktop Services' > 'Remote Desktop Licensing Manager'. This step can only be performed from the RD Licensing server itself and not from another server where you manage a server pool.
Step 7
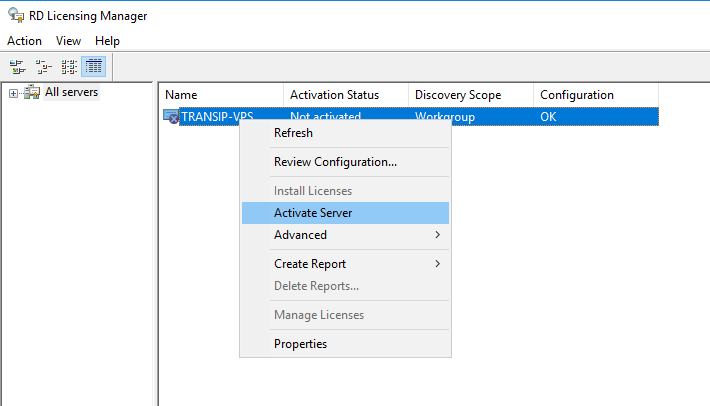
A list of the VPSs included in your Active Directory will now appear. Right-click on the desired VPS and select 'Activate Server'.
Step 8
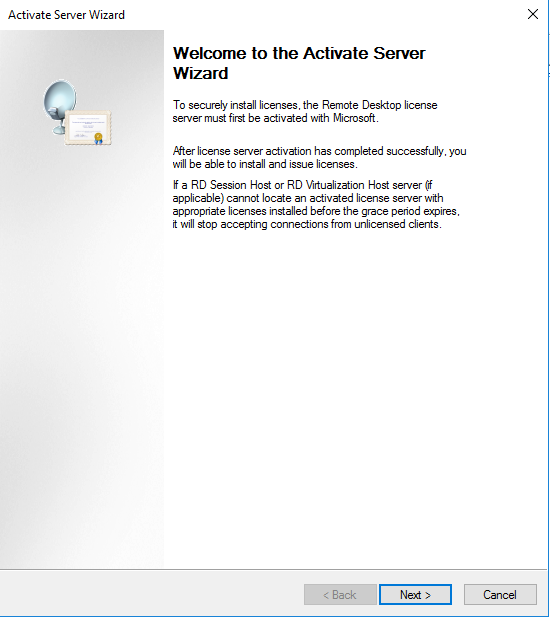
The 'Activate Server Wizard' will appear. Click 'Next' to proceed.
Step 9
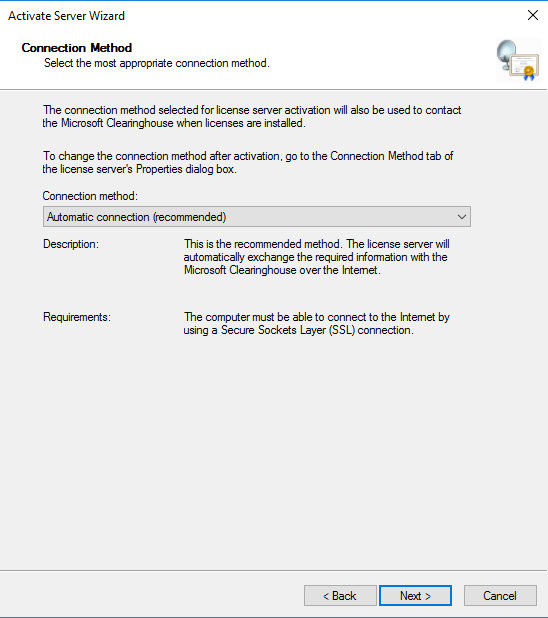
On the next page, choose the connection method for license server activation. The chosen method will also be used to contact Microsoft Clearinghouse. Leave the 'Connection method' on 'Automatic connection' and click 'Next'.
Step 10
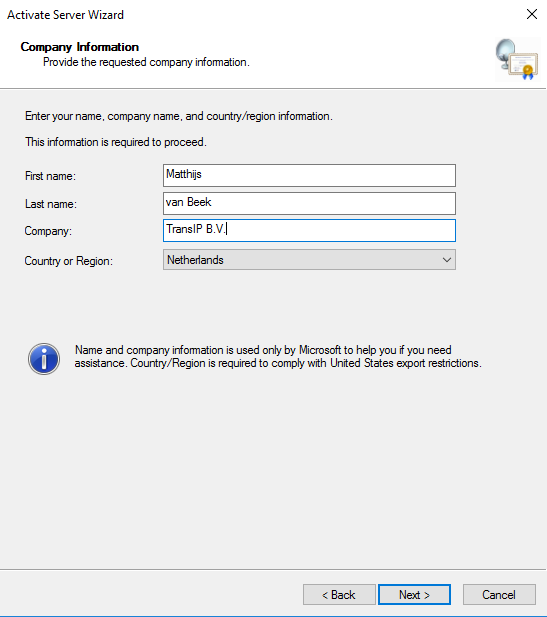
You will then be asked for your personal information, company name, and country. Enter the name of the person who will act as the contact with Microsoft.
Step 11
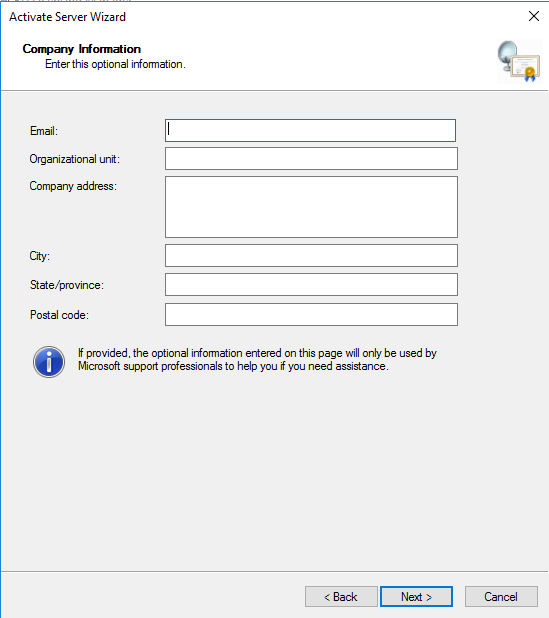
The next step is an addition to step 6. Here, you can provide optional information that Microsoft support uses to contact you. This step is not mandatory, and you can proceed by clicking 'Next' if desired.
Step 12
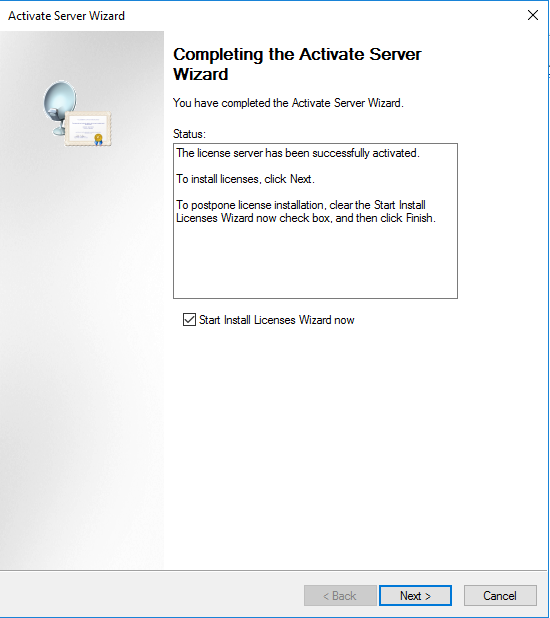
Your VPS is now activated and ready to add a remote desktop license. Click 'Next' to start the license installation.
Step 13
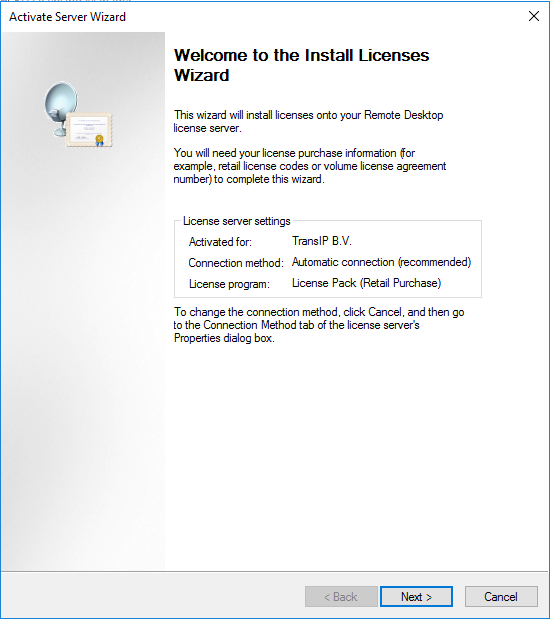
The 'Install Licenses Wizard' will appear. Your company name will be mentioned here. Click 'Next' to continue.
Step 14
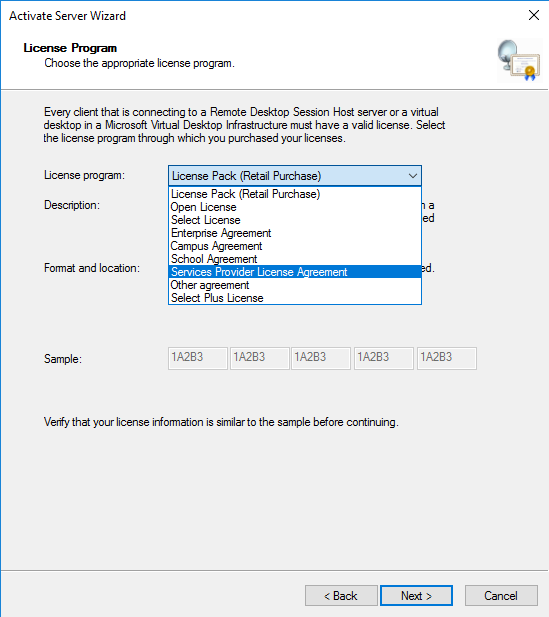
In the next step, choose a licensing program. We are a Microsoft SPLA partner, so select the option 'Services Provider License Agreement' and click 'Next'.
Step 15
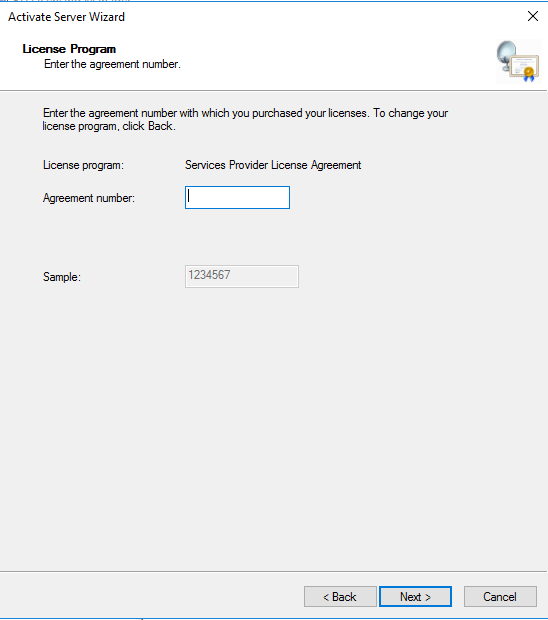
Enter the license number. This is a seven or eight-digit number and can be found in your control panel. Do not add the text 'SPLA' to the license number.
Step 16
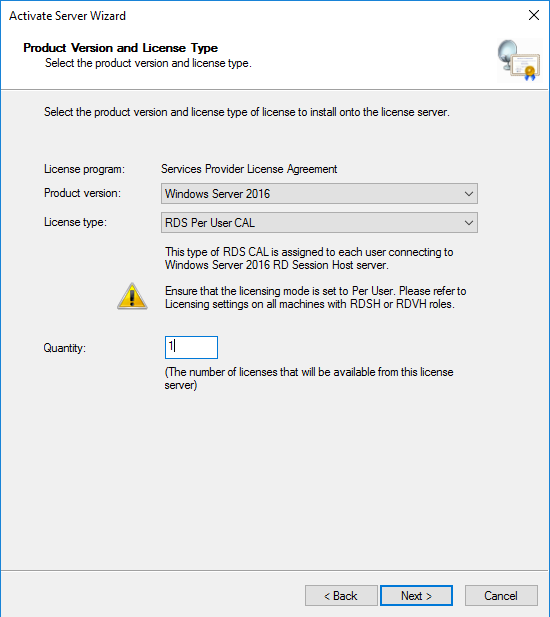
Next, specify the product version (e.g., the Windows Service version) and select the license type 'RDS Per User CAL'.
- RDS Per User CAL: links the license to an (Active Directory) user. This method is preferred.
- RDS Per Device CAL: links the license to the device from which you connect to the RDS server. This is particularly useful when multiple users connect to an RDS server from a single device.
Under 'Quantity' enter the number of licenses you have purchased. For example, if you already have four licenses and you purchase two more, enter two here, not the total of six.
The number of available licenses can be found in your control panel. The two sessions you get by default with a Windows Server to use as an administrator do not count. So, if you have purchased a license for two remote desktop sessions, you can run up to four remote desktop sessions simultaneously: 2 as users, 2 as administrators.
Step 17
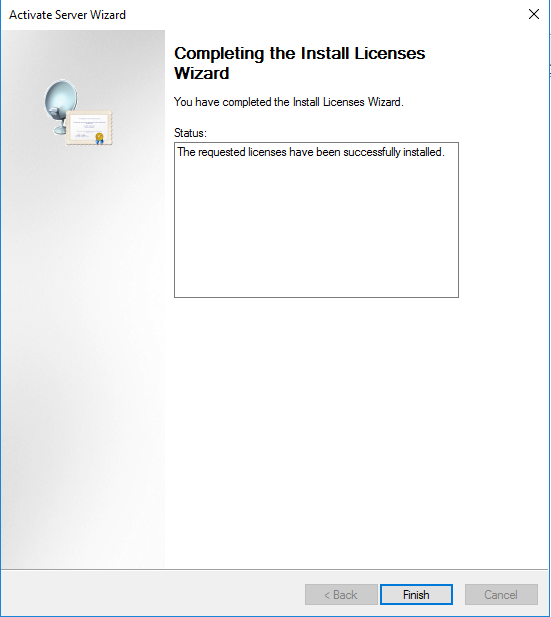
The installation is complete! Click 'Finish' to close the wizard.
Now, when you reopen the 'Remote Desktop Licensing Manager' (step 6), you can check if your installation was successful and if the license(s) are available by clicking on 'All Servers' > '<the name of your server>'. On the right, you will see the remote desktop license version and the number of licenses.
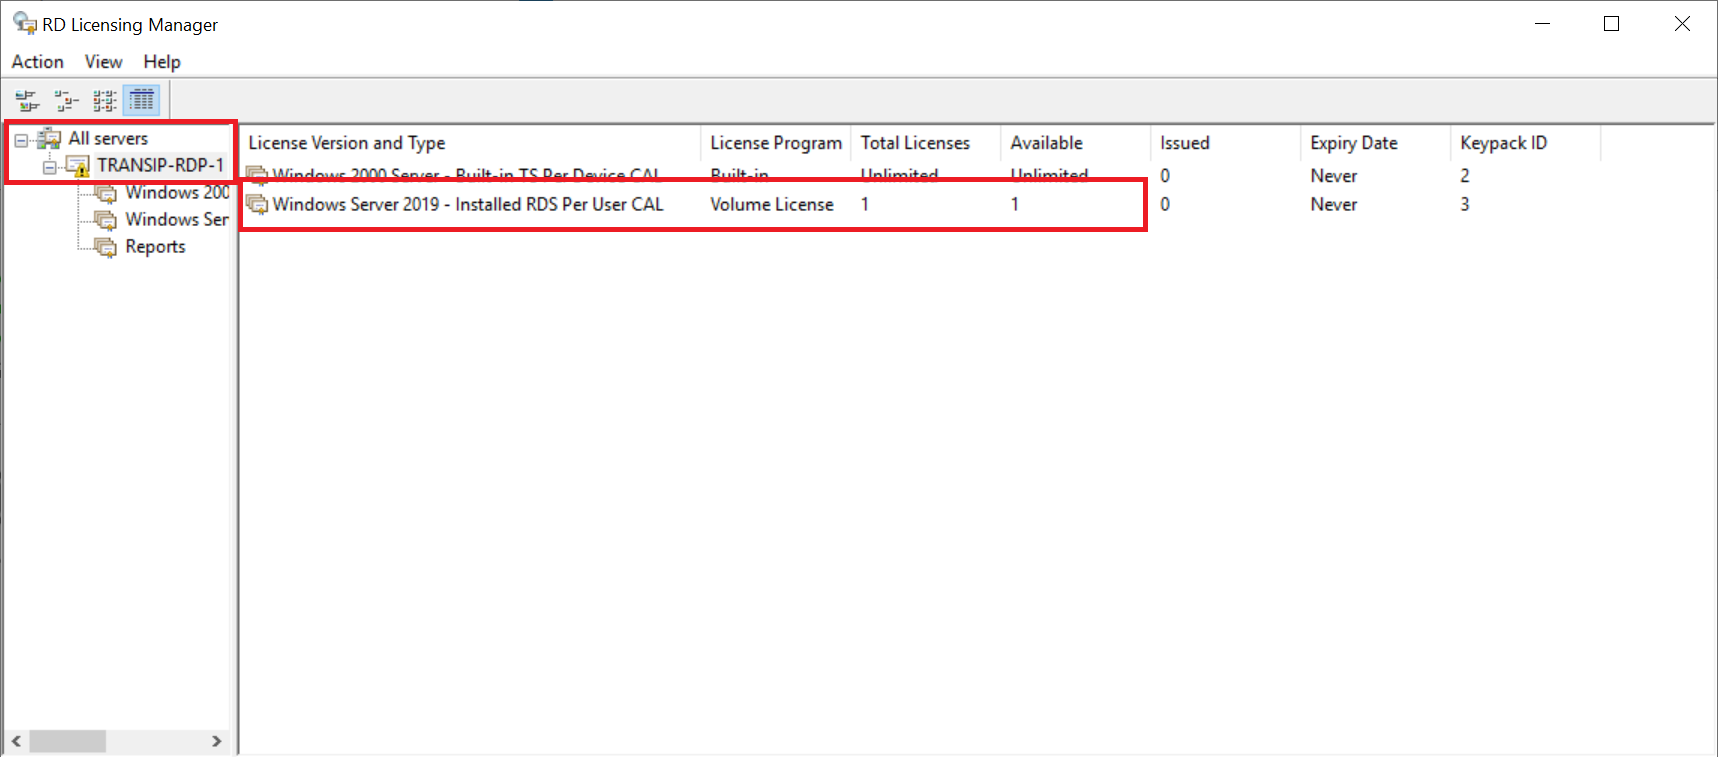
The exclamation mark in the screenshot is due to the use of an Active Directory (required for Windows Server 2019 and newer). Additional steps are needed, which we will cover in the next section. After completing those additional steps, the exclamation mark will change to a green checkmark.
Additional Steps for Active Directory Environments
If you are using an Active Directory, there are additional steps required to actually make the server part of the license group in the Active Directory. Without these steps, your server cannot assign licenses to remote desktop users in your (AD) domain.
Step 1
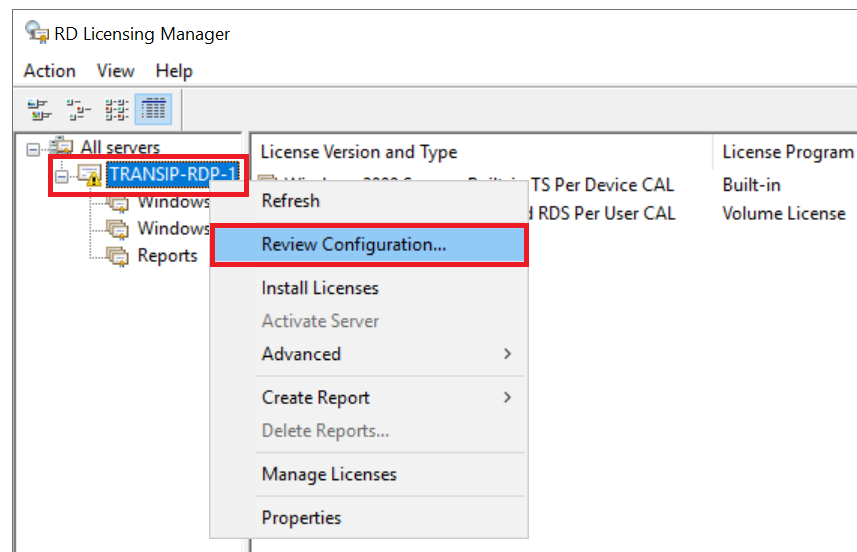
Reopen the 'Remote Desktop Licensing Manager' if you have closed it (Server Manager > Tools > Remote Desktop Services > Remote Desktop Licensing Manager).
Right-click on the name of your server and select 'Review Configuration...'.
Step 2
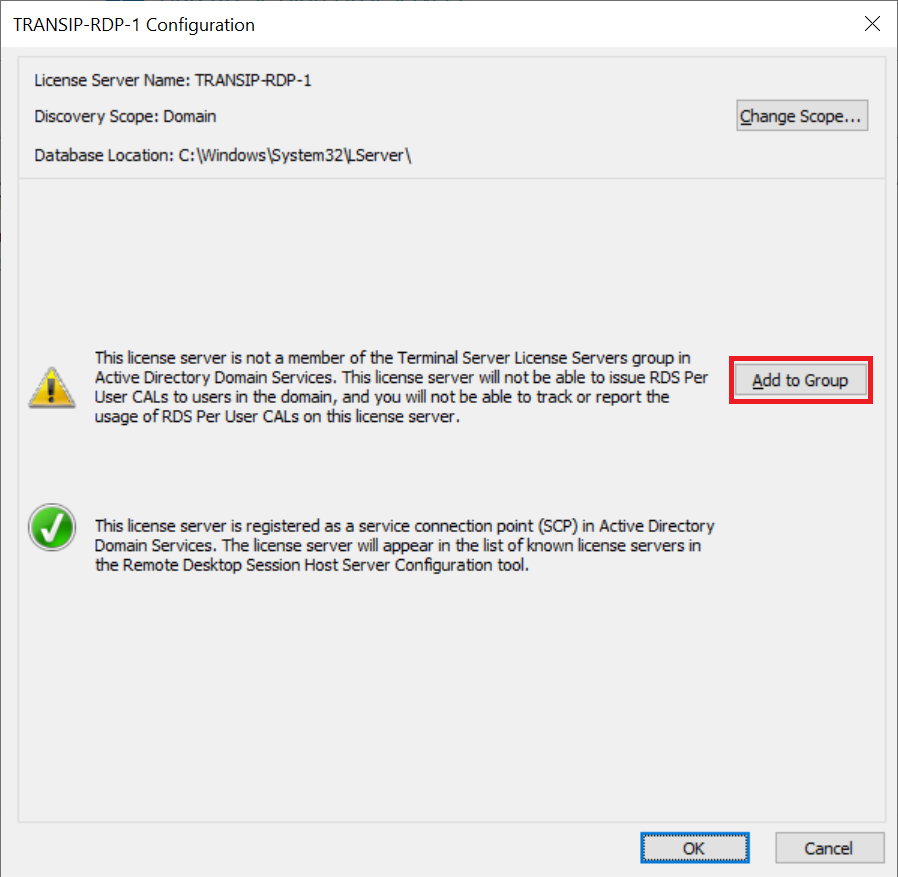
You will see a warning about what is described in the introduction to this section. Click 'Add to Group' to add your server to the Terminal Services License Group in your AD.
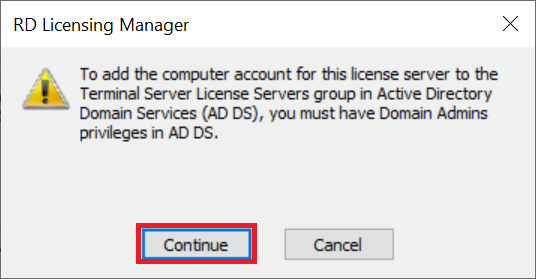
You will see a warning that you need Domain Admin rights to proceed, even if you are already connected as a domain admin. Click 'Continue' to proceed.
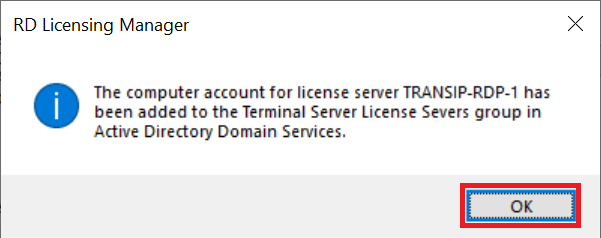
You will then immediately receive confirmation that your computer account has been successfully added to the Terminal Services License Group. Click 'OK' to close the message, then close the RD Licensing Manager.
Finally, restart your server. The exclamation mark from the previous step 17 will now have changed to a green checkmark.
That brings us to the end of this guide on installing remote desktop licenses.
Should you have any questions based on this article, please do not hesitate to contact our support department. You can reach them via the 'Contact Us' button at the bottom of this page.