


When you work with a Windows Domain, it quickly becomes confusing to remember the IP addresses of your servers. It is therefore more convenient to create a DNS record for every server in your network and user server names instead.
For example, let's say your Windows Domain is called transip.local. Instead of remembering which IP address belongs to your Domain Controller (DC), you can also create a DNS record called dc.transip.local. If you then connect to your DC via remote desktop, you no longer have to use the corresponding IP address to connect, but you can also use dc.transip.local.
In this tutorial, we'll show you how to create DNS records for your servers for your Windows Domain.
Step 1
Connect to your Domain Controller via Remote Desktop or the VPS console.
Step 2
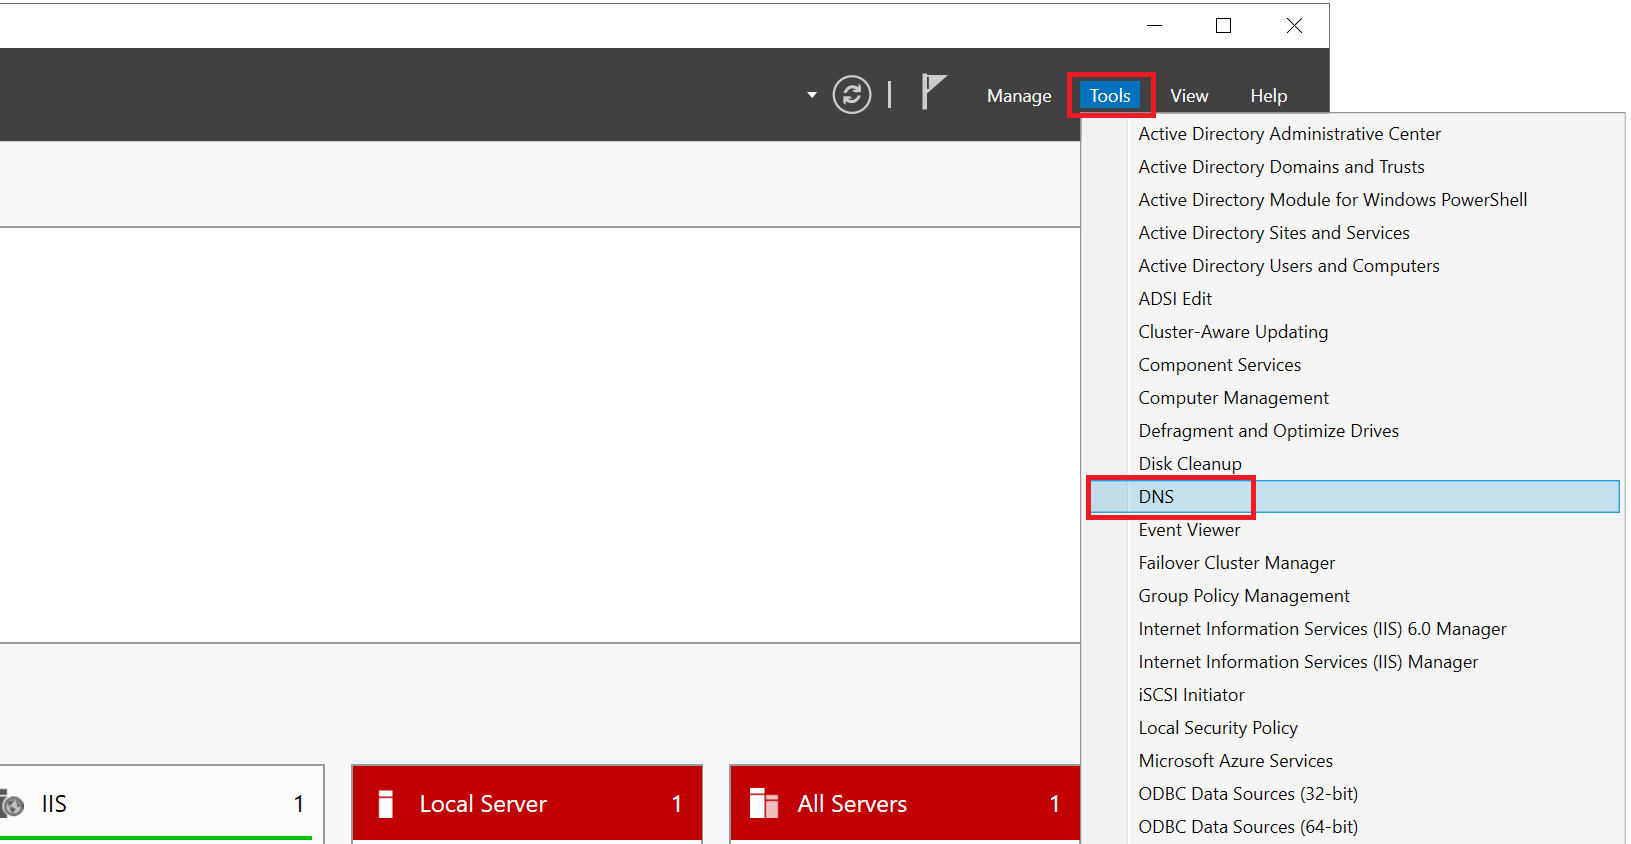
Open the Server Manager and click 'Tools' > 'DNS' at the top right.
Step 3
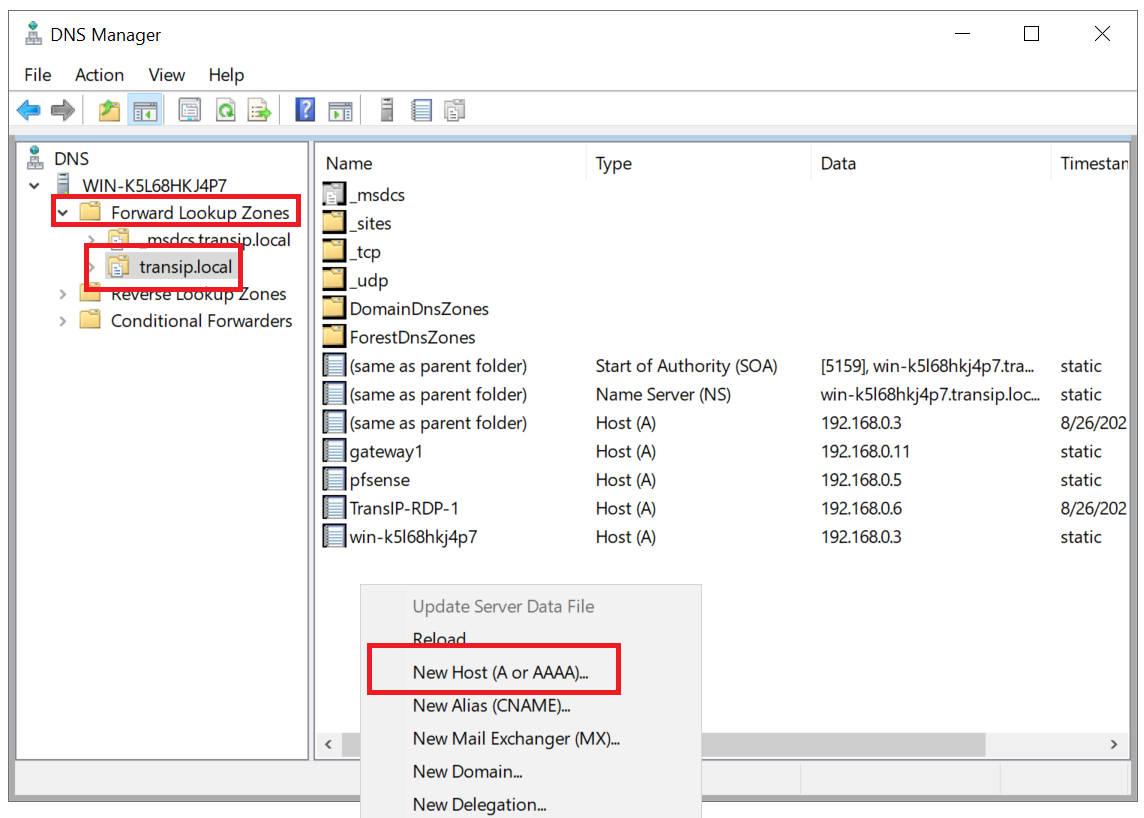
The DNS manager will now open. Click 'Forward Lookup Zones' > the name of your local domain. Then right click an empty space and select 'New Host'.
Step 4
Give the record a name, the LAN IP address of the server you are adding the record for, and click 'Add Host'.

You can now reach the added server via its DNS name from other servers on your private network, for example with a ping command:
ping demo.transip.local
This brings us to the end of this tutorial on how to create DNS records for servers in a Windows Domain.