


A useful option of pfSense firewall, in addition to using it as a firewall, is to use your pfSense firewall as a VPN server. For this, pfSense supports several types of VPN servers, but for this tutorial we will assume an OpenVPN server.
After configuring an OpenVPN server, there are two options:
-
If you use LDAP or RADIUS, you create an SSL certificate for each user and export the OpenVPN client.
- If you do not use LDAP or RADIUS, you can create OpenVPN users in pfSense. This is a two-piece process consisting of configuring client access and creating users. Both parts are required to create a (unique) OpenVPN user, so we treat these parts as one. For each new unique OpenVPN user you create in this way, you will go through the steps in this section of this guide again.
For security reasons, we recommend creating a unique account for each user and/or device that you want to connect to your OpenVPN server.
LDAP or RADIUS users
Step 1
Every user gets his own SSL certificate. This is more secure and in the case of a compromised certificate, it just needs to be revoked and doesn't necessarily affect your other users.
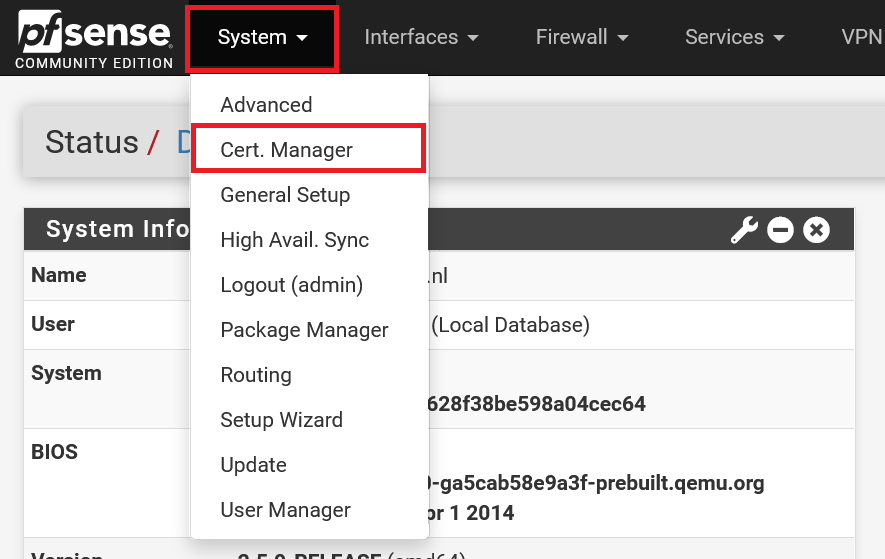
At the top of the pfSense menu, click 'System' > 'Cert. Manager'.
Step 2
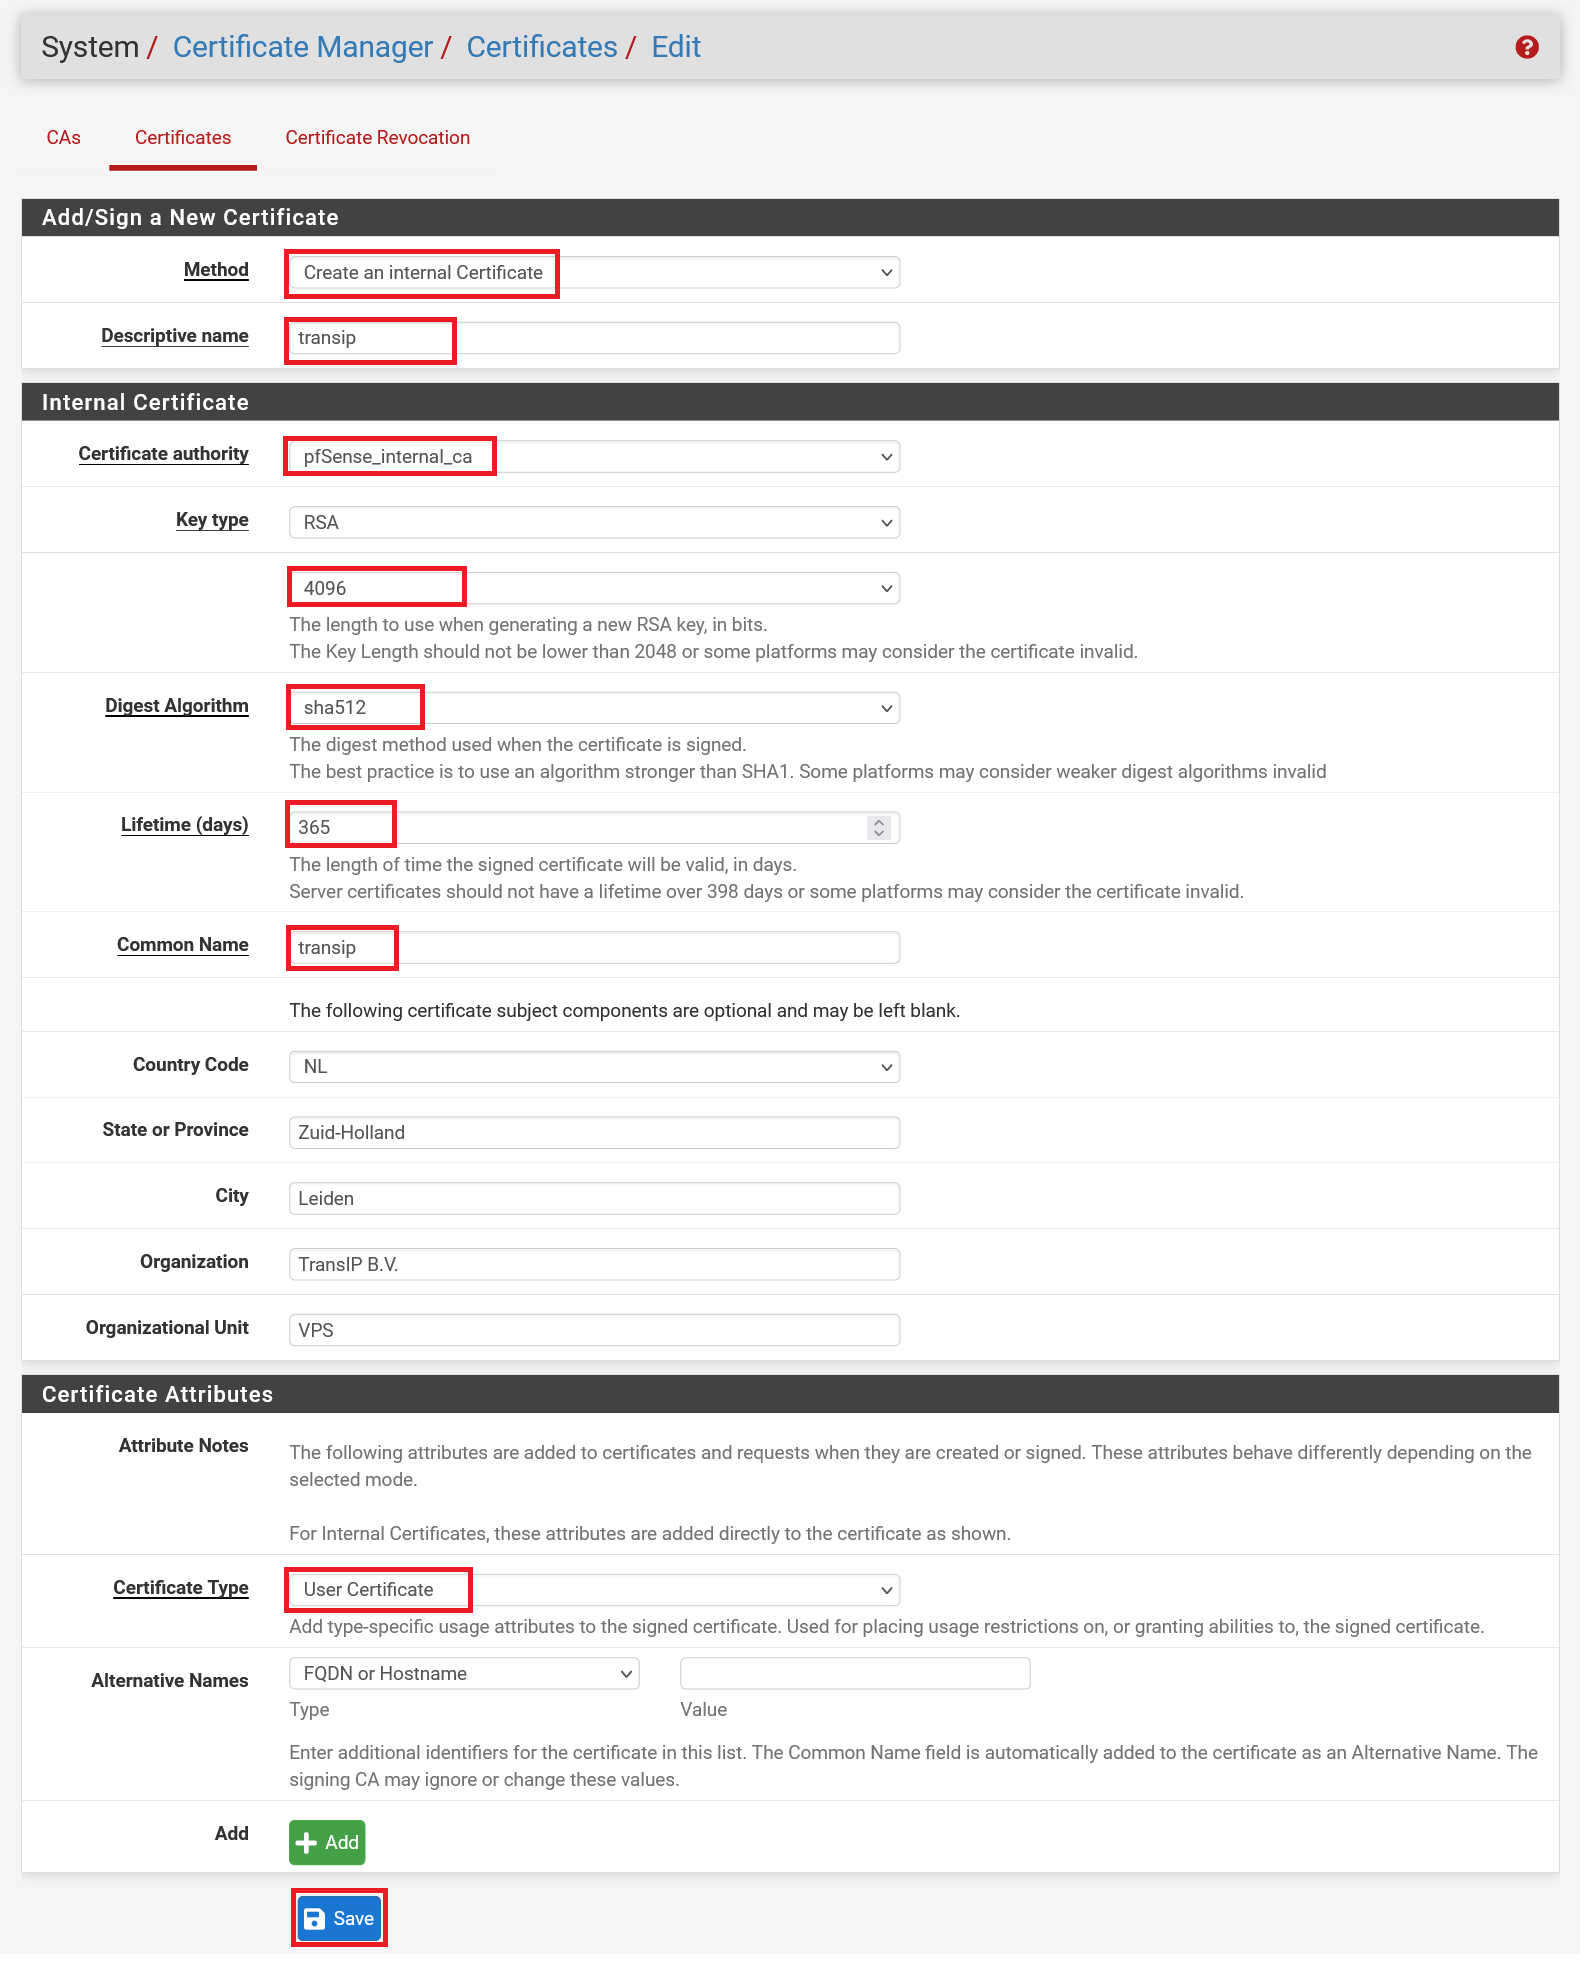
Click the 'Certificates' tab and then click 'Add/Sign'.

Step 3
Most of the page is already filled in automatically. The most important thing is that you specify the logon name of the Active Directory user as 'Descriptive name' and 'Common name' (case sensitive). In this tutorial we explain how to create an AD user. You are free to change the key length and the algorithm. For a combination of safety and performance, we opt for 4096 and SHA512 respectively.
Step 4
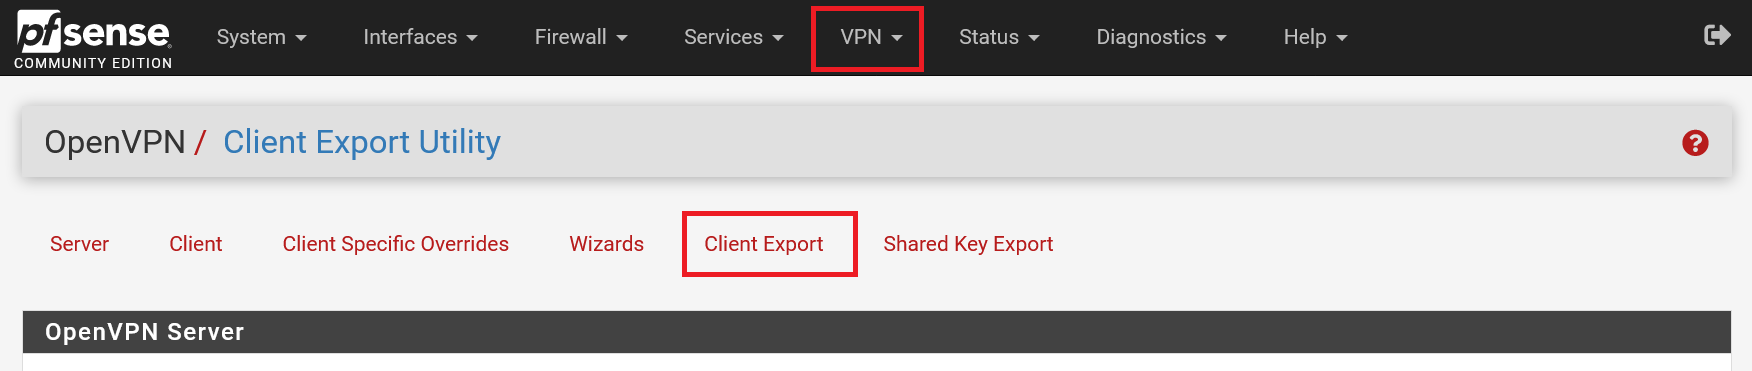
Navigate back to the OpenVPN page ('VPN' > 'OpenVPN') and click 'Client Export'.
Step 5
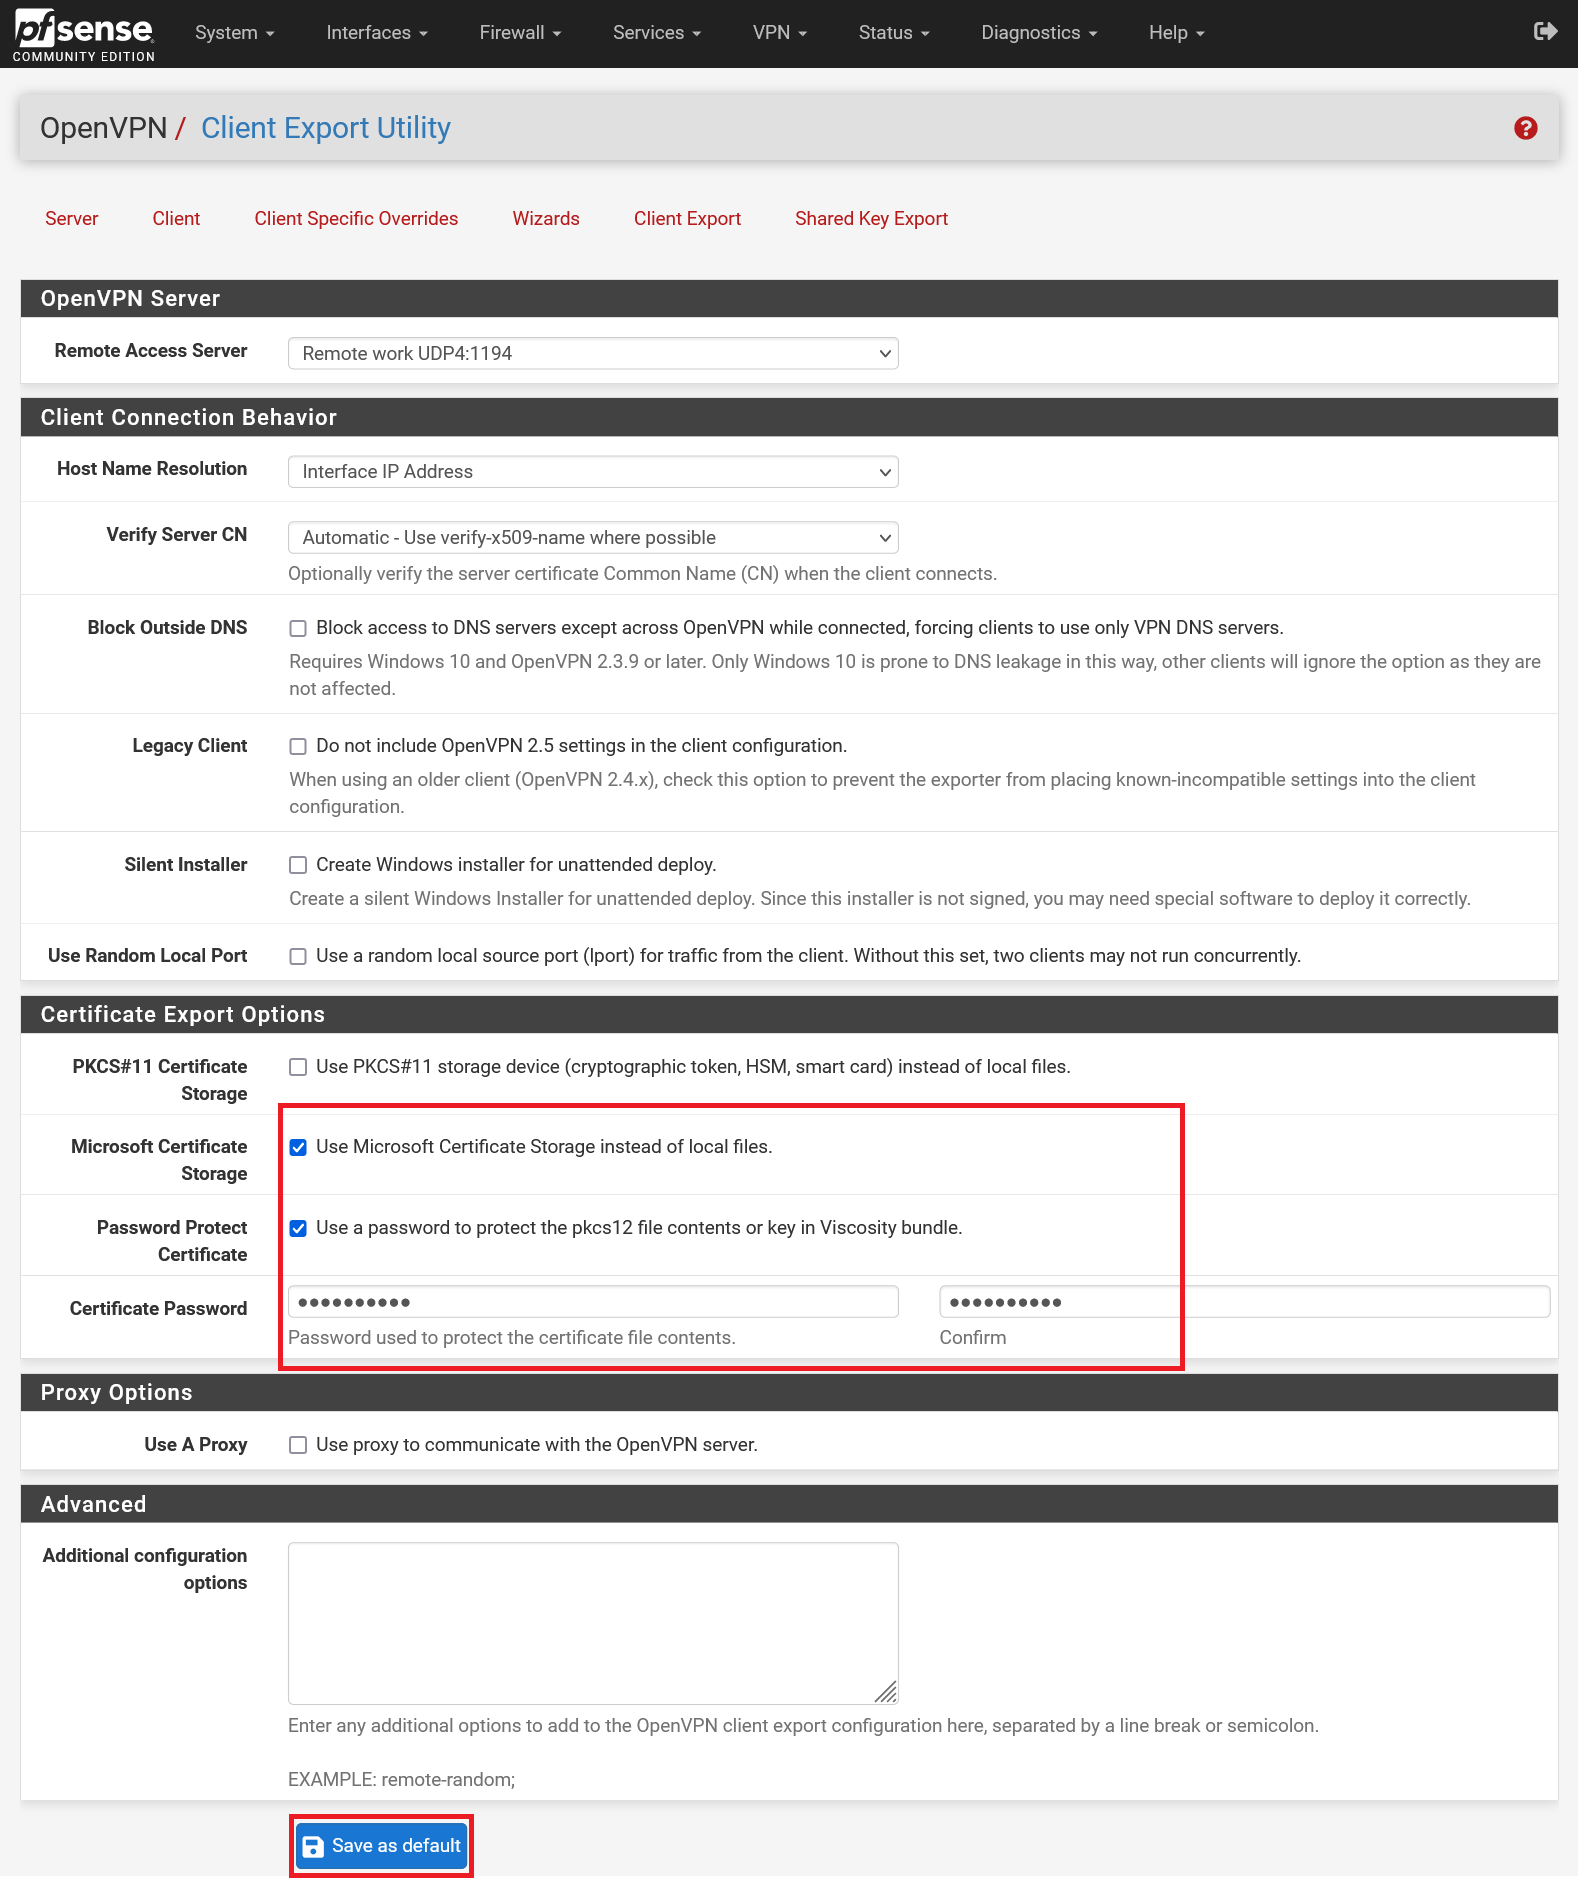
The options in the top half of the page are all optional and you are free to change them to your liking. Some of the most important to consider are:
- Microsoft Certificate Storage: Windows systems use an umbrella system, the certificate store, in which SSL certificates can be centrally stored instead of different programs spreading them across your hard drive (checking this option is the 'cleanest' solution).
- Password Protect Certificate: Your private key is unprotected. With this option you secure it with a password (most secure).
- Save as default: If you use one or more of the options in this overview for all your VPN users, it is desirable to set those options as default via this button.
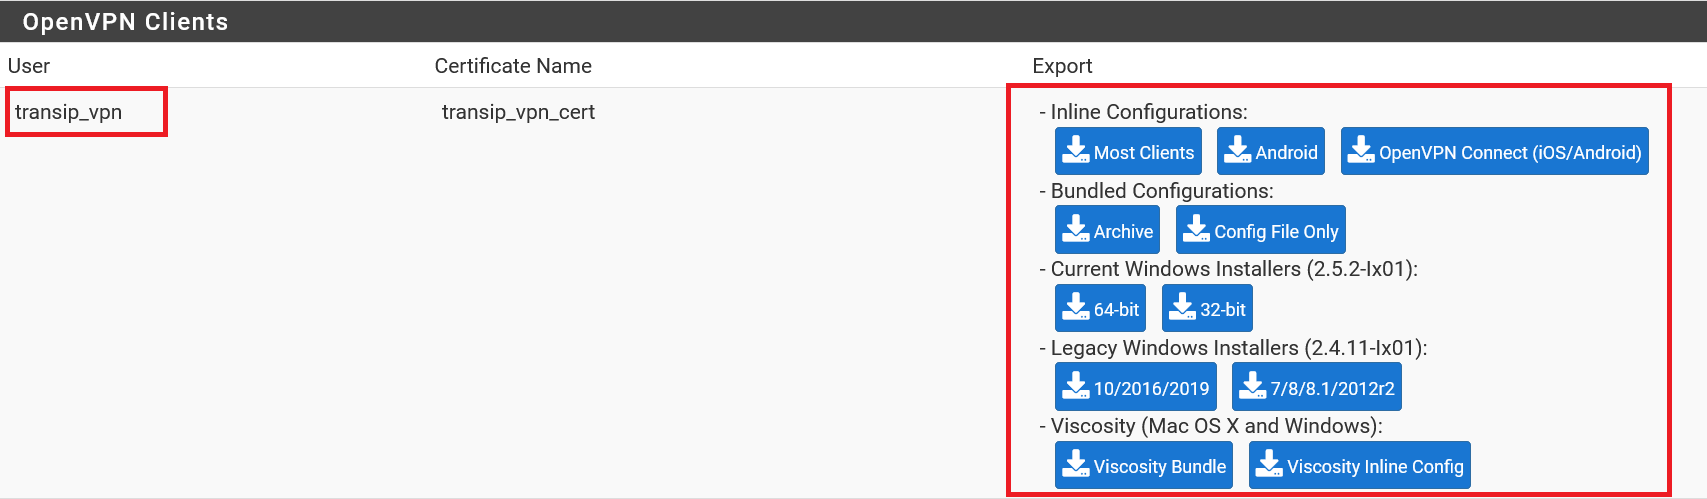
Now scroll down to 'OpenVPN Clients'. Here you will find an overview of your VPN users (make sure you choose the correct LDAP username) and the associated configuration files for various VPN clients. The most commonly used options are:
- Inline Configurations > Most Clients: You will get an .ovpn file used by OpenVPN client software such as OpenVPN Connect.
- Current Windows Installer > 64 bit: A ready-to-use executable file with which you can install an OpenVPN client that also directly contains the configuration of your user.
- Viscosity > Viscosity Bundle: Download a .zip file with various configuration files, for example used by VPN clients like Viscosity.
Download the option that applies to you. In the last two paragraphs we show as an example how to use the Inline Configurations option for OpenVPN Connect (available for Windows and MacOS) and the Windows Installer respectively.
Creating an OpenVPN user (no LDAP)
Step 1
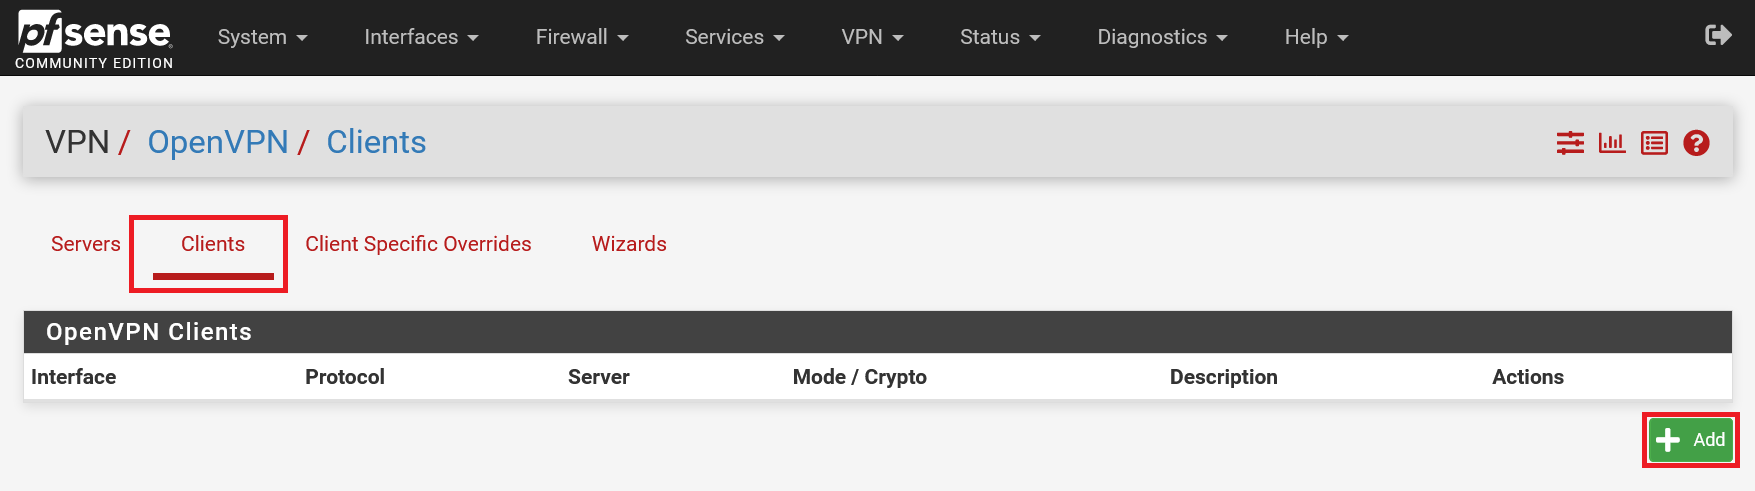
Navigate to the OpenVPN overview (VPS > OpenVPN) and click the 'Clients' tab and then click 'Add'.
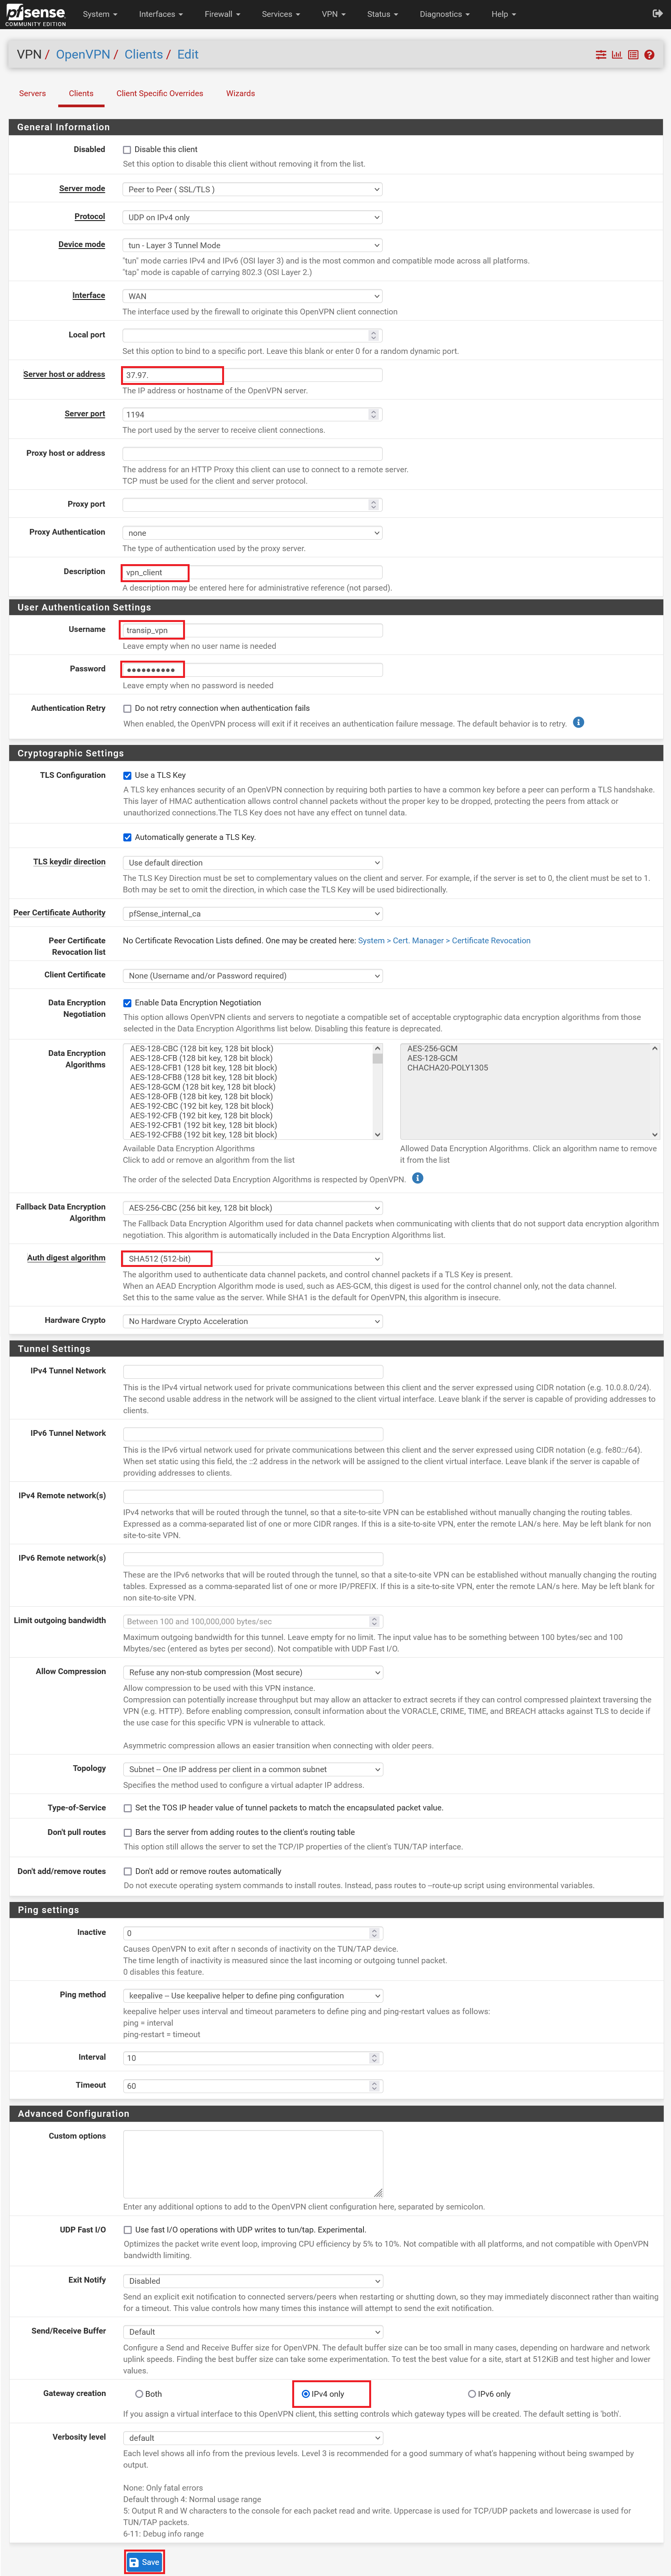
On this page you configure the client access: Below we go through the options required for a minimal (and secure) configuration. You are free to adjust the other options as you wish.
-
Server host or address: Enter the public IP of your pfSense firewall here. This is not automatically filled in by your server.
-
Description: Give the configuration a descriptive name, for example the name of the user.
-
Username: Enter a username for the VPN client configuration, for example the initial and last name of a user (you will need these again in step 4).
-
Password: Enter a password for the user (you will also need this in step 4).
-
Auth digest algorithm: If desired, adjust the auth digest algorithm to a higher value, e.g. SHA512.
- Gateway creation: Set this option to IPv4. IPv6 is not necessary for the VPN connection.
Step 3
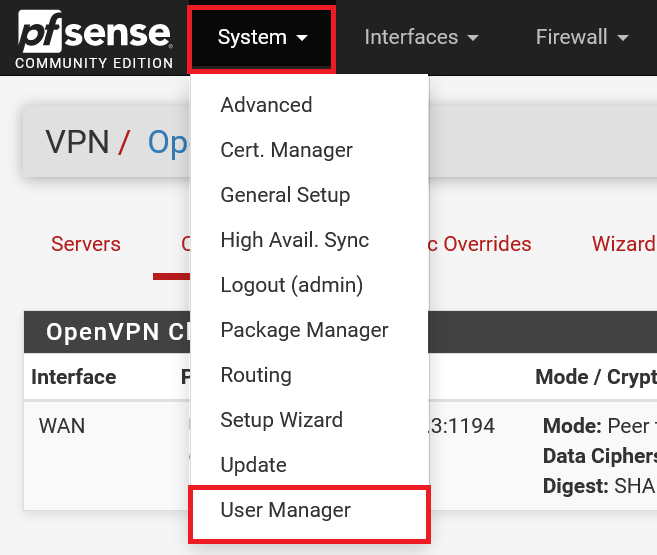
Your VPN client configuration is now ready and visible under the 'Clients' tab. Now click 'System' > 'User Mamager' in the top menu.
Step 4
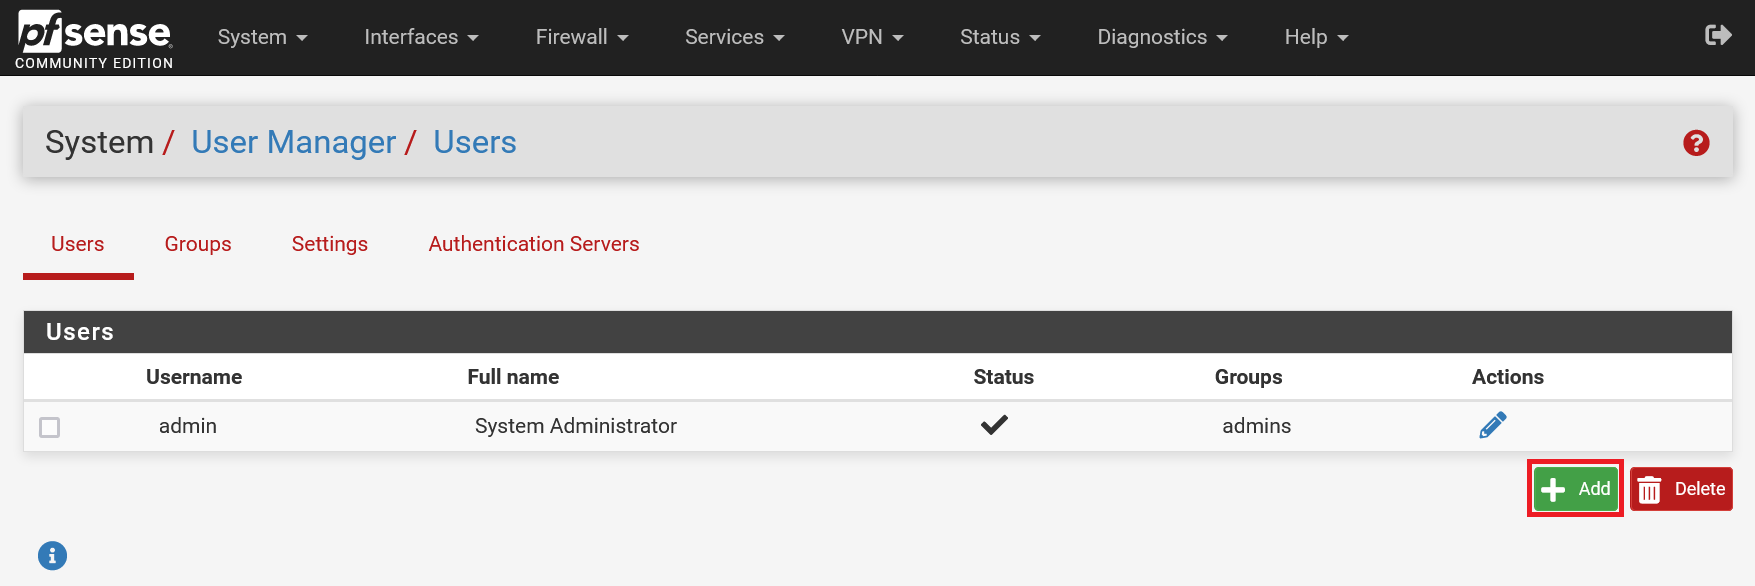
You will see an overview of your server's pfSense users. Click 'Add' at the bottom right.
Step 5
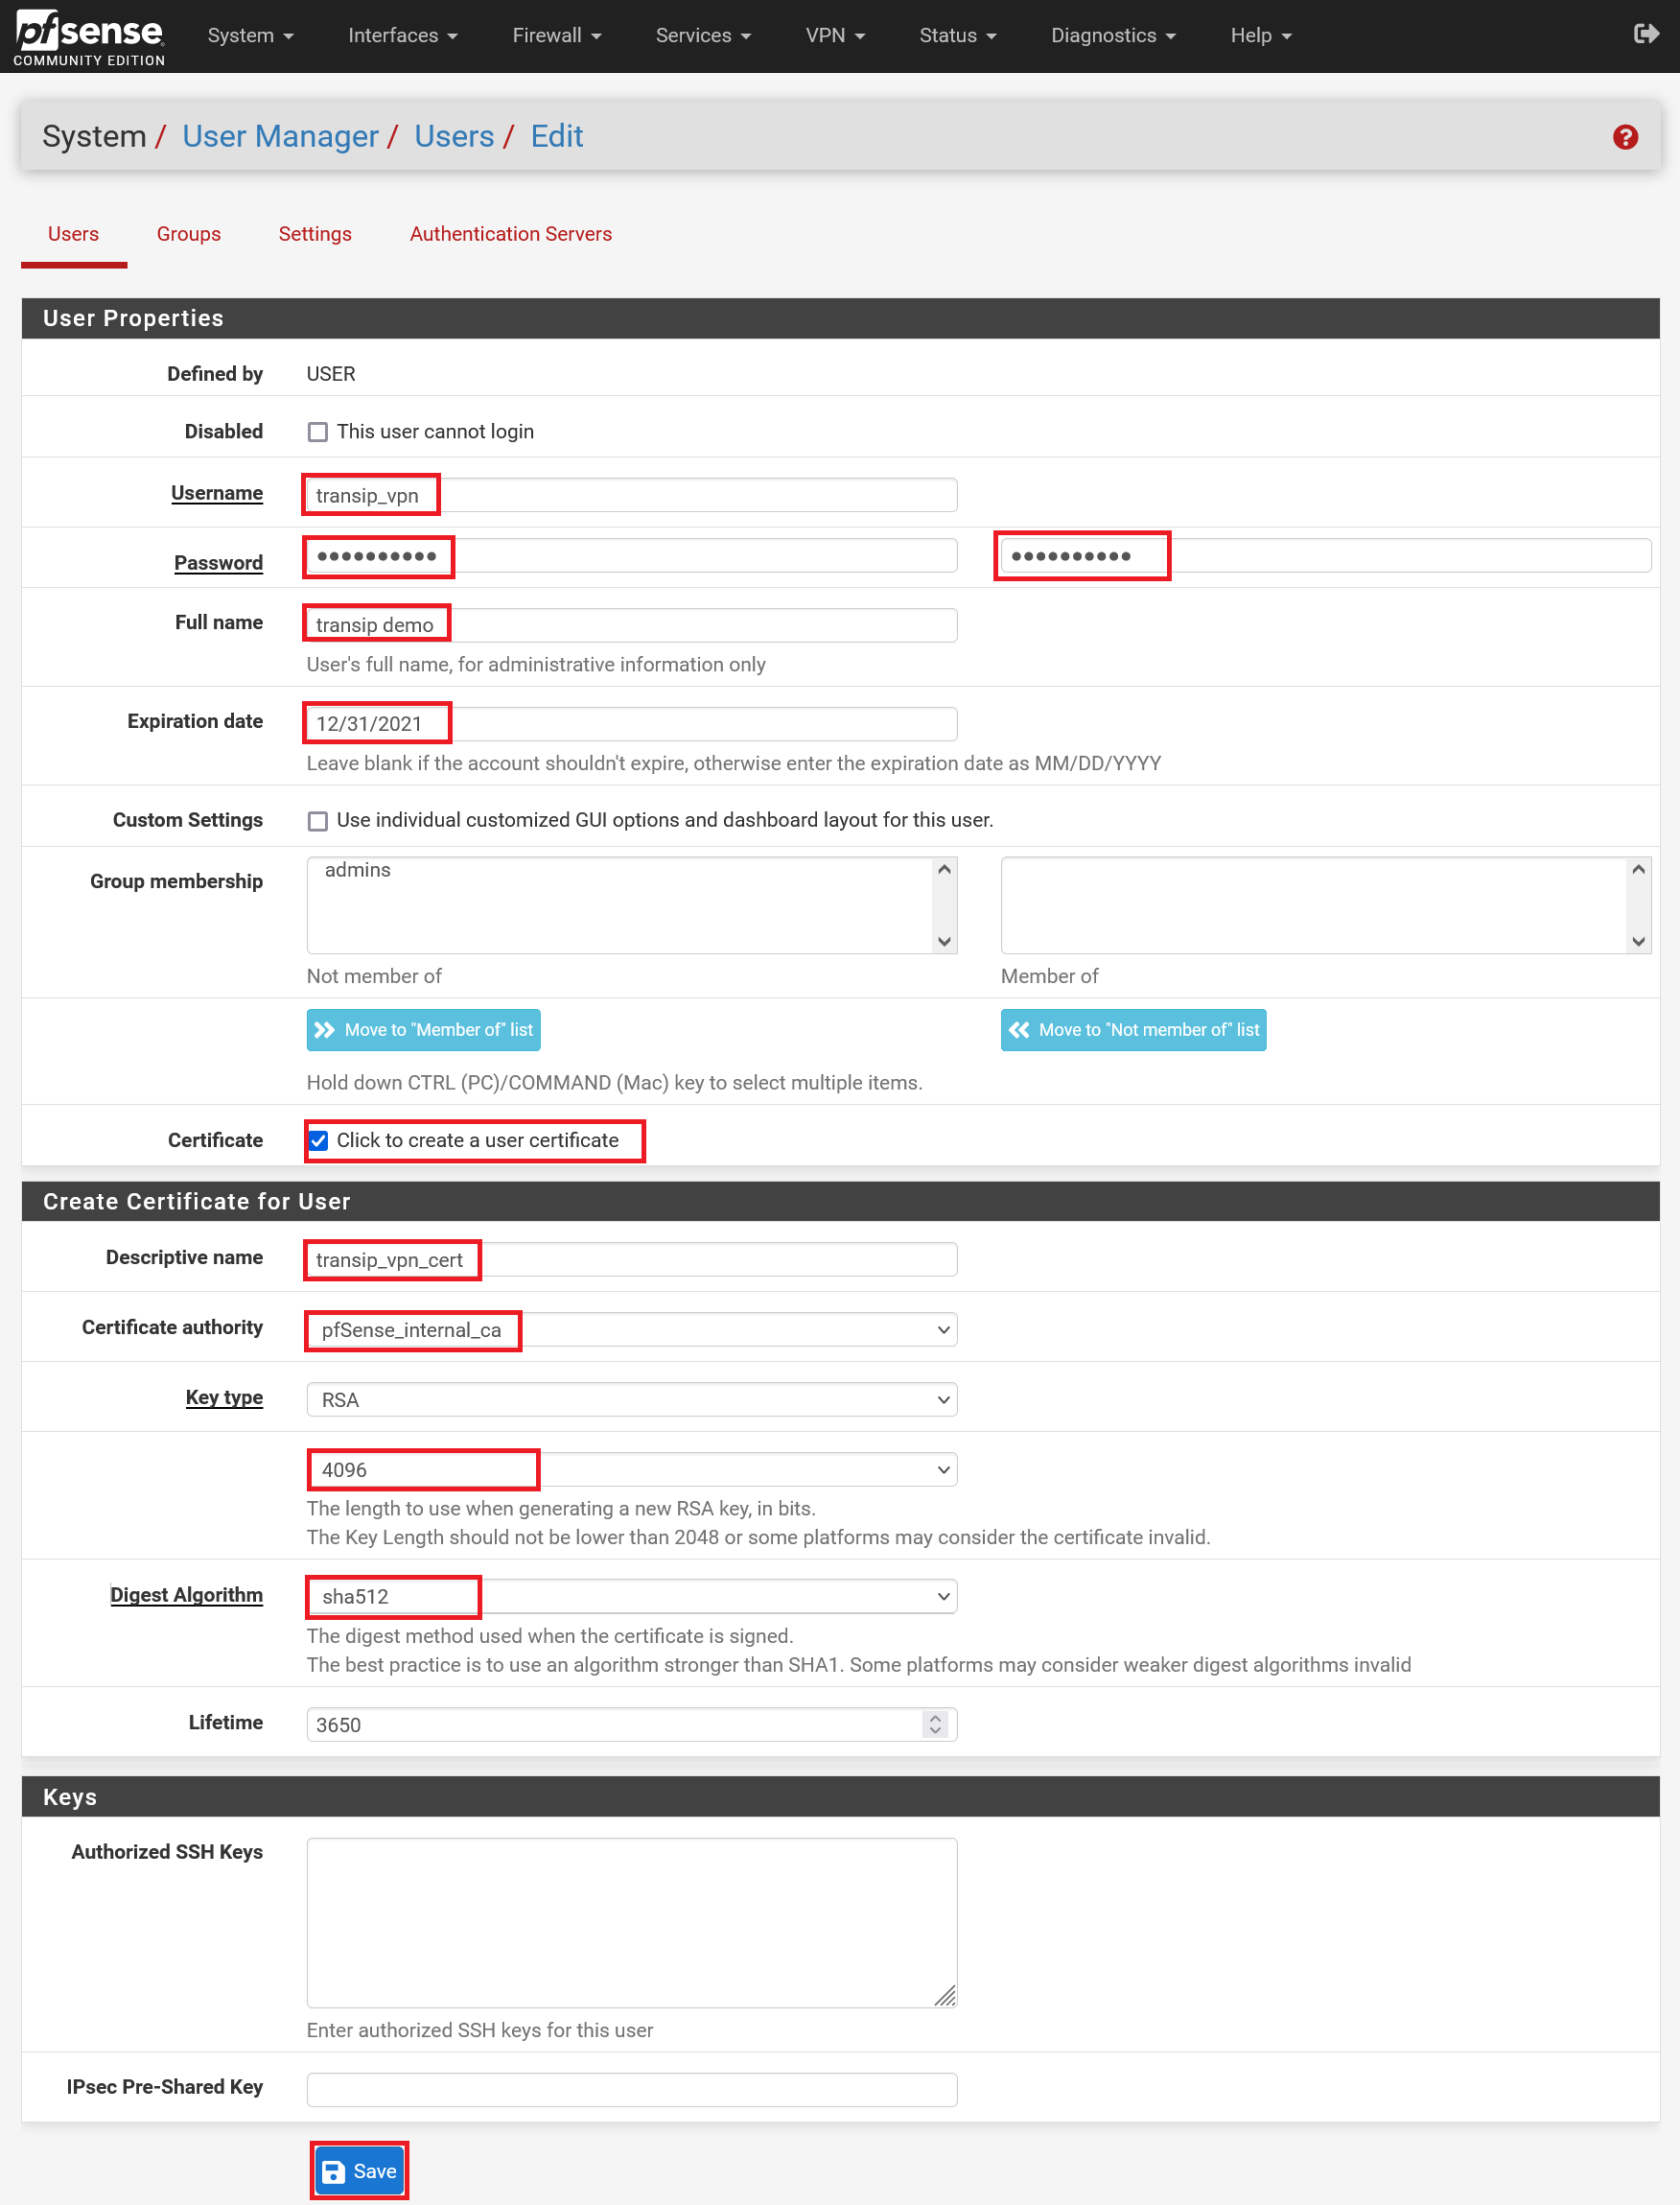
Fill in the data as in the example below, with the following adjustments:
-
Username: The username must match the username from step 2.
-
Password: The password must also match the password from step 2.
-
Full name: The name of the user
-
Expiration Date: This is optional, but you can choose to let accounts expire. You then have to periodically recreate the user (from step 3 onward) and give the user new VPN data/files.
-
Certificate: Check this option. This will make the 'Create Certificate for User' options visible.
-
Descriptive name: A description of the certificate, for example with the syntax <username>_cert.
-
Certificate authority: Always use the internal CA that you have created for OpenVPN.
- Key length & Digest Algorithm: Adjust these options to your liking. The rule is basically 'the higher the number, the safer'.
Step 6
Navigate back to the OpenVPN page ('VPN' > 'OpenVPN') and click 'Client Export'.
Step 7
Scroll down to 'OpenVPN Clients'. Here you will find an overview of your VPN users and the associated configuration files for various VPN clients. The most relevant options are:
-
Inline Configurations > Most Clients: You will get an .ovpn file used by OpenVPN client software such as OpenVPN Connect.
-
Current Windows Installer > 64 bit: A ready-to-use executable file with which you can install an OpenVPN client that also directly contains the configuration of your user.
- Viscosity > Viscosity Bundle: Download a .zip file with various configuration files, for example used by VPN clients like Viscosity.
Download the option that applies to you. In the next two sections, as an example, we'll show you how to use the Inline Configurations option for OpenVPN Connect (available for Windows and MacOS) and the Windows Installer respectively.
Using OpenVPN Connect Windows/Mac/Android/iOS
In the first paragraph in step 6 you downloaded an .ovpn file via Inline Configurations > Most Clients. Make sure you have it available on the client or server you want to connect to your VPN network.
Step 1
Install and open the Windows, Mac, Android or iOS OpenVPN Connect client/app.
Step 2
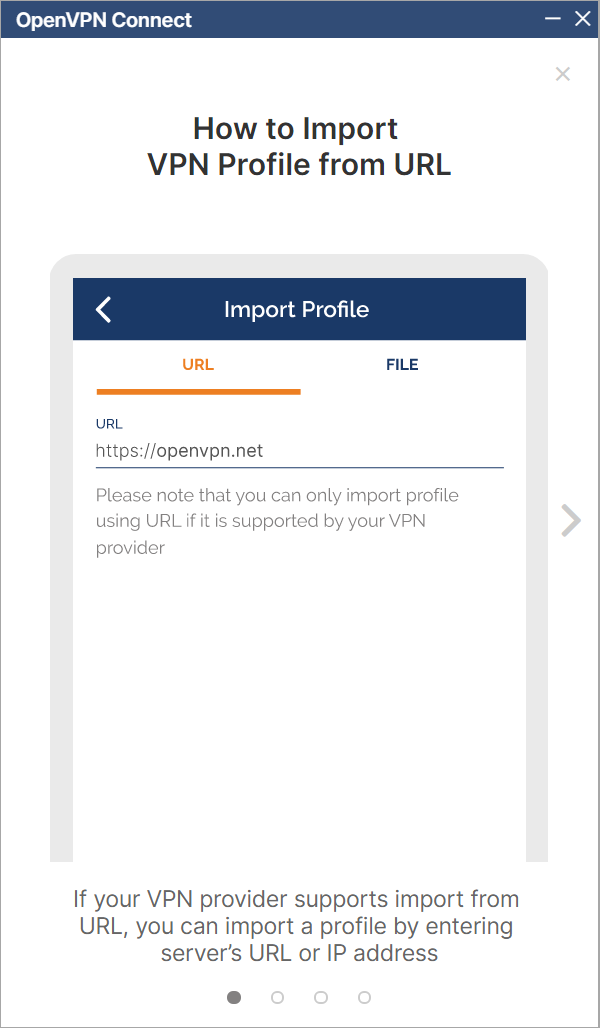
You will enter a 'How to' wizard. Close this by clicking the grey cross.
Step 3
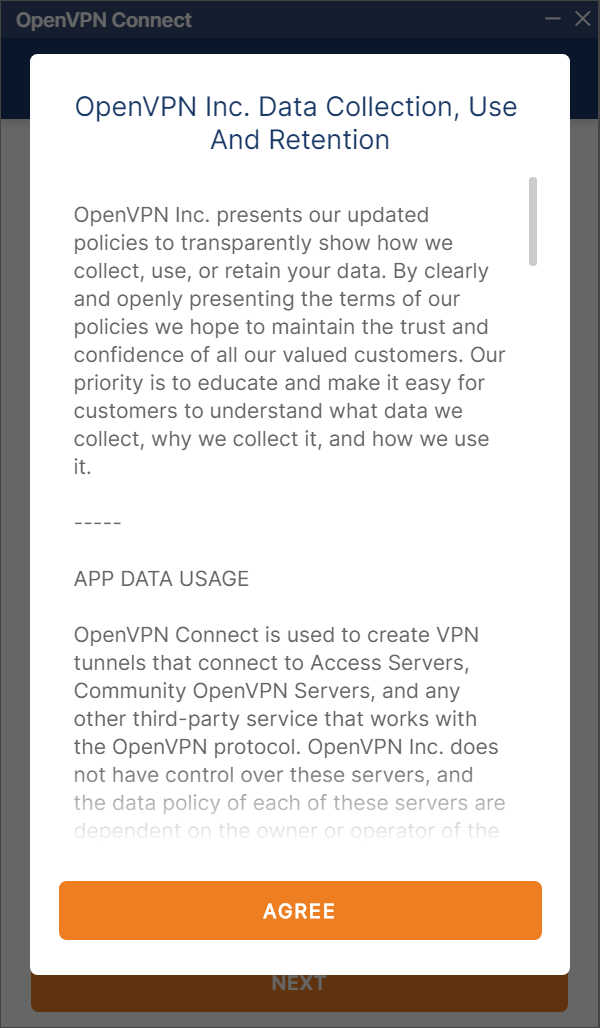
Agree to the terms of use and the updates information that follows.
Step 4
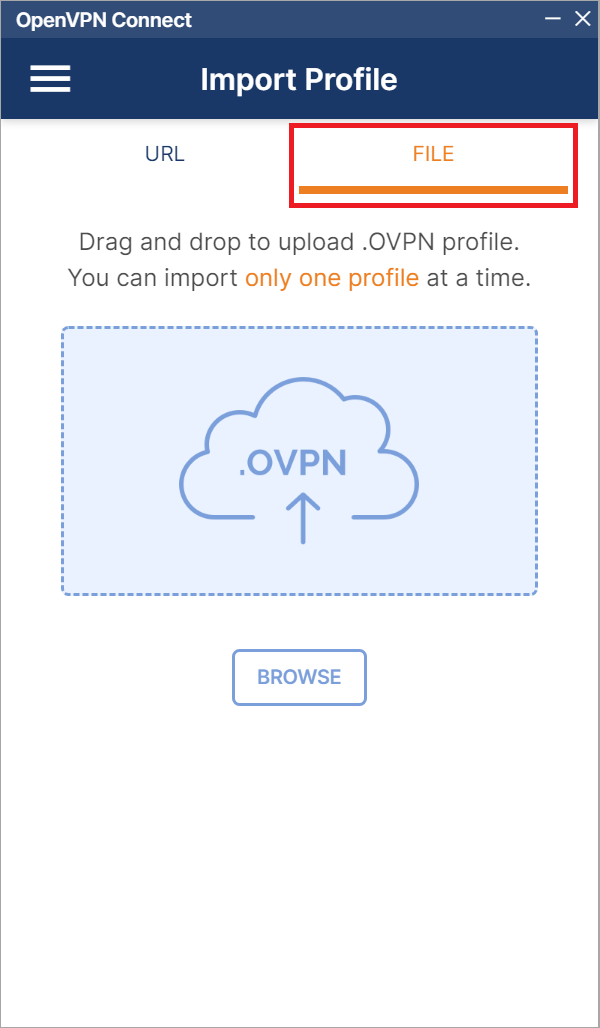
Click the 'File' tab and drag and drop the .ovpn file (Windows and Mac) from Windows Explorer/the file explorer, or click 'Browse' (works for all systems) to select the location where the file is located.
Step 5
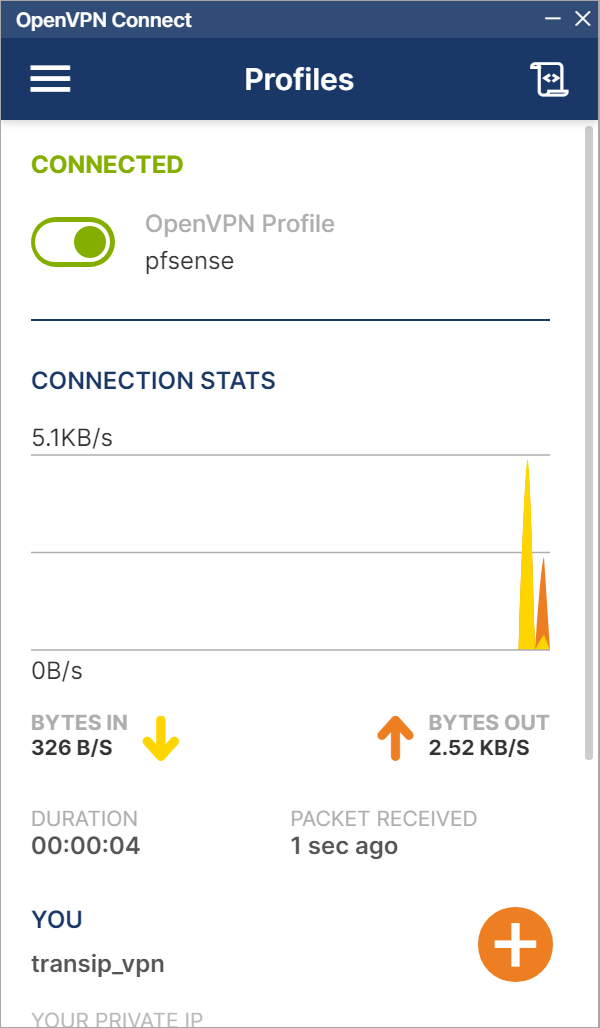
Most data is filled in automatically. You are free to use a simpler Profile Name than is automatically filled in. If desired, check the option 'Save password' and then click 'Connect'

Congratulations! You are now connected to your VPN server.
Using the Windows Installer
In the first paragraph in step 6 you have downloaded the Windows Installer. Make sure you have it available on the client or server you want to connect to your VPN network.
Step 1
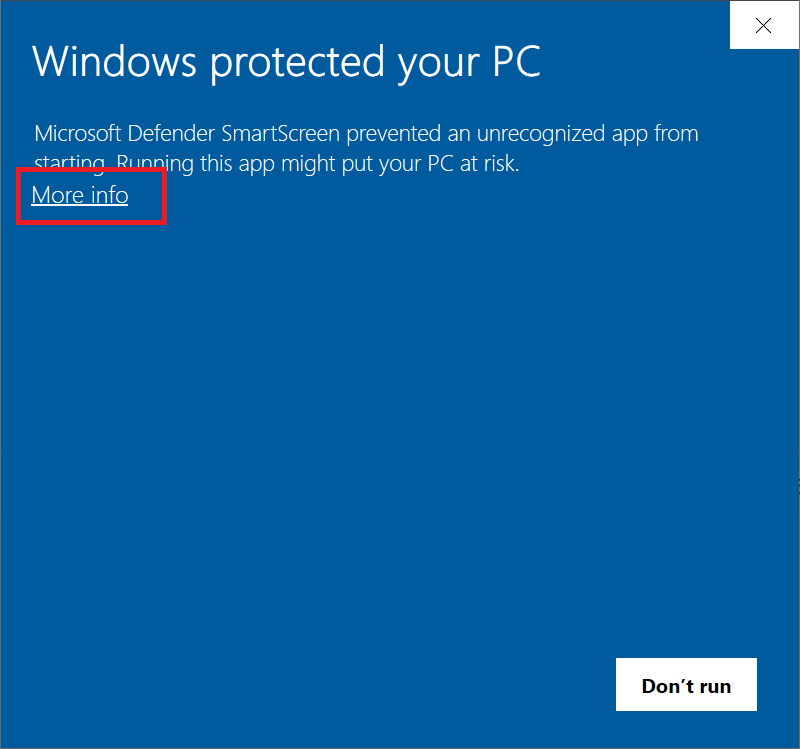
Open the OpenVPN Windows Installer file. You will now immediately receive a warning 'Windows protected your PC' because the file does not have a publisher. Click 'More Info'.
Step 2
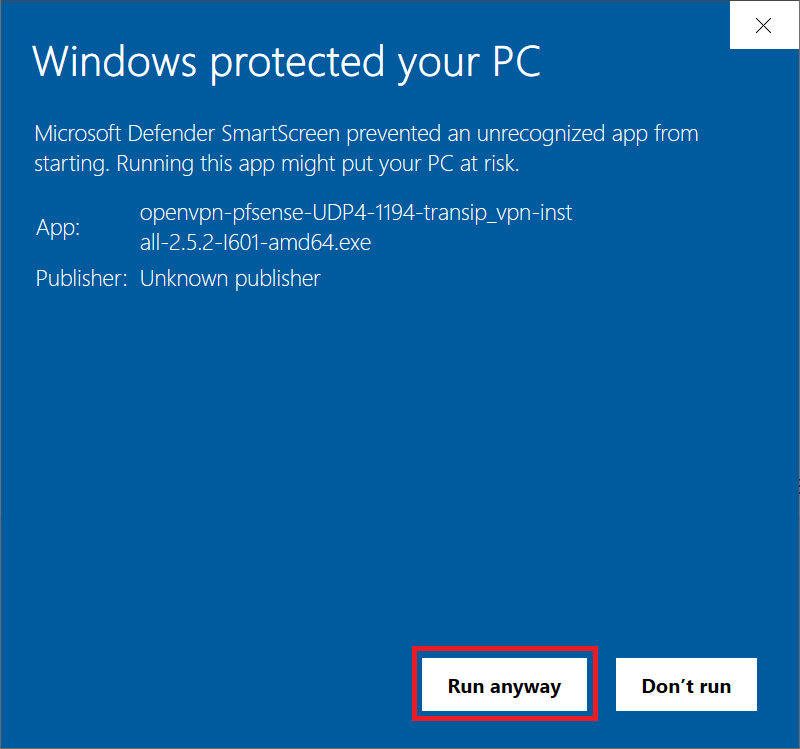
Click 'Run Anyway' to ignore the warning and start the installation.
Step 3
Please note: If you have chosen to use a certificate store in the previous paragraphs, with or without password protected, you will first see a few screens that guide you through the import of your VPN certificate into the certificate store and a prompt for the corresponding password.
Next click 'Install Now' to start the installation.

Step 4
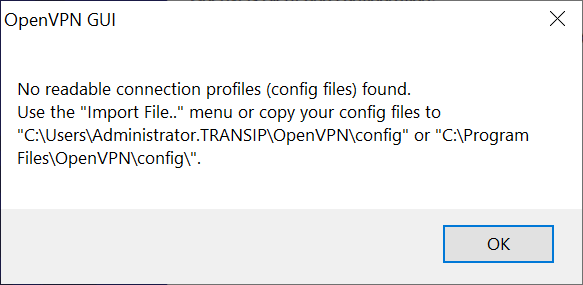
After installation, two new screens will open:
-
A warning that no profile can be found. Click 'OK' to close the warning.
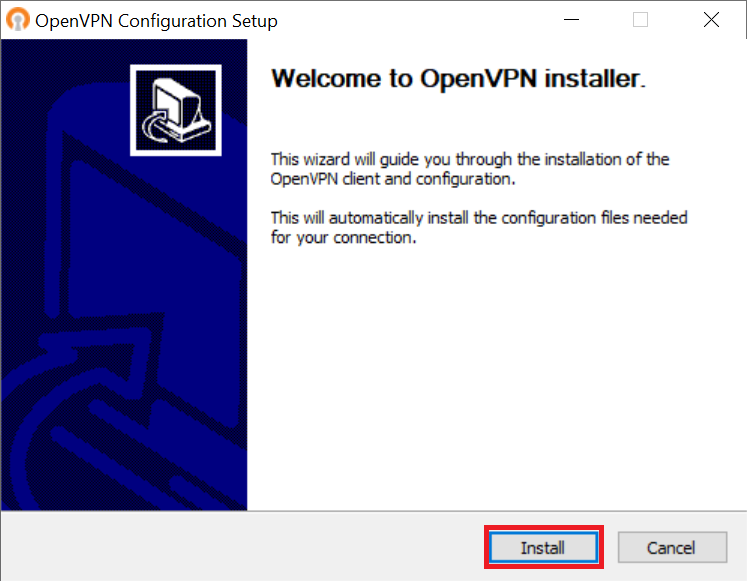
-
An installer that installs the necessary configuration files. Click 'Install'.
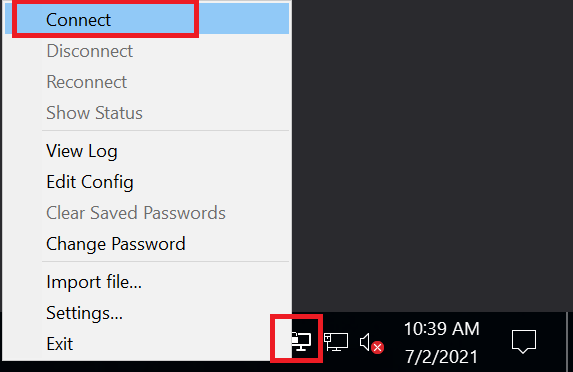
Step 5
After installation, you will see a new icon for OpenVPN at the bottom right of Windows. Right click this and select 'Connect'.
Step 6
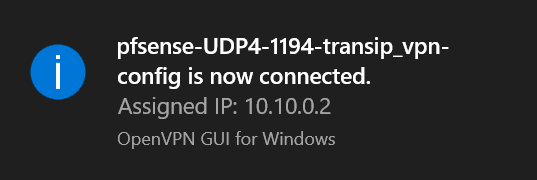
Enter the username and password of the previously created user, optionally check 'Save password' and click 'OK'.
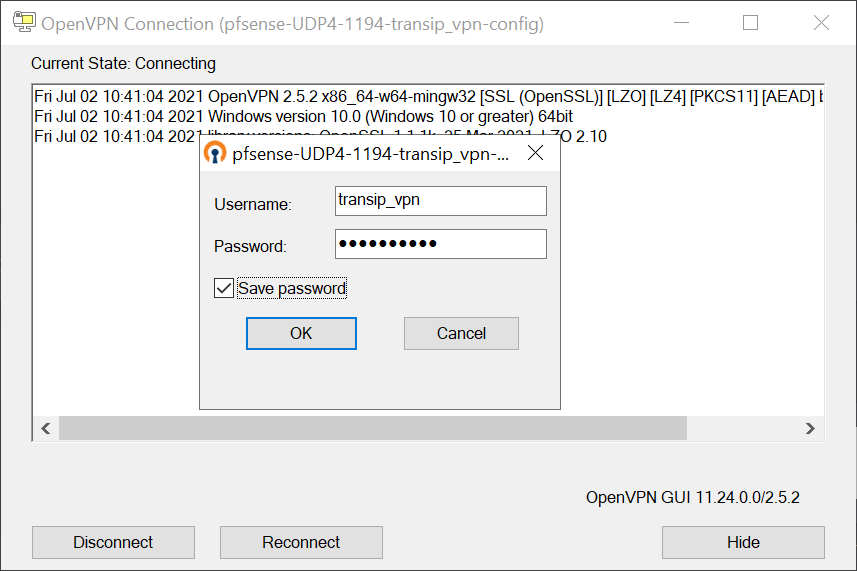
Congratulations! You are now connected to your OpenVPN server.
That brings us to the end of this tutorial on how to create (and use) OpenVPN users in pfSense.