If you own a Web Hosting package and only use the email function, we can imagine that you would prefer to use and Email Only package.
An Email Only package is cheaper than a webhosting package, but does not include any web space. An Email Only package contains only email addresses and allows you to forward visitors from your domain name to another address. The amount of email addresses depends on the specific Email Only package and can be found on the Email Only page.
Due to technical limitations, a Web Hosting package connot be automatically converted to an Email Only package. In this article we therefore explain how you can manually replace your Web Hosting package with an Email Only package.
Before you downgrade, back up your email first. When canceling the web hosting package, all email will be deleted. This is why you will need a backup; to be able to place your emails back on the new Email Only package.
To make and restore a backup via Outlook, you can use this article from Microsoft.
Do you use the Mail app for MacOS? In this guide from Apple you can read how to create and restore a backup of your email.
Replace your web hosting package with an Email Only package
As mentioned, the Email Only package only allows you to create email addresses. The amount of email addresses depends on which Email Only package you are using and can be found on the Email Only page. Before you decide to replace your web hosting package with an Email Only package, it is important that you check how many email addresses you currently use and which Email Only package this fits into. If you are satisfied with the maximum number of email addresses in your chosen Email Only package, you can perform the downgrade.
To continue using your current email addresses, recreate these email addresses on the Email Only package after the downgrade. Make sure you use the same passwords as before. If you are not sure whether you still remember the password of an email address, you can choose to first change the password of your email address.
Note: Before performing the downgrade, it is important that you also change the new password for your email address in your email program!
The email addresses that you have set up in your email programs will then remain active after the downgrade. Note that this only applies to email addresses set up with the IMAP protocol. We will now explain how to downgrade your web hosting plan to an Email Only plan.
Note: If you cancel your web hosting package, the website on it will also be deleted. If you want to keep this data, save a backup of your website using SFTP.
Step 1
Log in to your control panel and go to 'Domain' tab. Check the box of the domain of which you want to cancel the web hosting package.
Click 'Cancel'.

Step 2
Only select the web hosting package. Make sure the domain registration is not selected. If you leave the domain selected, it will also be cancelled.
After selecting only the web hosting package, select 'Cancel by' -> 'Immediately' and click 'Request cancellation'.

In the next window, make sure that only the web hosting package is selected. Then confirm the cancellation by clicking 'Confirm cancellation'.
Step 3
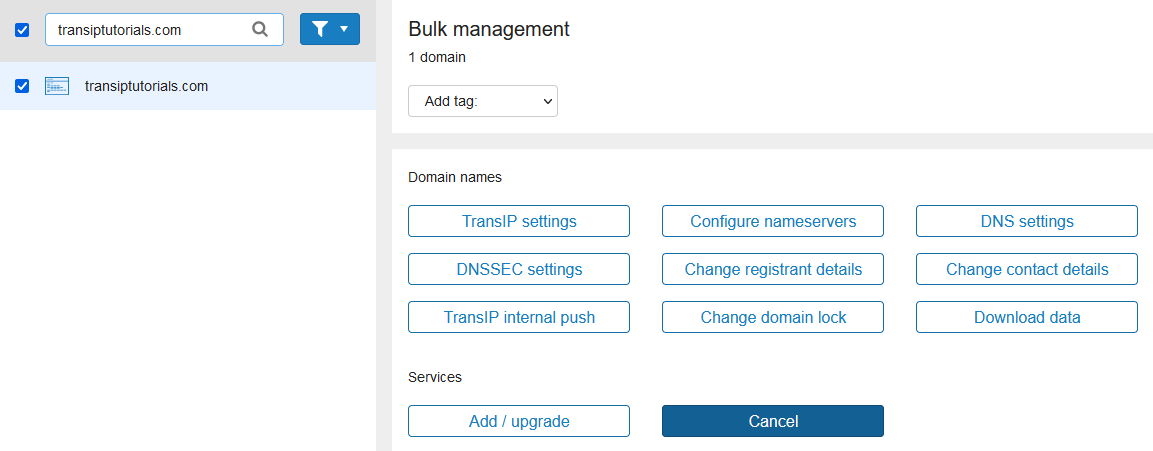
Go to the Email Only product page on our website. Now click 'Add / upgrade'. Pick the Email Only package you want and click 'Order' below it.

Complete the order and the Email Only package will be active on your domain name as soon as possible.
As mentioned before, you can also order a Forwarding service. The Forwarding Service does not contain any web space or email addresses. This package does allow you to forward visitors of your domain and emails to a different address.
Step 4
Now that the Email Only package is active on your domain name, you can create email addresses again. You can read how to do this in the article 'Creating a new email address'. To continue to use the email addresses in your email client, it is important that you use the same password as before.
Once you have created the email addresses, synchronize your email accounts in your email client. In Outlook this can be done by pressing 'F9'. In the Mail app for macOS, click the envelope icon at the top left.
If you use a different mail client, please consult its documentation to find out how to synchronise your email account.


