


On July 14th, 2020, Microsoft released a patch for a very serious vulnerability in Windows DNS servers. In this article, we provide background information on this vulnerability and explain how to protect your VPS against it.
TL; DR: Install the latest Windows updates and restart your server to secure your VPS.
The vulnerability
The vulnerability in Windows DNS servers is a remote code execution labeled CVE-2020-1350 which affects all Windows Server versions between 2003 and 2019. Microsoft itself states that the vulnerability is very critical for two reasons:
- The vulnerability is 'wormable'. This means that the malware can spread from server to server without requiring user interaction.
- An attacker who successfully exploited this vulnerability could run arbitrary code in the context of the local system account.
For these reasons, Microsoft gave the vulnerability a CVSS (Common Vulnerability Scoring System) score of 10.0, the highest score possible. Microsoft therefore strongly recommends that you update your Windows Server with the patch as soon as possible.
Is my server vulnerable?
Every Windows DNS server that has not yet been patched is vulnerable, regardless of whether or not your DNS server is publicly available. The question you may be asking yourself is: am I running a DNS server? You can check if you are using a DNS server on your Windows Server by using the following steps:
Step 1
Connect to your Windows Server via Remote Desktop or the VPS console.
Step 2
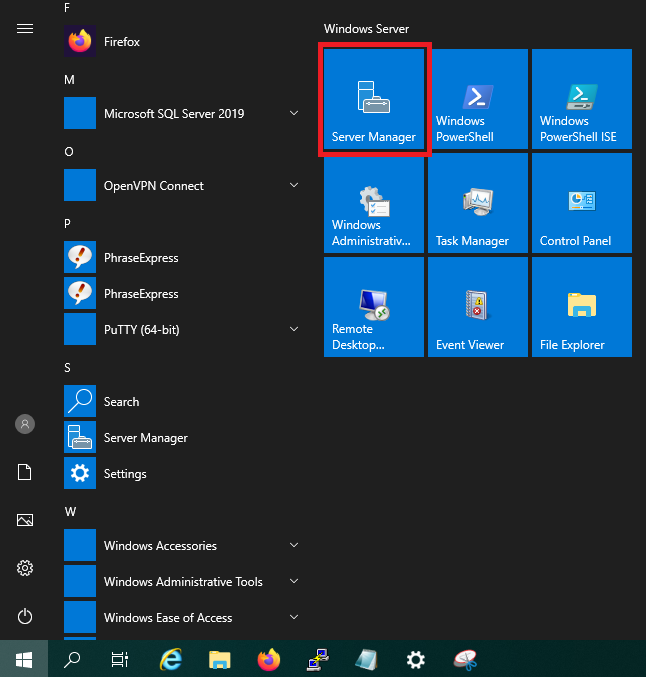
Open the 'Server Manager' via the Windows Start button > 'Server Manager'.
Step 3
Click on 'Add roles and features' in the dashboard of the Server Manager.

Step 4
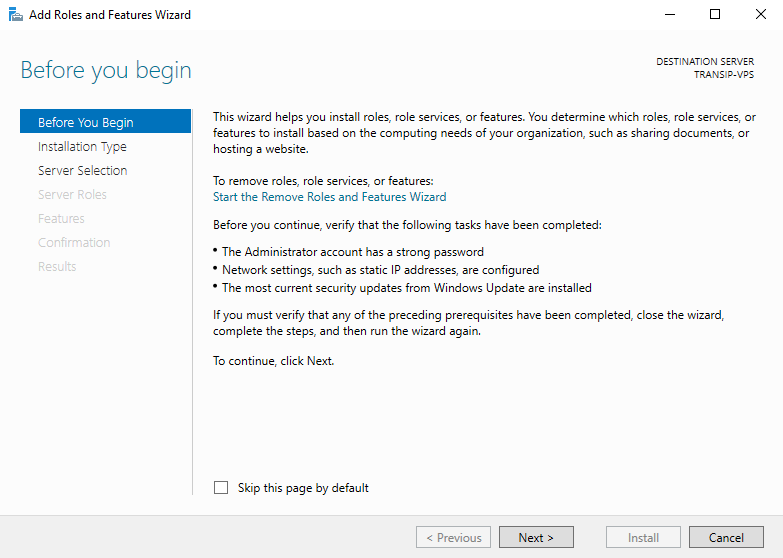
You will now see the 'Before You Begin' page. You can select not to see this page again when you add roles & features in the future. Click on 'Next' after you have read the points under 'before you continue'.
Step 5
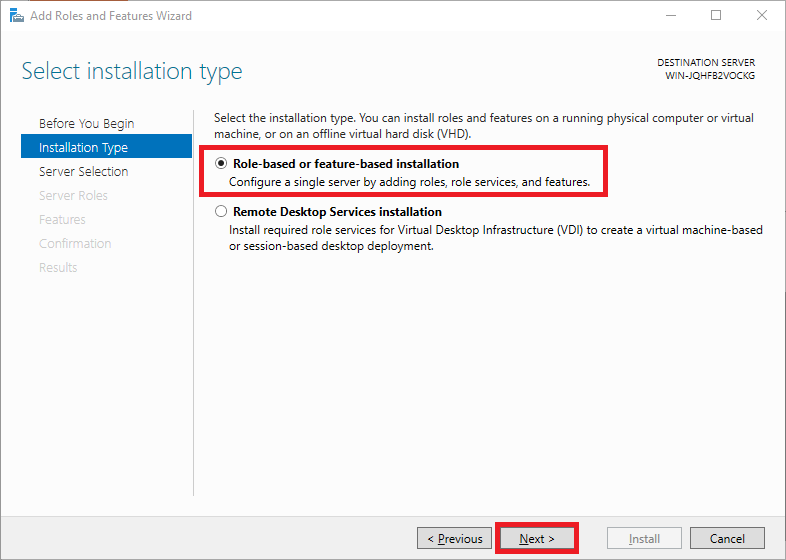
Under 'Installation Type' you can choose between 'Role-based or feature-based' and 'Remote Desktop Services installation'. Choose 'Role-based or feature-based' and continue to the next step.
Step 6
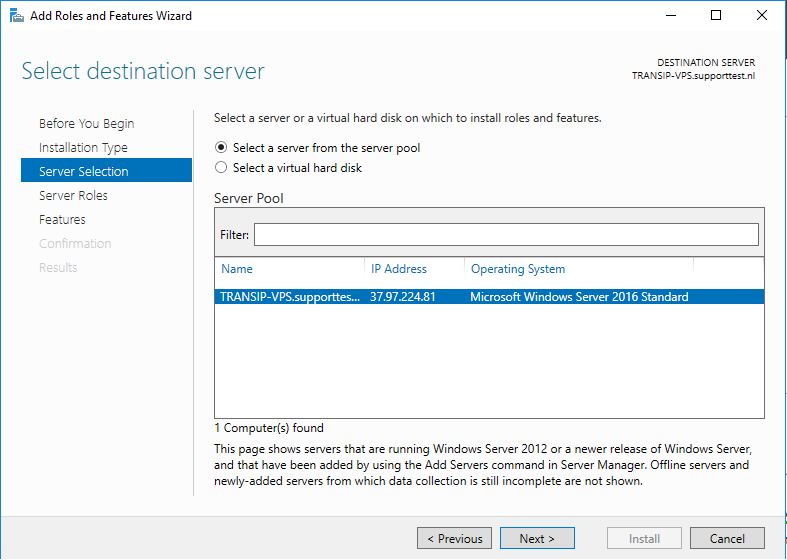
Select the desired VPS on which you want to check if the DNS Server role is installed. If you use an Active Directory and it contains several VPSs, these are listed in this overview. If you do not use Active Directory, you will see the VPS on which you go through this tutorial.
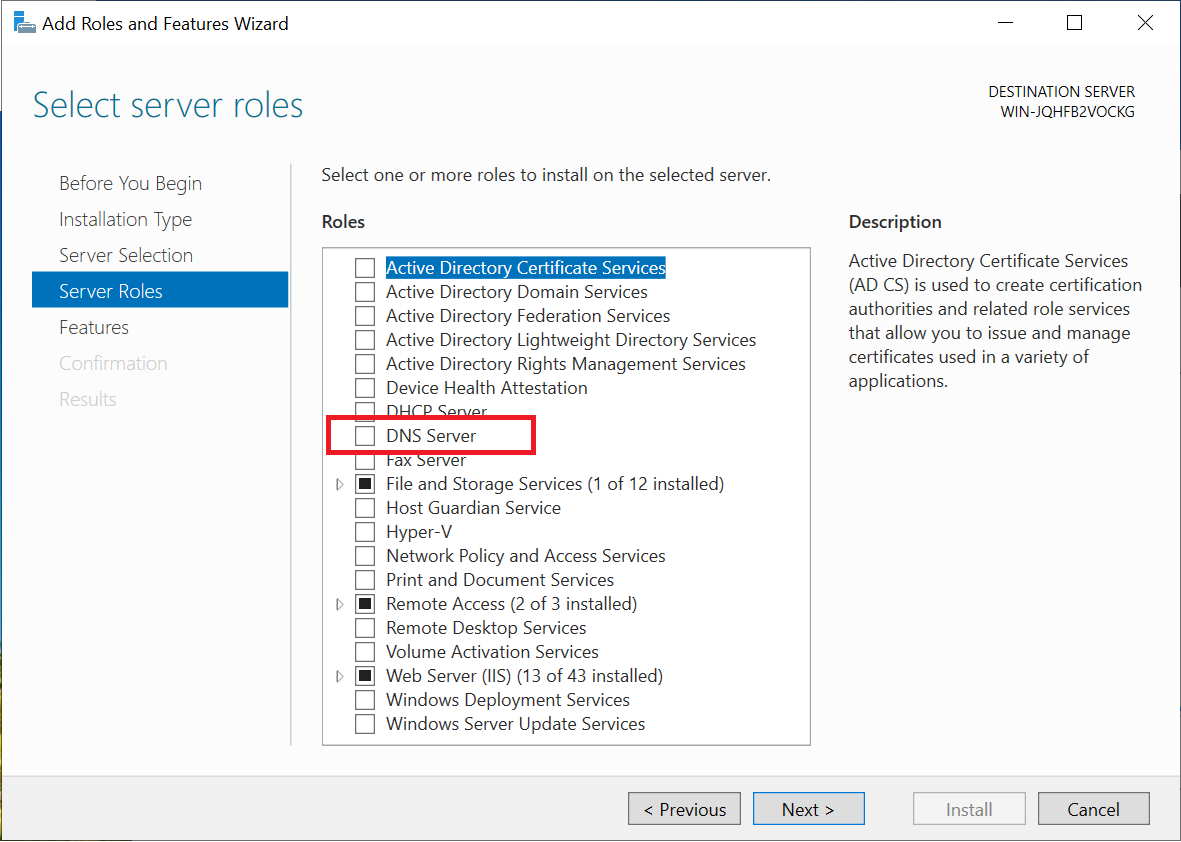
Step 7
On the next page, you can select a 'Server Role'. Check here if 'DNS server' is checked. If not, you are not using a DNS server. Nevertheless, for security reasons, we recommend installing security updates from Microsoft as soon as possible.
Securing your server
There are two ways to keep your server secure: installing the latest updates and with a registry update. Microsoft sees the registry modification as a temporary solution should a restart of your VPS not be convenient right now. In all cases Microsoft recommends installing the latest updates as soon as possible.
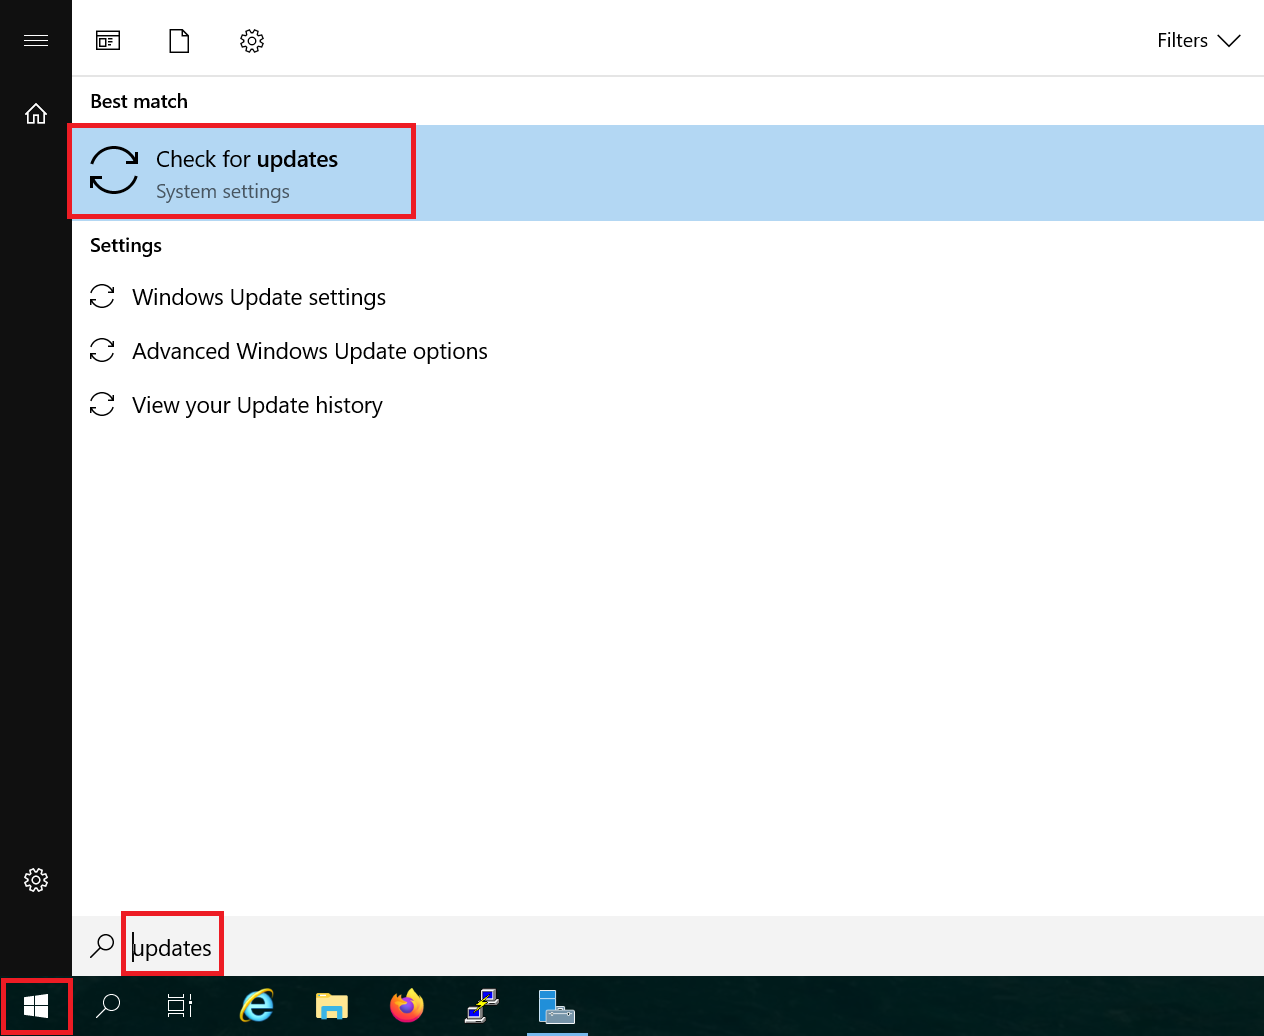
Step 1
Press the Windows Start button, search for 'Updates' and click on 'Check for updates' in the results.
Step 2
Click on 'Install now' in the screen that appears. It may take a while for the updates to install.
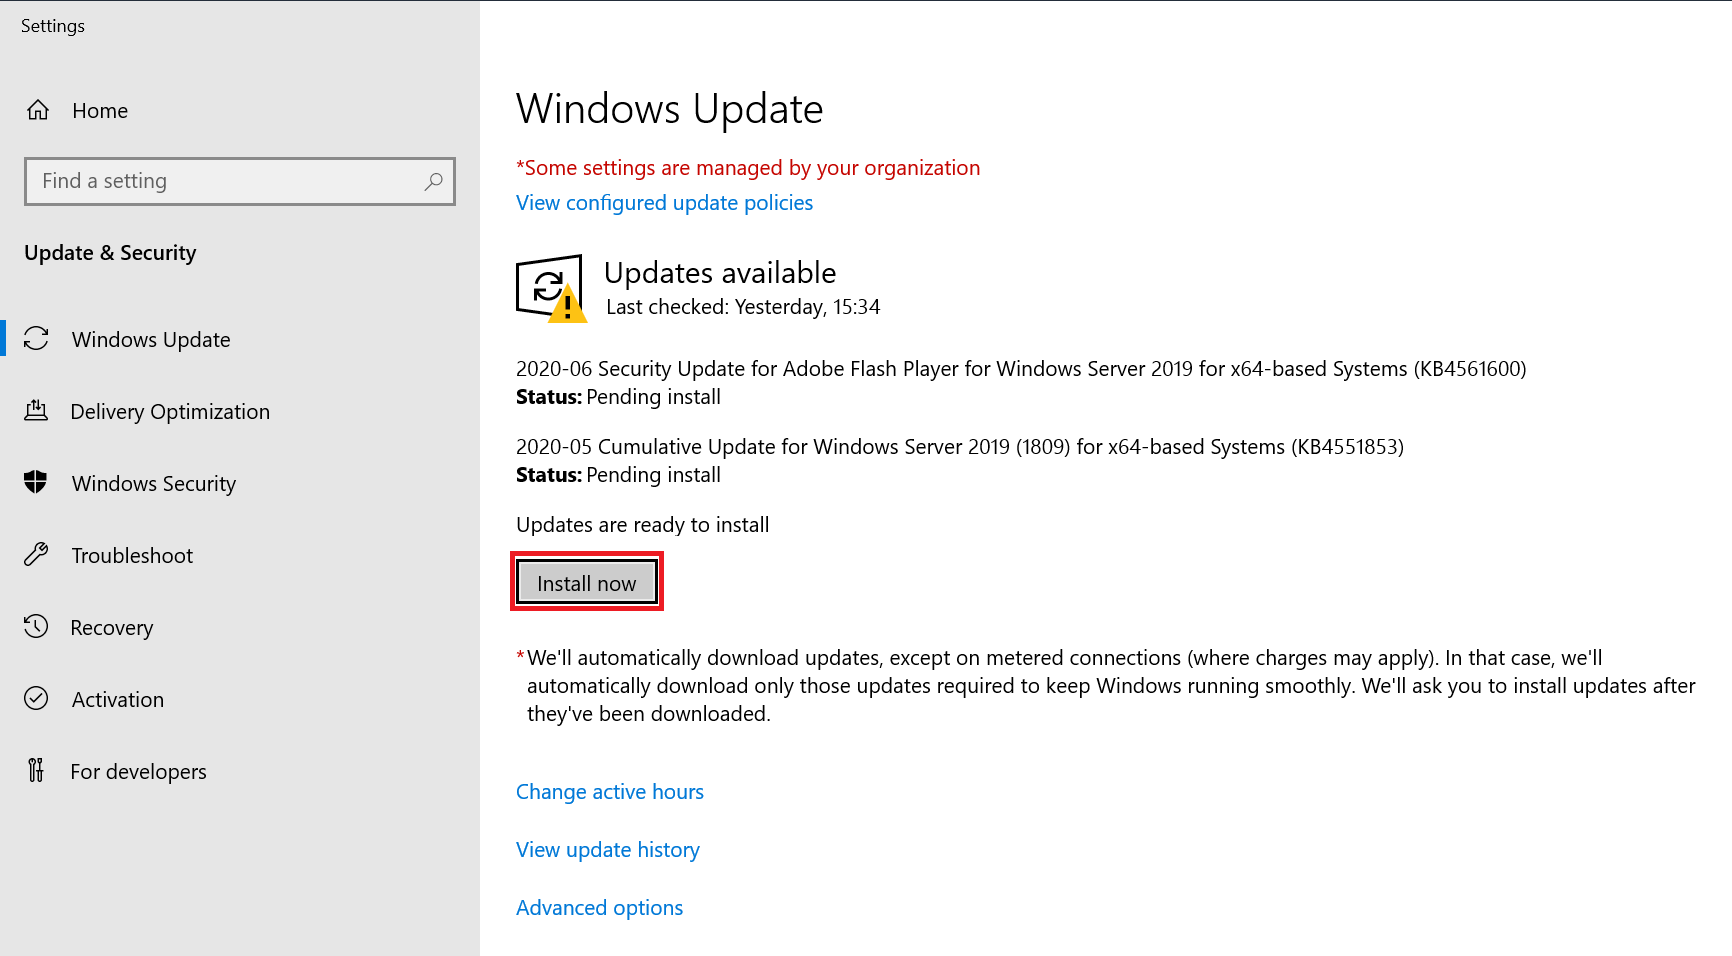
Restart your VPS afterwards: you are now protected against abuse of the CVE-2020-1350 vulnerability!
Securing your VPS through the registry
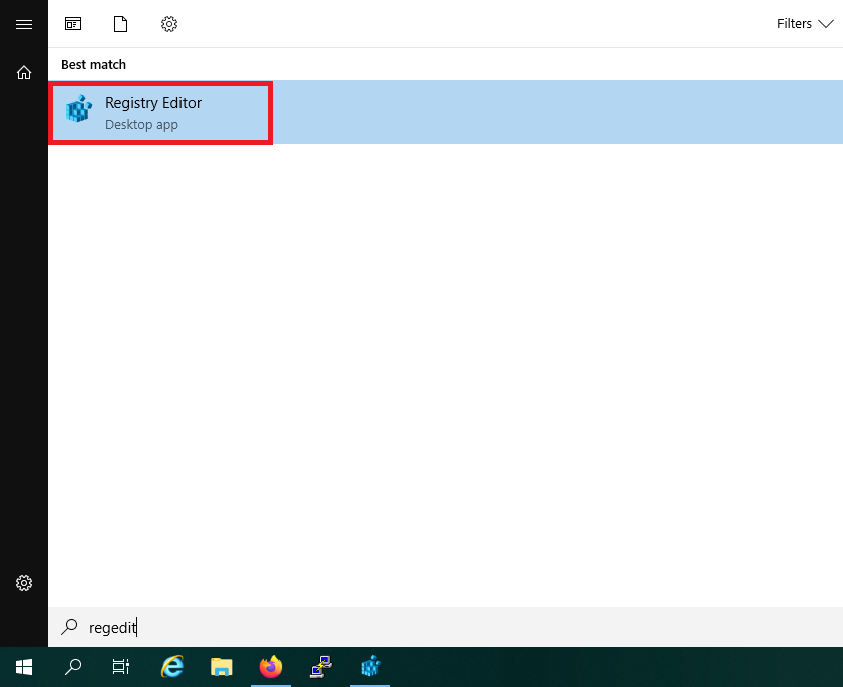
Step 1
Press the Windows Start button and search for 'regedit' or 'registry'. Click on 'Registry Editor' in the results.
Step 2
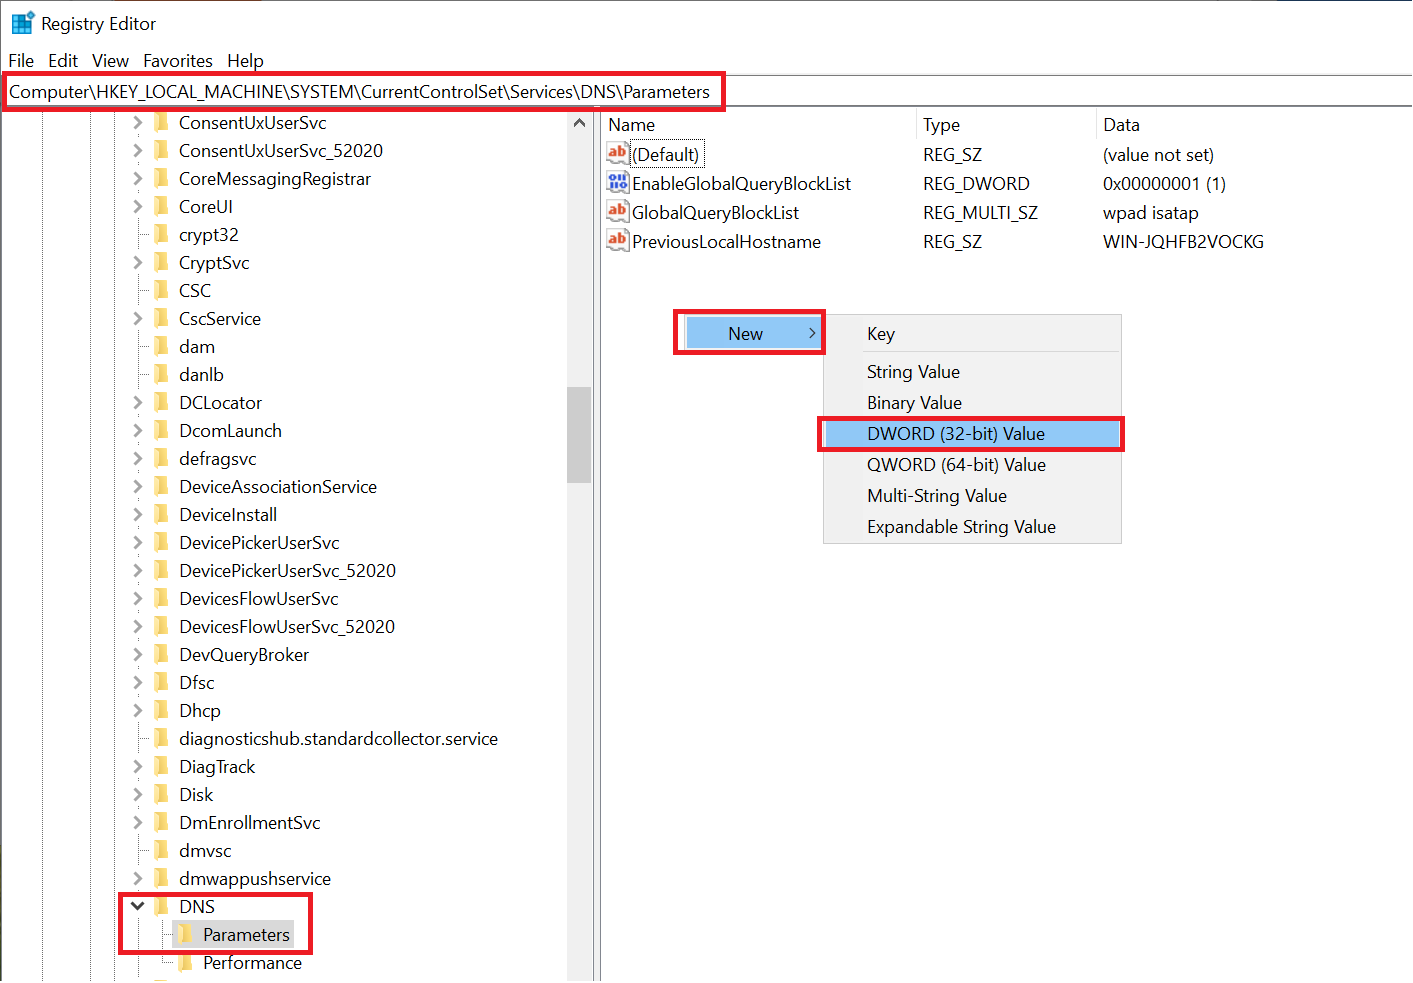
In the top of the screen, search for 'computer\HKEY_LOCAL_MACHINE\SYSTEM\CurrentControlSet\Services\DNS\Parameters' and hit 'Enter'.
Next, right click on an empty space and select 'New' -> 'DWORD'.
Step 3
Give the new key the name 'TcpReceivePacketSize' and the value '0xFF00'.
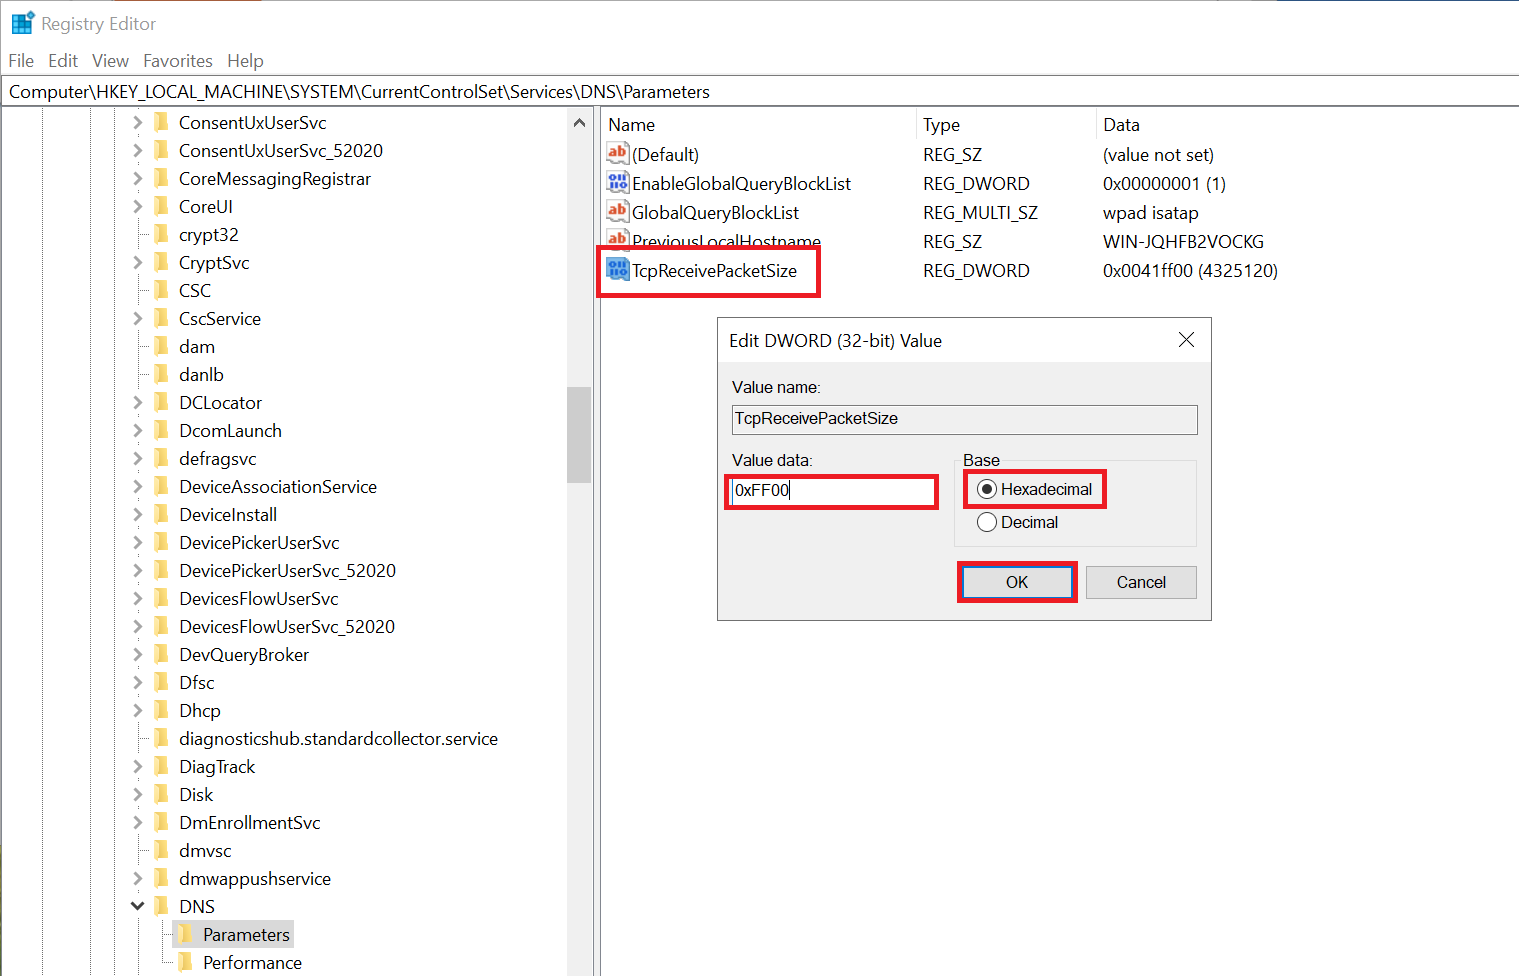
Next, close the Registry Editor.
Step 4
Finally, restart your DNS server.You can do this from the Server Manager, by clicking 'DNS' -> your server name (with the right mouse button) -> 'Restart Services'.

Your server is now protected against exploitation of the CVE-2020-1350 vulnerability!Please note that Microsoft recommends installing the latest updates as soon as possible and removing this registry key.
This brings us to the end of this article about the CVE-2020-1350 vulnerability.
If you have any questions regarding this article, do not hesitate to contact our support department.You can reach them via the 'Contact us' button at the bottom of this page.
Do you want to discuss this article with other users?Please leave a message under 'Comments'.